How to Make BodyGlow Permanent Jewelry: Step-by-Step Guide
Learn how to make BodyGlow permanent jewelry with our step-by-step welding guide. Master pulse arc settings, UV chain prep, and seamless fusing techniques.

Introduction to BodyGlow Permanent Jewelry
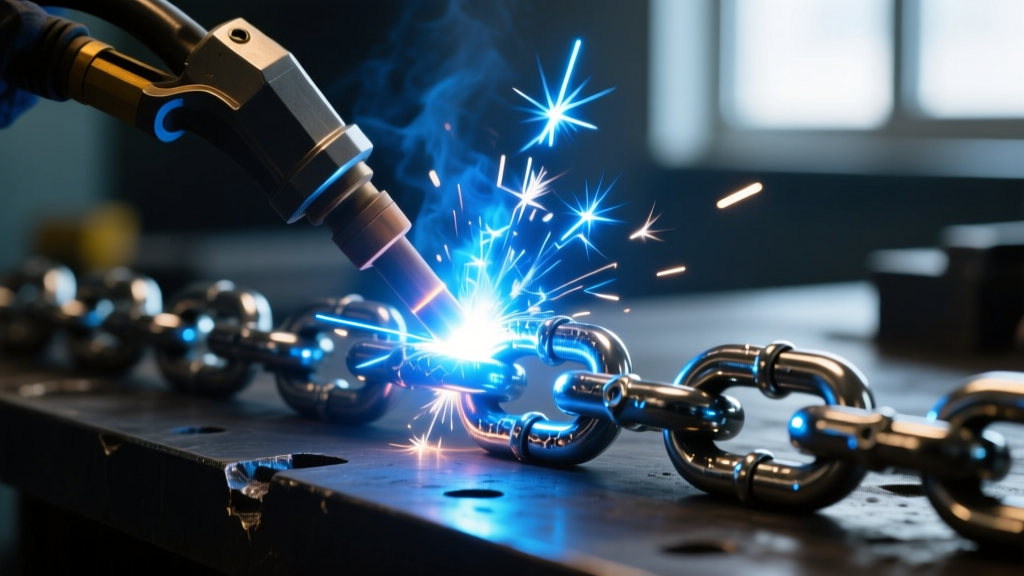
As we move through 2026, the demand for luminescent and UV-reactive aesthetics has completely transformed the permanent jewelry landscape. BodyGlow permanent jewelry—characterized by its specialized UV-reactive PVD (Physical Vapor Deposition) coatings and luminescent polymer-core chains—offers a vibrant, neon alternative to traditional 14k gold and sterling silver. However, creating seamless BodyGlow pieces requires a drastically different approach to pulse arc welding. Standard welding settings will instantly vaporize the delicate PVD coating or melt the resin core, resulting in a weak, oxidized, and visually ruined link. This comprehensive, step-by-step guide will teach you how to properly size, prep, and fuse BodyGlow chains to achieve a flawless, durable weld without compromising the signature glow.
The Metallurgy of UV-Reactive Chains
Before firing your welder, you must understand what you are working with. Most premium BodyGlow chains are crafted from 316L stainless steel or grade 23 titanium, which are then coated with a specialized photo-luminescent PVD layer. Some variations feature a micro-extruded silicone or resin core that glows in the dark. Because PVD coatings are incredibly thin (often measured in nanometers) and resin cores have low melting points, the intense heat of a standard 25-watt-second (Ws) arc flash will cause immediate thermal shock. The coating will flake, the core will bubble, and the surrounding links will suffer heat discoloration. To prevent this, we must rely on low-energy, high-precision pulse arc welding combined with heavy inert gas shielding.
Essential Tools and Materials
Working with specialty coated chains requires precision tools that prevent mechanical damage to the luminescent finish. Avoid standard hardware store cutters, which will crush the links and compromise the glow layer.
- Pulse Arc Welder: A high-precision unit like the Sunstone Orion 150s or 200i, capable of fine-tuning energy down to 5 Ws.
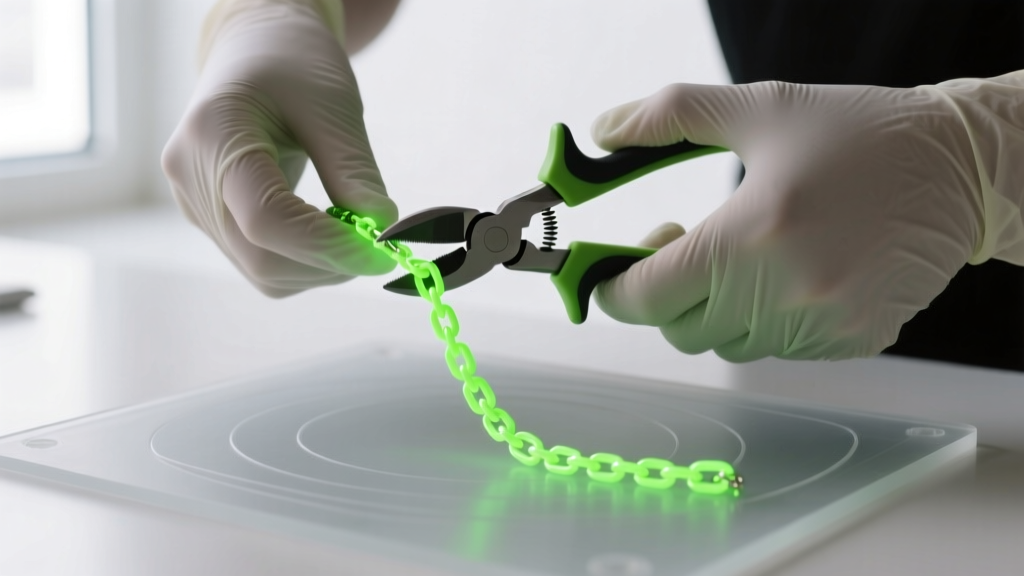
- Flush Cutters: Lindstrom 8141 or Tronex 7291 micro-flush cutters to ensure perfectly flat link ends without pinching.
- Tweezers: Brass or titanium-tipped tweezers. Steel tweezers can scratch the PVD coating and interfere with the welder's electromagnetic field.
- Argon Gas Tank & Regulator: High-purity argon (99.996%) is non-negotiable to prevent oxidation of the heated specialty metals.
- Masking Materials: Copper foil tape or ceramic welding shields to protect adjacent links from arc flash blowback.
- Safety Gear: Shade 10+ UV-protective welding glasses and a fume extractor to handle minor PVD off-gassing.
Pulse Arc Welder Settings for BodyGlow Chains
The most critical step in this process is configuring your welder. According to metallurgical guidelines from Sunstone Welders, specialty coatings require a delicate balance of voltage and energy. Below is a comparison chart to help you calibrate your machine.
| Chain Type | Energy (Ws) | Voltage (V) | Argon Flow (CFH) | Post-Flow Time |
|---|---|---|---|---|
| Standard 14k Gold | 20 - 25 Ws | 20V - 25V | 1.0 - 1.5 CFH | 0.5 seconds |
| BodyGlow PVD Titanium | 8 - 12 Ws | 15V - 18V | 1.5 - 2.0 CFH | 1.5 seconds |
| BodyGlow Resin-Core | 5 - 8 Ws | 12V - 15V | 2.0 CFH | 2.0 seconds |
Note: Always perform a test weld on a scrap piece of the exact same BodyGlow chain before working on a client's custom piece.
Step-by-Step Guide: Sizing and Prepping the Chain
Proper preparation ensures the weld is structurally sound and visually seamless. Because BodyGlow chains are often worn at festivals, clubs, and raves, they endure significant kinetic stress. A weak prep will lead to chain failure.
Step 1: Precision Sizing and Cutting
Measure the client's wrist or ankle, adding exactly 0.5 inches for comfort and movement. When cutting the chain, position your Lindstrom flush cutters so the flat side of the blade faces the link you intend to keep. This ensures a perfectly flat mating surface. Do not pull or twist the chain while cutting, as this will warp the circular geometry of the link.
Step 2: Alignment and Masking
Place the two ends of the chain on a ceramic soldering block or a specialized permanent jewelry welding jig. Interlock the final links perfectly. Because the arc flash from a pulse welder emits intense UV light and heat, adjacent UV-reactive links can suffer 'flash burn,' which dulls their luminescence. Apply a small piece of copper foil tape over the links immediately adjacent to the weld zone, leaving only the target link exposed.
The Welding Process: Fusing BodyGlow Chains
With your machine calibrated to the low-energy settings outlined above and your argon gas flowing at 1.5 to 2.0 CFH, you are ready to fuse the metal. For deeper insights into inert gas shielding techniques, the jewelry fabrication experts at Rio Grande offer excellent resources on argon flow dynamics.
- Position the Electrode: Lower the tungsten electrode until it is exactly 1mm to 1.5mm above the seam where the two links meet. Do not let the electrode touch the chain.
- Tack Weld (Optional but Recommended): Fire a low-energy tack weld (around 4 Ws) on one side of the seam to lock the links in place. This prevents the chain from shifting during the full weld.
- The Full Pulse: Depress the foot pedal to deliver the full 8-12 Ws pulse. You should see a tiny, bright blue-white flash. The argon gas will instantly cool the weld and prevent the PVD coating from oxidizing.
- Inspect and Rotate: Lift the electrode, rotate the chain 180 degrees, and repeat the full pulse on the opposite side of the link to ensure a 360-degree structural bond.
Troubleshooting Common BodyGlow Welding Issues
Even experienced jewelers encounter issues when transitioning to luminescent chains. Here is how to diagnose and fix the most common failure modes.
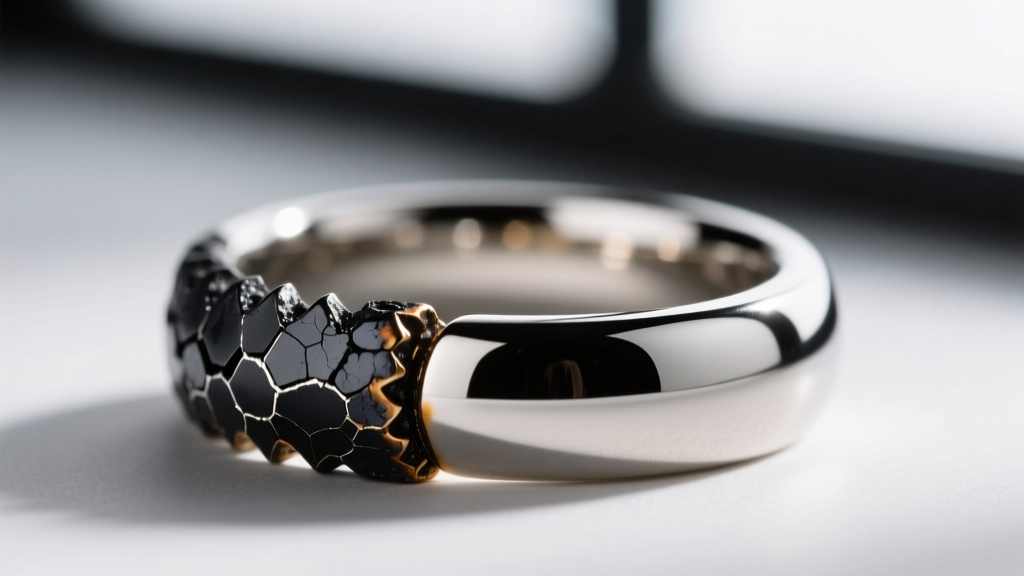
- Black Soot or Oxidation: If the weld zone turns black or dark grey, your argon post-flow is too short, or the flow rate is below 1.5 CFH. The hot metal is reacting with oxygen in the air before it cools. Increase your post-flow to 2.0 seconds.
- Blown Link (Hole Burned Through): This means your energy (Ws) is too high, or the electrode was too close to the metal. Drop your energy by 2 Ws and raise the electrode slightly.
- Flaking PVD Coating: If the neon color flakes off near the weld, the heat has penetrated too deeply. You must use a lower voltage setting and rely on a slightly longer pulse duration rather than a high-voltage spike.
- Brittle or Snapping Weld: The links were not perfectly flush before firing, or the cutters pinched the metal, creating a microscopic gap. Recut the ends and ensure zero daylight between the links before welding.
Expert Tip: Never use a soldering pick to push down a hot BodyGlow link immediately after welding. The PVD coating is highly susceptible to scratching while in a semi-molten state. Let the argon gas do the work and allow the link to air-cool for at least three seconds before manipulating it with brass tweezers.
Aftercare for Luminescent Permanent Jewelry
Educating your client on aftercare is vital for maintaining the BodyGlow effect. While the base metal (titanium or stainless steel) is waterproof and tarnish-resistant, the UV-reactive coatings can degrade if exposed to harsh chemicals. Advise clients to avoid spraying perfume, DEET-based bug sprays, or chlorine-heavy pool water directly onto the chain. For cleaning, a simple wipe with a microfiber cloth and mild soapy water is all that is needed to keep the luminescent finish vibrant and glowing for years to come. By mastering these low-heat welding techniques, you can tap into one of the most exciting and profitable niches in the 2026 permanent jewelry market.


