How to Make Jewelry: A Beginner's Guide to Wire Wrapping Pendants
Learn how to make jewelry with our beginner-friendly wire wrapping guide. Master gauges, essential tools, and craft your first briolette pendant.

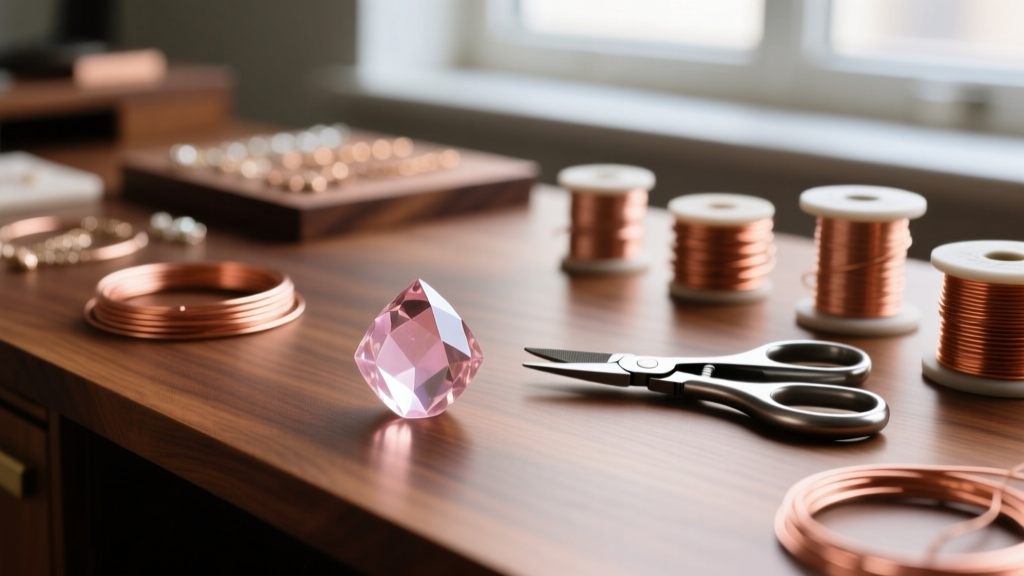
Learning how to make jewelry from scratch can feel overwhelming when faced with the sheer volume of techniques, from soldering and metalsmithing to resin casting. However, wire wrapping remains the most accessible, cost-effective, and deeply rewarding entry point for beginners. It requires no torches, no harsh chemicals, and no expensive bench setups. Instead, it relies on tension, structural geometry, and precise manipulation of metal.
In this guide, we will bypass the vague, generic advice often found online and dive straight into the exact specifications, tool grades, and step-by-step mechanics required to create a professional-grade wire-wrapped briolette pendant. By the end, you will understand not just the 'how,' but the 'why' behind wire tension, gauge selection, and temper management.
The Core Toolkit: What You Actually Need (and What to Skip)
Many beginner kits sold on mass-market craft sites include low-carbon steel pliers with serrated teeth that will instantly mar your wire. To learn how to make jewelry that looks professional, you must invest in smooth-jawed tools. Here is the exact toolkit you need to start, based on current industry standards.
| Tool | Specification / Brand | Avg. Price | Why It Matters |
|---|---|---|---|
| Flush Cutters | Lindstrom RX Micro or Wubbers | $35 - $60 | Leaves one side of the cut perfectly flat, eliminating sharp burrs that scratch gemstones. |
| Chain Nose Pliers | Smooth Jaw, Tapered (Wubbers) | $20 - $30 | Used for gripping, bending, and closing jump rings without leaving tool marks on the metal. |
| Round Nose Pliers | Smooth Jaw, Multi-Step | $25 - $40 | Essential for creating perfectly symmetrical loops and bails at specific millimeter diameters. |
| Nylon Jaw Pliers | Flat Nose with replaceable pads | $15 - $25 | The secret weapon for straightening kinked wire and hardening wraps without scratching the metal. |
According to the master jewelers at Rio Grande, using the correct cutter is paramount. Standard diagonal cutters pinch the wire, creating a 'V' shape on both ends. Flush cutters feature a flat blade on one side, allowing you to make cuts that sit completely flush against a bead or wrap.
Understanding Wire Gauges and Tempers
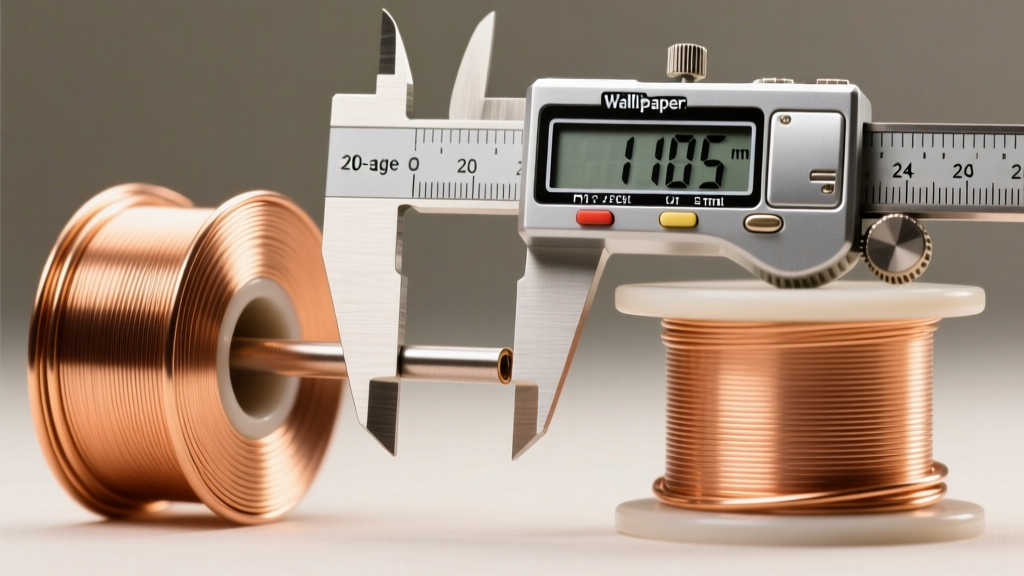
Before bending a single piece of metal, you must understand the American Wire Gauge (AWG) system and metal temper. In the AWG system, the higher the number, the thinner the wire. For a standard briolette pendant, you will use a two-wire system:
- 20-Gauge (0.81mm): This is your structural wire. It is thick enough to hold the weight of a medium-sized quartz or agate briolette without bending out of shape, but thin enough to pass through most standard top-drilled gemstone holes.
- 24-Gauge (0.51mm): This is your binding wire. It is highly malleable and used to lash the structural frame together or create decorative woven coils.
The Critical Role of Temper
Temper refers to the hardness of the metal, which dictates how easily it bends and how well it holds its shape. When sourcing materials from suppliers like Halstead Bead, you will typically see two options:
- Dead Soft: Bends like butter with your bare hands. Ideal for the 24-gauge binding wire and for making tight, intricate wraps. However, it lacks structural memory and will deform if used for the main frame of a heavy pendant.
- Half-Hard: Has been work-hardened at the factory. It offers resistance when bent and 'springs back' slightly, making it the absolute best choice for your 20-gauge structural frame and ear wires.
Pro Tip: If you only want to buy one spool of wire to start, buy 20-gauge Dead Soft. You can manually work-harden it by pulling it through nylon jaw pliers or gently hammering it with a rawhide mallet to create your structural frame.
Step-by-Step: How to Make Jewelry Using the Briolette Wrap
Now, let us apply this knowledge. We are creating a classic top-drilled briolette pendant. For practice, use bare copper wire (approx. $8 per 4oz spool) before moving on to Argentium Sterling Silver ($40+ per 1oz spool).
Step 1: The Pinch and Bend
Cut a 5-inch length of 20-gauge half-hard wire. Slide your briolette onto the wire, positioning it so that one side has a 1-inch tail and the other has a 4-inch working length. Using your thumb and index finger, pinch the wire directly above the top of the stone. Bend the 4-inch working wire upward at a strict 90-degree angle. This creates the 'shoulder' of your pendant frame.
Step 2: Threading and Securing
Take the 1-inch short tail and bend it upward so it sits parallel to the long working wire. Using your chain nose pliers, grip both wires tightly just above the stone. With your free hand, wrap the long working wire tightly around the short tail and the main stem. Make exactly three to four tight, adjacent coils. Ensure there are no gaps between the coils; use your nylon jaw pliers to gently squeeze the coils together if they splay outward.
Step 3: Forming the Bail
After your securing wraps are complete, trim the short tail flush against the coils using the flat side of your flush cutters. Tuck the sharp end in with the tip of your chain nose pliers. Now, take the remaining long working wire, place your round nose pliers just above the coils, and sweep the wire backward over the top jaw to form a teardrop-shaped bail. Wrap the remaining tail around the base of the bail twice, trim flush, and tuck the end.
Troubleshooting Common Beginner Mistakes
As you learn how to make jewelry, failure is part of the calibration process. Here are the three most common technical failures beginners experience with wire wrapping, and exactly how to solve them.
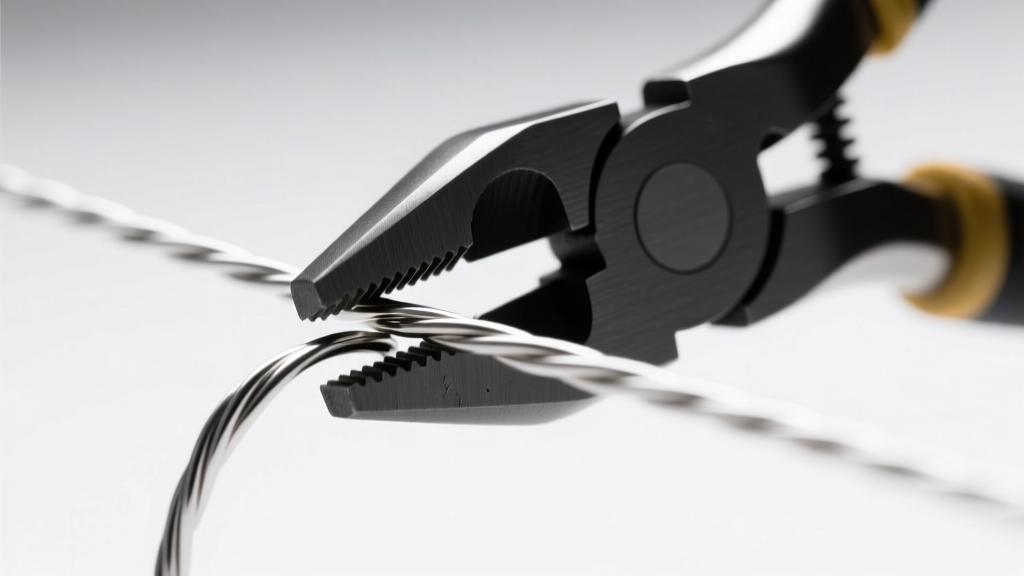
- Marring the Metal: If your wire looks scratched and chewed up, you are gripping too hard with standard pliers. Solution: Dip the tips of your chain nose pliers in tool dip (a rubberized coating) or use painter's tape on the jaws. Better yet, rely on nylon jaw pliers for any high-pressure gripping.
- Wire Snapping During Wraps: This is caused by 'work hardening.' Every time you bend metal, its crystalline structure compresses, making it brittle. If you bend a piece of 24-gauge wire back and forth to correct a mistake, it will snap. Solution: Bend with intention. If you make a mistake, cut the wire and start a new piece rather than trying to un-bend it.
- Slippage on the Briolette: If the stone spins or slides down the frame, your shoulder bend (Step 1) was not a sharp 90 degrees. Solution: Use flat nose pliers to clamp the wire directly against the top of the stone, ensuring a hard, geometric stop that the stone cannot slide past.
Sourcing Materials on a Budget
When you are ready to transition from practice copper to fine jewelry, material sourcing dictates your profit margins and the longevity of your pieces. Avoid craft store 'sterling silver' wire, which is often poorly tempered and prone to immediate tarnishing.
Instead, look for Argentium Silver. This modern alloy replaces a portion of the copper in traditional sterling silver with germanium. The result is a wire that is highly resistant to tarnish, fuses to itself without solder, and possesses a brighter, whiter luster. While a 1-ounce spool of traditional dead-soft sterling might cost $30, Argentium will run closer to $45. The premium is entirely worth it for the reduction in polishing time and the elevated quality of the final piece.
Mastering how to make jewelry is a journey of millimeters. By respecting the geometry of the wire, investing in smooth-jawed tools, and understanding the metallurgy of your materials, you will bypass the 'homemade' look and create pendants that rival boutique retail quality.


