How to Make Jewelry Making Easier: Beginner Wire Wrap Guide
Learn how to make jewelry making easier with our beginner wire wrapping guide. Master 20-gauge copper, essential tools, and avoid mistakes.

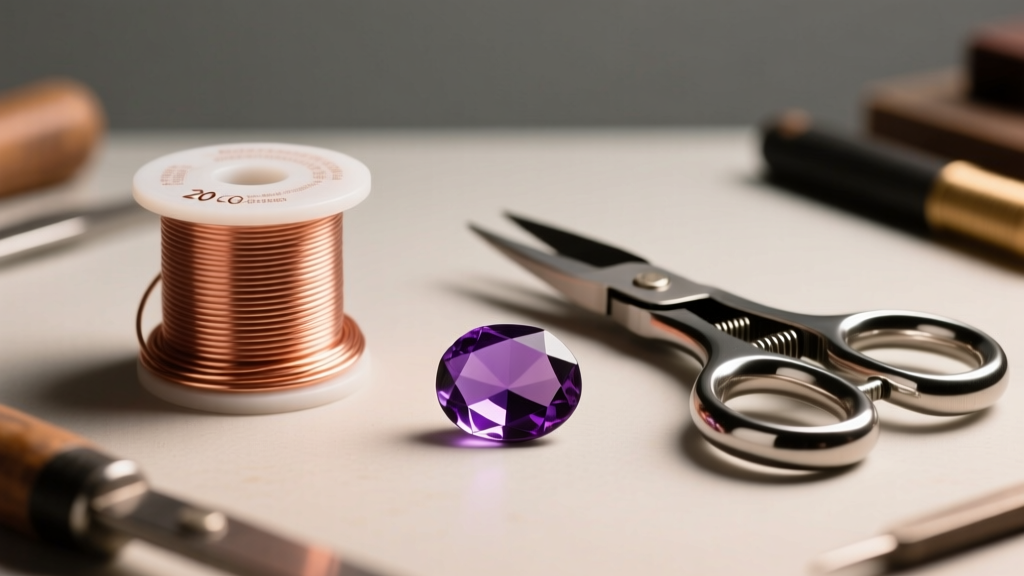
When you first decide to craft your own accessories, the sheer volume of techniques, tools, and materials can feel paralyzing. Many beginners type 'how to make jewelry making' into search engines, hoping for a clear, jargon-free path forward. The truth is that jewelry fabrication encompasses everything from high-heat metalsmithing to intricate bead weaving. However, if you want to bypass the steep learning curve of soldering and casting, wire wrapping is the ultimate gateway technique.
Wire wrapping allows you to create durable, professional-looking pieces using nothing but hand tools, raw wire, and gemstones. In this comprehensive guide, we will break down exactly how to approach your first wire-wrapped cabochon pendant, detailing the specific wire gauges, tool requirements, and common failure modes you need to know to succeed.
The Appeal of Wire Wrapping for Beginners
Unlike traditional metalsmithing, wire wrapping requires no torches, no hazardous pickling acids, and no expensive flex shafts. It relies entirely on mechanical connections—bending, looping, and weaving wire to secure stones and create structural integrity. This makes it incredibly accessible for hobbyists working from a small apartment desk or a shared living space.
Furthermore, wire wrapping teaches you foundational metallurgical concepts, such as work hardening and tensile strength, in a highly tactile way. By starting with inexpensive base metals like bare copper, you can practice your tension and weaving patterns without the financial anxiety of ruining expensive sterling silver or gold-filled wire.
The Essential Toolkit: What You Actually Need
A common mistake beginners make is buying massive, cheap jewelry tool kits from online marketplaces. These kits often contain poorly aligned pliers with serrated teeth that will permanently mar your wire. Instead, invest in a few high-quality, specialized tools.
| Tool | Primary Purpose | Budget-Friendly Brand | Professional Upgrade |
|---|---|---|---|
| Flush Cutters | Cutting wire cleanly without leaving sharp 'pinch' points. | Wubbers (approx. $25) | Tronex or Lindstrom ($80+) |
| Chain-Nose Pliers | Gripping, bending, and closing jump rings. Must be smooth-jawed. | Wubbers or Beadsmith ($20) | Swanstrom ($60+) |
| Nylon Jaw Pliers | Straightening wire and tightening wraps without scratching the metal. | Beadsmith ($15) | Tronex ($50+) |
| Round-Nose Pliers | Creating uniform loops and curved bail shapes. | Wubbers ($25) | Swanstrom ($65+) |
Always ensure your chain-nose and round-nose pliers have smooth, un-serrated jaws. Serrated teeth will bite into your soft copper or silver wire, creating weak points where the metal will eventually snap.
Demystifying Wire Gauges and Hardness
To understand how to manipulate wire, you must understand the American Wire Gauge (AWG) system and temper (hardness). The AWG system is counterintuitive: the higher the number, the thinner the wire. For a detailed breakdown of metric conversions, Rio Grande's Wire Gauge Chart is an industry-standard resource.
Selecting the Right Gauge
- 16 to 18 Gauge (1.29mm - 1.02mm): Thick and rigid. Used for the heavy base frames of pendants, bangle bracelets, and structural clasps.
- 20 Gauge (0.81mm): The workhorse of wire wrapping. Ideal for standard weaving, making ear wires, and wrapping bails.
- 22 to 24 Gauge (0.64mm - 0.51mm): Used for delicate weaving, coiling around thicker frame wires, and securing small cabochons.
- 26 to 28 Gauge (0.40mm - 0.32mm): Extremely fine. Used for intricate micro-macrame style weaves and detailed bead wrapping.
Understanding Wire Temper
Wire is sold in three primary tempers: dead soft, half-hard, and full-hard. Dead soft wire bends like cooked spaghetti; it is perfect for weaving and wrapping because it conforms easily to shapes. Half-hard wire offers resistance and holds its shape well, making it ideal for the structural base frames of pendants and for making ear wires. Full-hard wire is incredibly stiff and brittle, generally reserved for making rigid clasps or pins.
Step-by-Step: Crafting Your First Cabochon Pendant
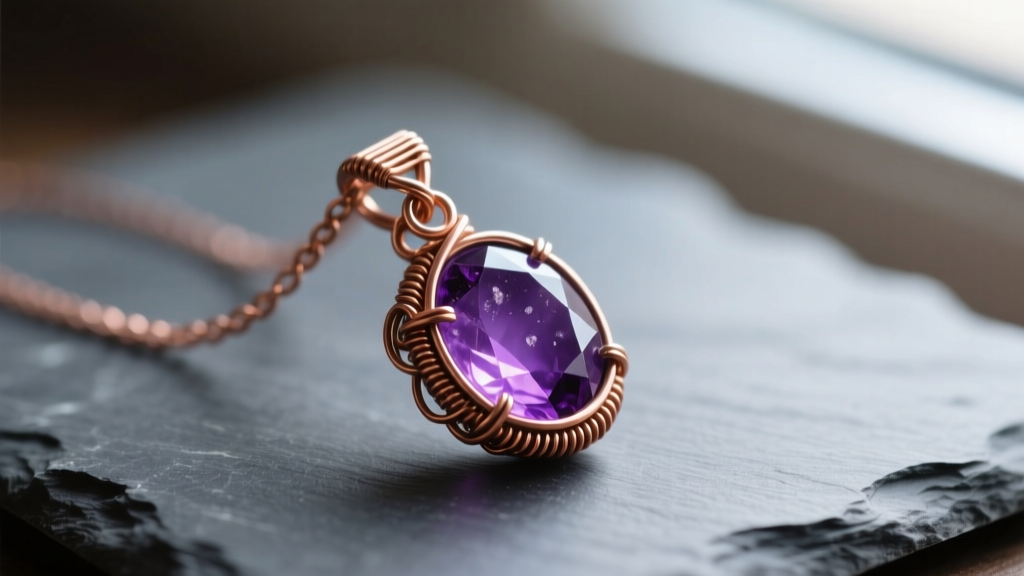
Let us walk through creating a classic teardrop wire-wrapped pendant using a 30x40mm polished amethyst cabochon. For this project, you will need 16-gauge half-hard copper wire for the frame, and 22-gauge dead-soft copper wire for the weaving and securing.
Step 1: Building the Base Frame
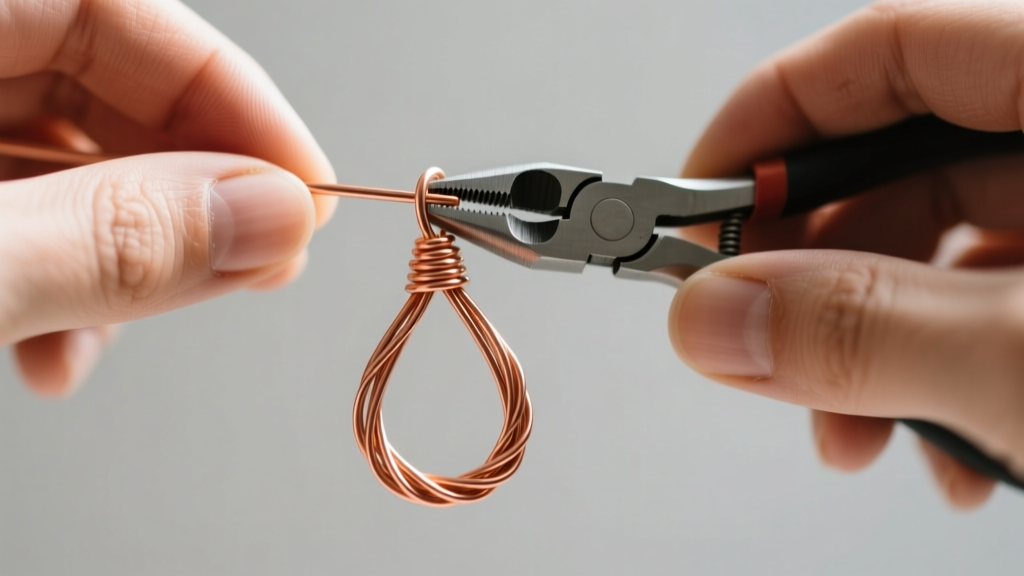
Cut two 6-inch lengths of 16-gauge half-hard wire. Lay them parallel to each other. Cut a 3-foot length of 22-gauge dead-soft wire. Anchor the weaving wire to one of the frame wires by wrapping it tightly three times. Begin a basic 'figure-8' or 'over-under' weave, binding the two frame wires together. Stop weaving when the bundle is about 1.5 inches long. This woven section will become the top bail of your pendant.
Step 2: Forming and Securing the Stone
Using your nylon jaw pliers, gently bend the unwoven frame wires downward and outward to form a teardrop shape that mirrors the silhouette of your amethyst cabochon. Place the stone inside the frame. To secure it, use your chain-nose pliers to bend the inner frame wire slightly over the beveled edge of the stone, creating a 'locking' prong. Repeat this on the opposite side. The tension of the half-hard wire will hold the stone firmly in place.
Step 3: Finishing the Bottom and Bail
At the bottom point of the teardrop, twist the two frame wires together tightly using your chain-nose pliers, then trim the excess with your flush cutters. Tuck the sharp tail neatly against the back of the stone. Finally, fold the top woven section backward to form a bail loop, securing it to the back of the frame with a few tight wraps of 22-gauge wire.
Common Failure Modes and Troubleshooting
Even with the best instructions, beginners encounter specific physical limitations of the metal. Here is how to troubleshoot the most common issues:
- Work Hardening and Snapping: As you bend and manipulate wire, the metal crystals compress, making the wire harder and more brittle. If you bend a piece of wire back and forth too many times, it will snap. Solution: Plan your bends carefully. If you make a mistake, use your nylon jaw pliers to gently straighten it rather than aggressively bending it back and forth.
- Tool Marring: Scratches and dents on your wire are usually caused by dirty pliers or using serrated jaws. Solution: Keep your plier jaws clean. For extra protection, dip your plier tips in a liquid tool dip like Plasti Dip, or use your nylon jaw pliers for the final tightening of all wraps.
- Loose Stones: If your cabochon rattles or falls out, your frame lacks adequate tension, or you have not created enough locking prongs over the stone's bevel. Solution: Always use half-hard wire for the base frame. Dead soft wire will stretch and lose its grip on the stone over time.
Sourcing Quality Materials on a Budget
Where you buy your materials dictates the quality of your final piece. Avoid buying pre-packaged wire from big-box craft stores, as it is often overpriced and mislabeled regarding its temper. Instead, look to dedicated jewelry supply houses. Ganoksin's Wire Jewelry Basics highlights the importance of sourcing from reputable mills to ensure accurate alloy compositions and consistent gauges.
For beginners, purchasing 4-ounce spools of bare copper wire from suppliers like Rio Grande, Fire Mountain Gems, or Wire-Sculpture is the most economical route. A 4-ounce spool of 20-gauge copper typically costs between $8 and $12, providing hundreds of feet of practice material. Once you have mastered your tension and weaving patterns, you can graduate to Argentium sterling silver or 14k gold-filled wire, which command much higher retail prices but yield professional, sellable jewelry.
Final Thoughts on Your Jewelry Journey
Mastering wire wrapping is an exercise in patience and muscle memory. Your first few pendants will likely be asymmetrical, and your weaves might look a bit messy. This is a normal part of the learning curve. By focusing on high-quality tools, understanding the metallurgy of wire gauges and tempers, and practicing your tension on cheap copper, you will rapidly elevate your craft. Keep your flush cutters sharp, your pliers smooth, and let the metal guide your hands.


