How Do You Make Breastmilk Jewelry? 2026 Supply Guide
Learn how do you make breastmilk jewelry at home. Our 2026 buying guide covers preservation powders, epoxy resins, molds, and troubleshooting.

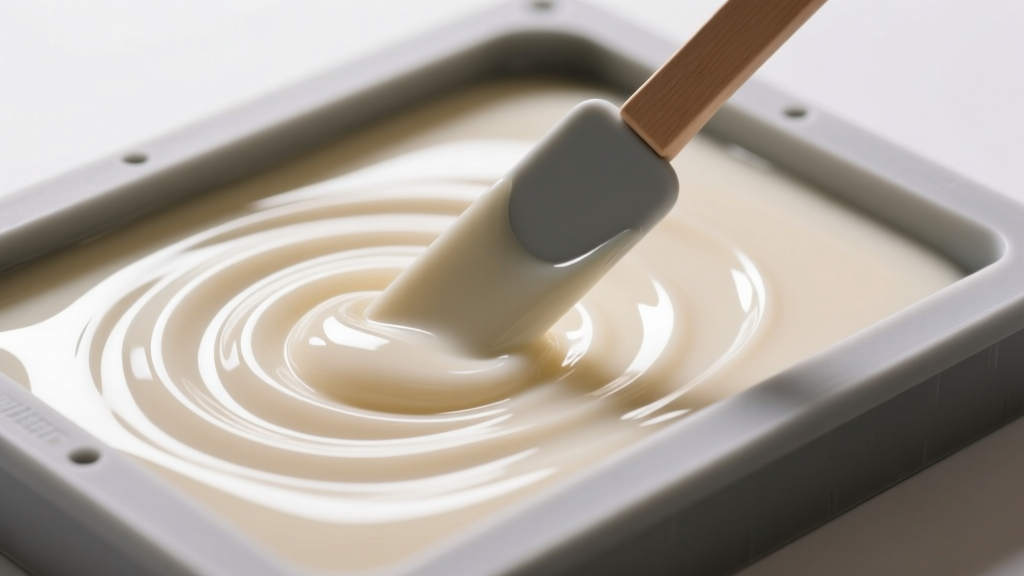
The Core Question: How Do You Make Breastmilk Jewelry at Home?
The sentimental jewelry market has exploded, and many new parents and crafters frequently ask: how do you make breastmilk jewelry that lasts a lifetime without yellowing, spoiling, or cracking? Unlike standard resin crafts, working with biological materials requires a deep understanding of organic chemistry, moisture control, and specialized supplies. In this comprehensive 2026 buying guide, we break down exactly what to look for when sourcing preservation powders, casting resins, and silicone molds to ensure your DIY breastmilk keepsakes remain pristine for decades.
Creating these deeply personal keepsakes is not as simple as mixing raw milk into resin. Breastmilk is approximately 87% water, 4% fat, and 1% protein. Water is the natural enemy of epoxy resin, leading to a phenomenon called amine blush, while fats can trigger saponification—essentially turning your jewelry into a cloudy, soap-like sludge. Therefore, building the right supply kit is the difference between a cloudy, failed pendant and a brilliant, pearlescent heirloom.
Step One: Breastmilk Preservation Powders & Chemical Binders
Before any resin is poured, the milk must be preserved and dehydrated. When shopping for a DIY breastmilk kit, avoid generic craft preservatives. You need a specialized breastmilk preservation powder designed specifically to inhibit lipase enzymes and bind to residual water molecules.
High-quality preservation powders typically contain a blend of food-grade desiccants, cornstarch derivatives, and mild, resin-safe biocides. When evaluating brands, look for the following specifications:
- Lipase Inhibition: Lipase breaks down milk fats over time, causing severe yellowing and rancid odors. The powder must explicitly state it halts lipase activity.
- Moisture Binding: The powder should create a dry, chalky "milk stone" or a thick, water-free paste when mixed with a few drops of milk, ensuring no free water enters your resin.
- Color Retention: Premium powders include optical brighteners or titanium dioxide bases to maintain the milk's natural creamy white hue, preventing the grayish tint that occurs when milk oxidizes.
"Never attempt to use raw, unpreserved breastmilk directly in epoxy. The moisture content will permanently prevent the resin from cross-linking, leaving you with a sticky, toxic mess that cannot be salvaged."
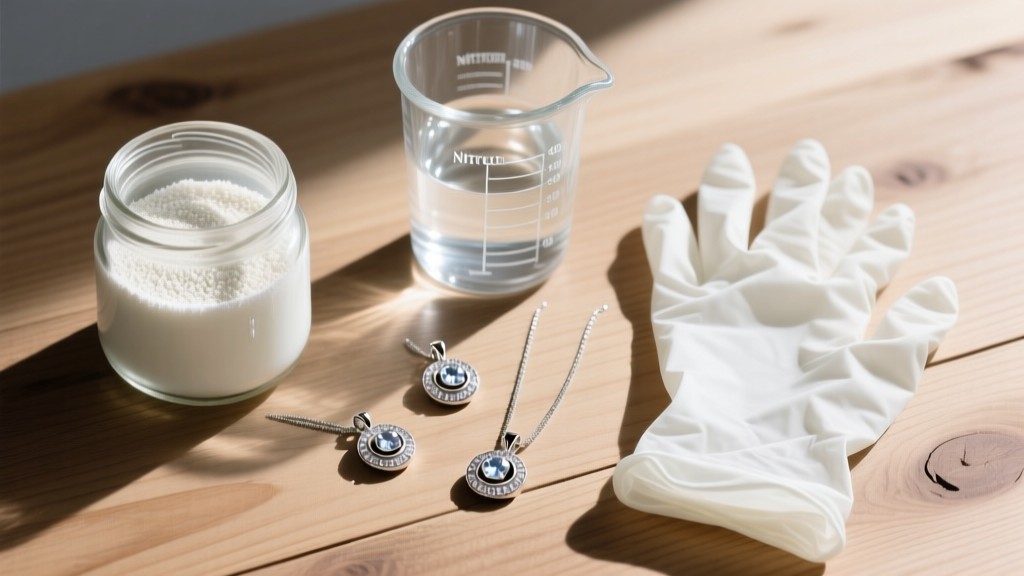
Choosing the Right Resin: Why UV Fails and Epoxy Wins
One of the most common mistakes beginners make when learning how to craft biological jewelry is purchasing UV resin because of its fast curing times. Do not use UV resin for breastmilk inclusions. Breastmilk powder is entirely opaque. UV resin requires ultraviolet light to penetrate the entire volume of the liquid to cure. Because the milk blocks the light, the exterior will harden while the center remains a liquid, uncured hazard.
Instead, you must invest in a high-grade, 2-part epoxy resin. When shopping for epoxy, prioritize formulas that include HALS (Hindered Amine Light Stabilizers) and UV absorbers to prevent the dreaded "resin yellowing" over time. Look for resins certified to ASTM D-4236 standards, ensuring they are safe for home use and emit minimal VOCs.
| Feature | 2-Part Epoxy Resin (Recommended) | UV Resin (Not Recommended) |
|---|---|---|
| Cure Mechanism | Chemical cross-linking (Resin + Hardener) | Ultraviolet light penetration |
| Opaque Inclusion Compatibility | Excellent (Cures evenly regardless of opacity) | Poor (Blocks light, causing sticky centers) |
| Yellowing Resistance | High (If formulated with HALS/UV absorbers) | Low to Moderate (Prone to rapid ambering) |
| Working Time | 30–45 minutes (Allows for bubble release) | 3–5 minutes (Traps micro-bubbles easily) |
Silicone Molds and Bezel Hardware: What to Buy
The mold you choose dictates the final finish and ease of demolding. For breastmilk jewelry, you need platinum-cure silicone molds. Avoid tin-cure silicones, which degrade quickly and can inhibit the curing process of certain epoxies. When browsing supplier catalogs, check the Shore A durometer (hardness) rating. A Shore A rating between 10 and 15 provides the perfect balance: it is rigid enough to hold a crisp teardrop or heart shape, yet flexible enough to peel away without snapping delicate resin points.
For hardware, skip cheap alloy bezels that will tarnish and turn the wearer's skin green. Invest in 925 sterling silver or 14k gold-filled bezel trays and bail caps. If you are doing wire wrapping instead of bezel setting, purchase 20-gauge or 22-gauge dead-soft gold-filled wire, which offers the malleability needed for intricate weaving without compromising the structural integrity of the pendant.
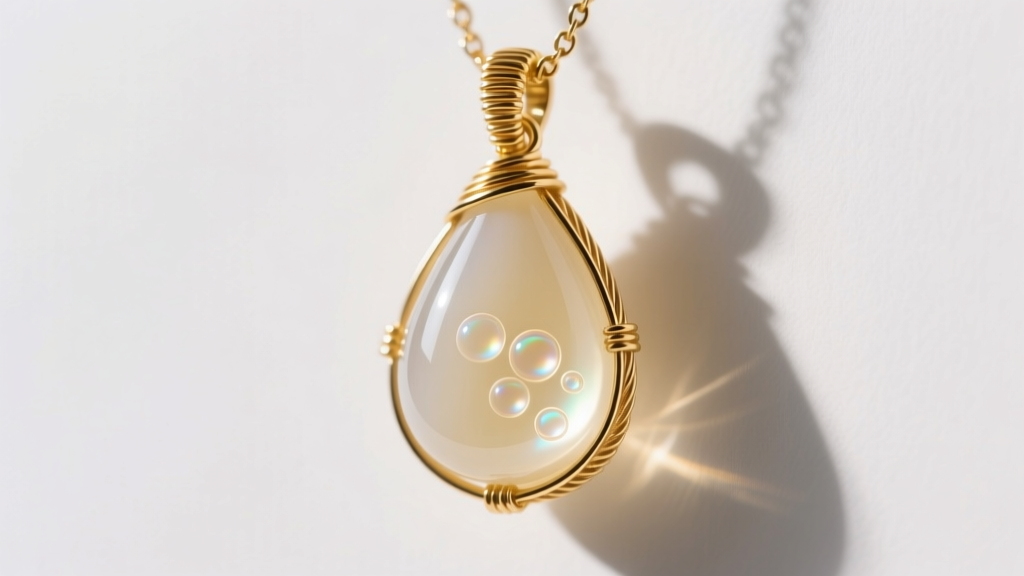
Troubleshooting Common DIY Resin and Milk Failures
Even with the best supplies, environmental factors can ruin a batch. Here is how to troubleshoot the most frequent issues encountered by DIY keepsake artists:
1. Amine Blush (Waxy, Cloudy Film)
Amine blush occurs when the hardener's amines react with moisture and carbon dioxide in the air. It leaves a sticky, waxy film on the surface of your cured pendant. The Fix: Always mix and pour your resin in a climate-controlled room with humidity levels below 45%. Use a dehumidifier in your workspace, and never mix resin on cold or damp surfaces.
2. Micro-Bubbles Trapped in the Milk
Dehydrated milk powder is highly porous and traps microscopic air pockets. When mixed into resin, these bubbles can ruin the smooth, pearlescent finish. The Fix: Warm your resin bottles in a hot water bath (around 75°F to 80°F) before mixing to lower the viscosity. After pouring into the mold, place the mold into a resin pressure pot at 40 PSI for the duration of the cure. The pressure compresses the bubbles to an invisible size. For more on silicone and resin interactions, refer to Smooth-On's technical guides on curing inhibition.
3. Yellowing or Orange Tints
If your finished piece cures with a yellow or orange tint, the milk fats have oxidized, or the resin lacks UV stabilizers. The Fix: Ensure your preservation powder is fully activated and the milk is completely dehydrated before introducing it to the resin. Store finished jewelry away from direct, prolonged sunlight.
Building Your Ultimate 2026 DIY Kit Checklist
To confidently answer the question of how do you make breastmilk jewelry, you need a dedicated workspace and the right arsenal of tools. Ensure your cart includes the following essentials before starting your first commission:
- Specialized breastmilk preservation powder (lipase-inhibiting)
- High-grade, non-yellowing 2-part epoxy resin (ASTM D-4236 certified)
- Platinum-cure silicone molds (Shore A 10-15)
- 925 sterling silver or 14k gold-filled bezel settings and bails
- Digital gram scale (accurate to 0.01g for precise resin ratios)
- Silicone mixing mats, glass beakers, and fine-tipped spatulas
- Nitrile gloves and a respirator mask (for VOC protection)
- Resin pressure pot (optional but highly recommended for bubble-free finishes)
By investing in high-quality, purpose-built supplies from the start, you elevate your craft from a risky DIY experiment to a professional-grade keepsake service. The chemistry of biological resin art is unforgiving to shortcuts, but with the right materials, you can create breathtaking, milky-white heirlooms that safely preserve a family's earliest memories.


