Mastering Your Pliers Set for Jewelry: Wire Wrapping Guide
Learn how to use a pliers set for jewelry with our step-by-step wire wrapping and jump ring guide. Master loops, cuts, and tool maintenance.

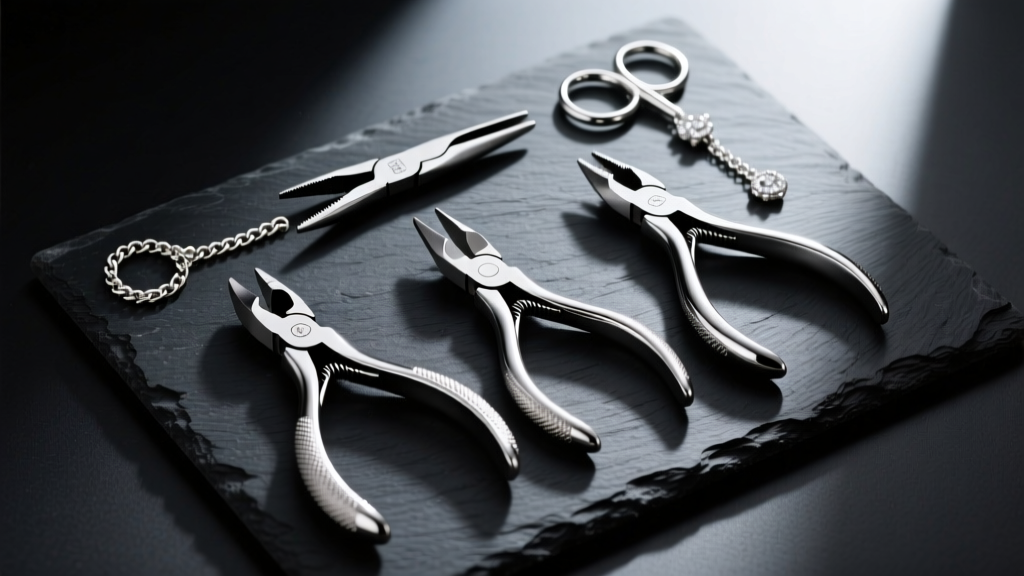
The Anatomy of a Professional Pliers Set for Jewelry
Transitioning from hobbyist to advanced jewelry maker requires abandoning hardware store tools in favor of a precision-engineered pliers set for jewelry. Standard household pliers feature serrated teeth and heavy, misaligned jaws that will instantly mar soft metals like sterling silver and copper. A dedicated jewelry tool kit relies on smooth, flush-machined steel surfaces designed to manipulate wire without compromising its structural integrity or finish.
Before executing complex wire weaving or wrapped loops, you must understand the metallurgical concept of work-hardening. Every time you bend a wire, you alter its crystalline structure, making it stiffer and more brittle. High-quality jewelry pliers allow you to achieve the desired shape with minimal, deliberate movements, preventing the wire from snapping due to over-manipulation. According to the metallurgical guides at Rio Grande, using the correct tool profile for the specific wire temper (dead-soft vs. half-hard) is the single most critical factor in preventing material failure.
Chain-Nose vs. Flat-Nose Pliers
While often confused, these two tools serve distinct purposes. Chain-nose pliers feature tapered jaws that narrow to a fine point, allowing you to reach into tight spaces, grip small jump rings, and initiate sharp bends. Flat-nose pliers have a wider, box-joint jaw that provides a broad, flat gripping surface. Flat-nose pliers are superior for holding thicker gauge wires (14g to 18g) and applying even pressure when opening and closing jump rings, as the wider surface area prevents the wire from twisting out of alignment.
The Flush Cutter Bevel Rule
The most common beginner mistake occurs when trimming wire. Flush cutters feature one flat blade and one beveled (angled) blade. If you cut the wire with the flat side facing away from your workpiece, the bevel will compress the metal, leaving a sharp, V-shaped pinch point that will scratch the wearer or snag on fabric. Always ensure the flat side of the cutter faces the finished piece of jewelry, leaving a perfectly flush, smooth cut.
Pliers Selection Matrix: Matching Tool to Task
Understanding the physical limitations of your pliers set for jewelry ensures longevity for both your tools and your materials. Use the following matrix to select the appropriate tool for your current project phase.
| Tool Type | Jaw Profile | Ideal Wire Gauge | Primary Application | Common Failure Mode |
|---|---|---|---|---|
| Chain-Nose | Tapered, Smooth Inner | 18g - 28g | Gripping, bending sharp angles | Marring wire from excessive grip pressure |
| Round-Nose | Conical, Smooth | 16g - 26g | Forming loops, curves, and spirals | Inconsistent loop sizing due to slipping |
| Flat-Nose | Box-joint, Wide Flat | 14g - 20g | Opening jump rings, straightening | Slipping off thick, hard-temper wire |
| Flush Cutter | Beveled / Flat Edge | Up to 12g (Copper) | Trimming, snipping, flush cuts | Leaving sharp pinch points on wire ends |
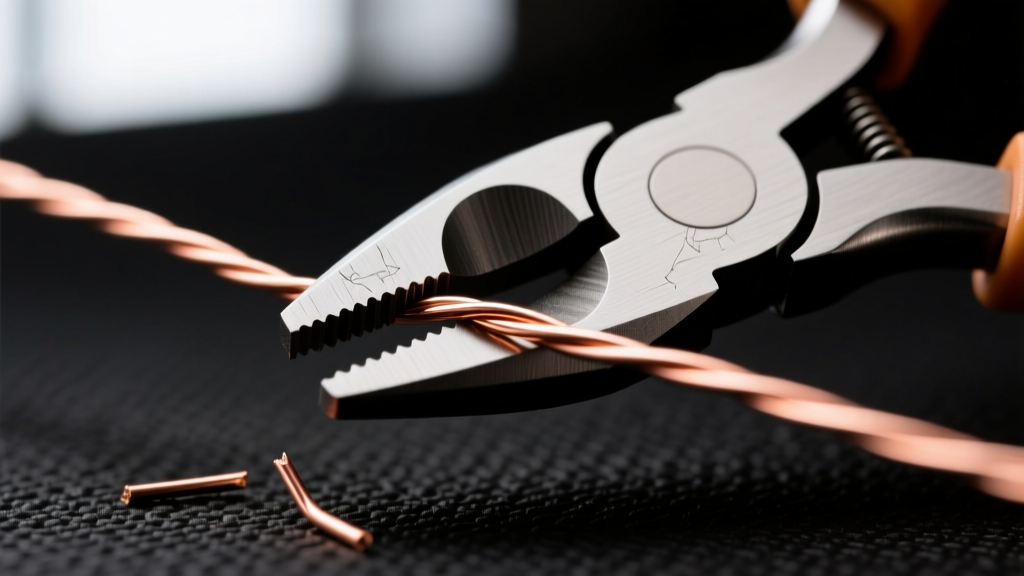
Step-by-Step: Crafting the Perfect Wrapped Loop
The wrapped loop is the hallmark of professional wire jewelry. It secures beads permanently and adds an elegant, structural element to earrings and pendants. For this guide, we will use 20-gauge dead-soft sterling silver wire and a standard headpin.
Step 1: The 90-Degree Bend
Thread your bead onto the headpin. Using your chain-nose pliers, grip the wire exactly 1.5 inches above the top of the bead. Apply firm, steady pressure to bend the wire at a perfect 90-degree angle. Expert Tip: Do not wiggle the pliers to adjust the angle. Wiggling work-hardens the wire at the joint, creating a weak point that will snap during the wrapping phase.
Step 2: Forming the Loop
Switch to your round-nose pliers. Grip the very tip of the 90-degree bend with the upper jaw of the pliers. The further down the conical jaw you place the wire, the larger your loop will be. For standard ear wires and chain links, mark your round-nose pliers with a permanent marker at the 2mm diameter point to ensure every loop you create is identically sized. Roll your wrist away from you to form a complete circle, stopping when the tail crosses the center of the loop.
Step 3: The Wrap and Trim
Remove the round-nose pliers and grip the newly formed loop securely with your chain-nose pliers. With your free hand, wrap the tail wire tightly around the stem, directly above the bead. Make 2 to 3 tight, adjacent coils. Finally, use your flush cutters (flat side facing the bead) to snip the excess tail. Use the very tip of your chain-nose pliers to gently squeeze the cut end inward so it sits flush against the coil, preventing snags.
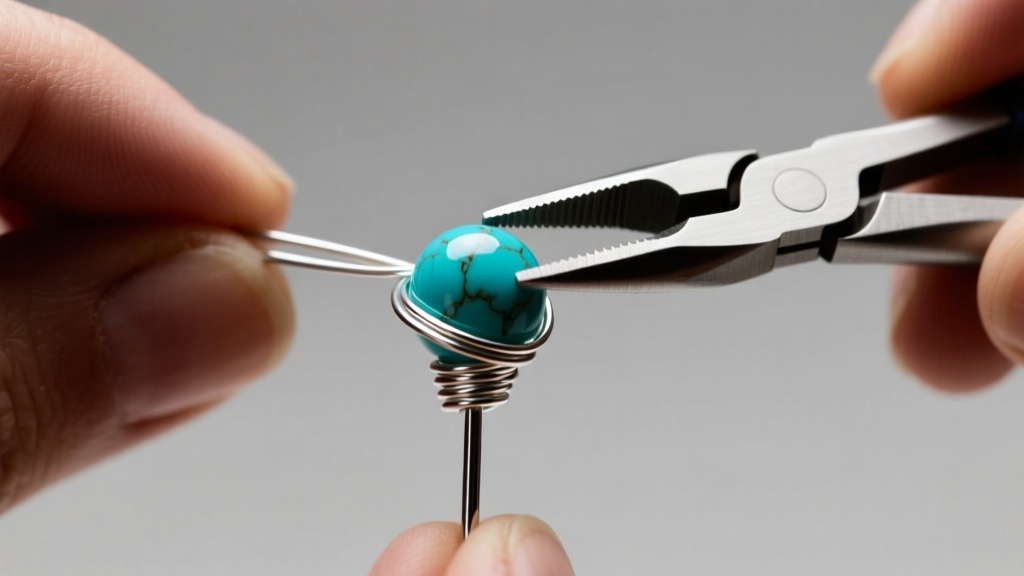
Step-by-Step: Mastering Jump Ring Manipulation
Jump rings are the connective tissue of chainmaille and general jewelry assembly. Improperly opened jump rings will warp into ovals and lose their structural integrity.
- The Golden Rule: Never pull the ends of a jump ring apart laterally (outward). This distorts the circle into an oval and weakens the metal.
- The Twist Method: Hold the jump ring with two pairs of pliers (one chain-nose, one flat-nose) positioned at 3 o'clock and 9 o'clock.
- Execution: Push one hand away from you while pulling the other hand toward you. This creates a spiral twist that opens the ring while maintaining its perfect circular shape.
- Closing: Reverse the twisting motion. To ensure a seamless, flush closure, slightly over-close the ring, then gently twist it back to the center. This creates tension that locks the seam tightly shut, preventing the ring from pulling apart under the weight of a pendant.
Troubleshooting Common Wire Wrapping Failures
Even with a premium pliers set for jewelry, technique errors can ruin a piece. Here is how to diagnose and fix the most common issues encountered by DIY makers:
Problem: Tool marks and scratches on the wire.
Diagnosis: You are either using pliers with serrated teeth, or you are gripping the wire with excessive force. Dead-soft metals like fine silver and 24k gold require a remarkably light touch. If you must grip tightly, invest in nylon jaw inserts or coat your plier tips in tool dip to create a protective, non-marring barrier.
Problem: The wrapped loop sits at an angle and won't rest flush against the bead.
Diagnosis: Your initial 90-degree bend was not sharp enough, or you placed the round-nose pliers too far up the wire tail. The loop must be formed exactly at the apex of the bend.
Problem: The wire snaps while wrapping the tail.
Diagnosis: You are using half-hard wire for tight coils, or you have bent the wire back and forth, causing severe work-hardening. Switch to dead-soft wire for wrapped loops, as it has a higher tolerance for tight manipulation before reaching its breaking point.
Maintenance: Preserving Your Tool Investment
A high-end pliers set for jewelry can last a lifetime if properly maintained. The pivot joint is the most vulnerable component. Over time, metal dust and skin oils accumulate in the joint, causing stiffness and jaw misalignment.
Pro-Tip: Once a month, place a single drop of lightweight synthetic oil (like 3-in-One) directly into the pivot joint of each tool. Open and close the pliers repeatedly to work the oil in, then wipe away any excess with a microfiber cloth. Never use heavy greases, as they will attract abrasive metal filings.
Store your tools in a dry environment with silica gel packets to prevent rust, especially if you live in a high-humidity climate. If your pliers develop surface rust, do not use sandpaper to remove it; instead, use a brass wire brush and a mild solvent to preserve the precise machining of the jaws.
Final Thoughts
Mastering your pliers set for jewelry is less about brute force and more about understanding the physics of metal and the geometry of your tools. By respecting the bevel rule on your cutters, utilizing the taper of your chain-nose pliers, and leveraging the conical shape of your round-nose pliers, you will elevate your DIY jewelry from amateur crafts to professional-grade wearables. Practice your 90-degree bends and jump ring twists on inexpensive copper wire before moving to precious metals, and your muscle memory will soon make these techniques second nature.


