Choosing Crystals for Jewelry Making: A Beginner's Hardness Guide
Learn how to choose the best crystals for jewelry making. This beginner guide covers Mohs hardness, wire wrapping, and drilling techniques.

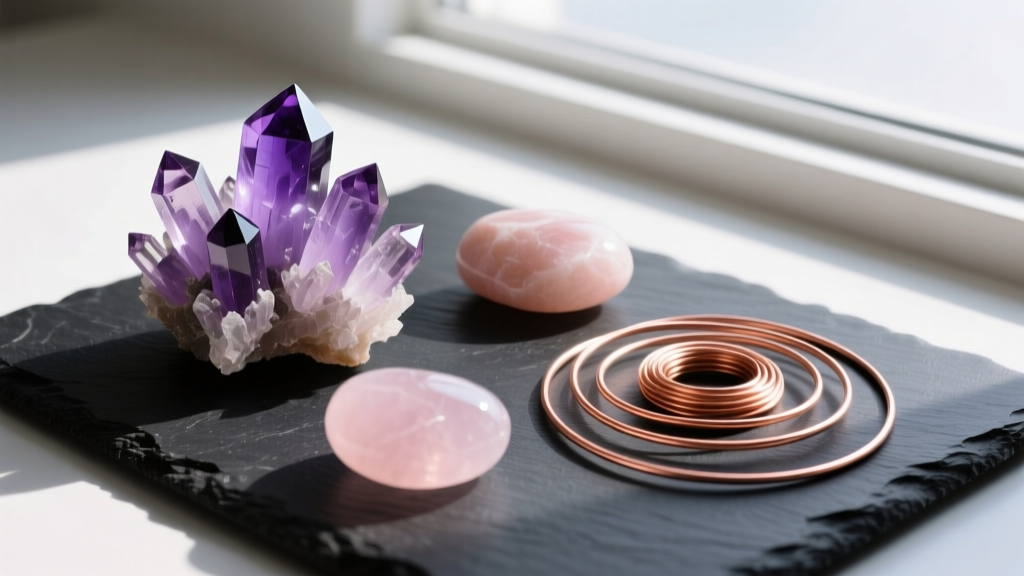
The Hidden Trap of Beginner Crystal Jewelry
There is a distinct thrill in holding a beautiful, raw mineral and envisioning it as a wearable piece of art. However, the transition from a stunning geological specimen to a durable piece of jewelry is fraught with structural pitfalls. Many novices purchase stunning stones online, only to watch them crack under the pressure of pliers or shatter during the drilling process. The secret to successfully selecting crystals for jewelry making lies not just in their color or metaphysical properties, but in their structural geology. Understanding how different minerals react to mechanical stress is the single most important skill you can develop as a beginner jewelry artisan.
Before you buy your first spool of wire or diamond drill bit, you must learn to categorize your materials by their physical durability. This guide will walk you through the essential frameworks for selecting, prepping, and working with crystals, ensuring your finished pieces are both beautiful and structurally sound.
The Mohs Scale: Your Blueprint for Crystal Selection
The Mohs Hardness Scale, developed in 1812 by German geologist Friedrich Mohs, ranks minerals from 1 (talc) to 10 (diamond) based on their resistance to scratching. For jewelry makers, this scale dictates two critical factors: wearability (will it survive daily use?) and workability (can I drill or wrap it without breaking it?).
According to the Mindat Mineralogy Database, the Mohs scale is non-linear. The jump in absolute hardness between a 7 (Quartz) and a 9 (Corundum) is massive. Here is how you should categorize common crystals for jewelry making based on their Mohs rating:
| Crystal Type | Mohs Hardness | Best Jewelry Application | Workability Notes |
|---|---|---|---|
| Selenite / Halite | 2.0 | Pendants (occasional wear) | Never drill. Wrap with extreme care; wire will easily bite into the stone. |
| Fluorite / Malachite | 3.5 - 4.0 | Earrings, Pendants | Avoid rings. Drill only with diamond bits and heavy water lubrication. |
| Labradorite / Moonstone | 6.0 - 6.5 | All jewelry types | Watch for cleavage planes; these stones can split if struck on a specific axis. |
| Amethyst / Citrine | 7.0 | Rings, Bracelets, Pendants | Excellent durability. Safe for drilling and tight wire wrapping. |
| Sapphire / Ruby | 9.0 | Everyday Rings | Requires specialized sintered diamond core bits to drill. |
Pro Tip: Any crystal with a Mohs hardness below 7 is susceptible to scratching by airborne quartz dust (which is everywhere). If you are making bracelets or rings, stick to stones rated 7 or higher to prevent the surface from becoming dull and cloudy over time.
Raw vs. Tumbled: Which Crystals Should You Buy?
When sourcing crystals for jewelry making, you will encounter two primary finishes: raw (rough) and tumbled. Each requires a vastly different approach to design and pricing.
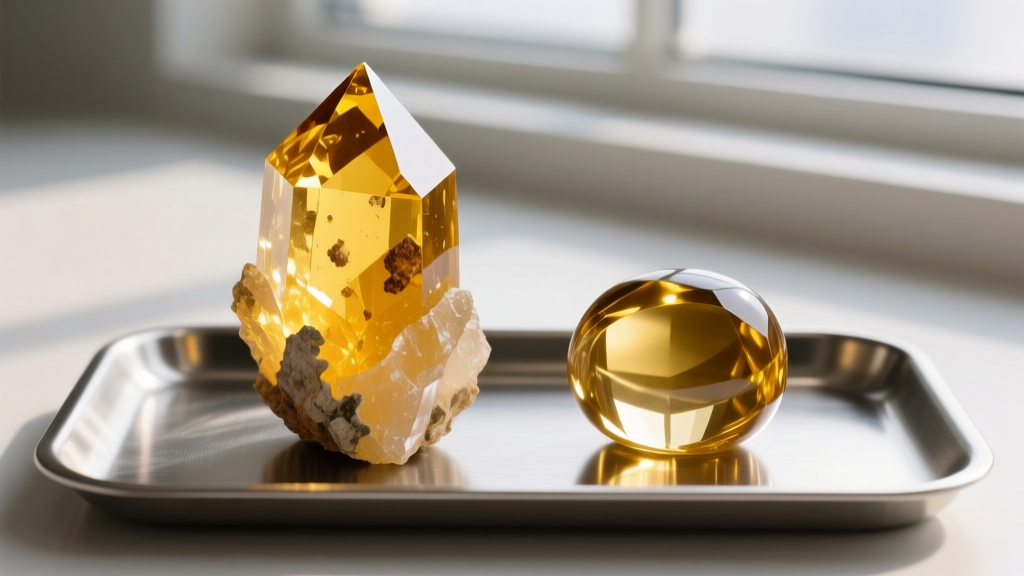
Working with Raw (Rough) Crystals
Raw crystals offer an organic, earthy aesthetic that is highly sought after in the bohemian and spiritual jewelry markets. However, their jagged edges and natural inclusions make them fragile.
- Prep Work: Raw stones often harbor dirt and clay in their crevices. Clean them using a soft toothbrush and mild dish soap. Avoid ultrasonic cleaners, as the high-frequency vibrations can exploit natural micro-fractures and shatter the stone.
- Pricing: Raw amethyst points typically cost between $2.00 and $6.00 per piece, depending on color saturation and clarity.
- Design Strategy: Use a "caging" technique with 24-gauge base wire and 28-gauge weaving wire. Do not attempt to bend wire tightly around sharp, raw points; instead, cradle the stone and weave the wire over the broad, flat facets.
Working with Tumbled Stones
Tumbled stones are polished in rotary machines with abrasive grit, resulting in smooth, rounded pebbles. They are incredibly beginner-friendly.
- Prep Work: Wipe down with a microfiber cloth to remove polishing oils. If the stone is highly porous (like turquoise or lapis lazuli), apply a thin coat of clear UV resin to seal the surface before wrapping.
- Pricing: Tumbled stones are highly economical, often ranging from $0.30 to $1.50 per piece when bought in bulk lots.
- Design Strategy: Because they lack natural grooves, tumbled stones are notoriously slippery. You must create a "locking" wire wrap, where the top bail wire crosses over the front and back of the stone simultaneously to create friction and prevent the stone from sliding out of the setting.
Wire Wrapping vs. Drilling: Matching Technique to Hardness
One of the most common questions beginners ask is whether they should drill a hole through their crystal or wrap it in wire. The answer is dictated by the stone's internal structure and hardness.
When to Wire Wrap
Wire wrapping is the safest, most non-destructive method for setting stones. It is mandatory for any crystal with a Mohs hardness below 5, or any raw stone with visible internal fracturing. When selecting wire, reputable suppliers like Rio Grande recommend starting with pure copper or brass for practice before moving to sterling silver.
For a standard pendant wrap, use 20-gauge (0.81mm) half-hard wire for the structural frame and bail, and 28-gauge (0.32mm) dead-soft wire for the decorative weaving. Half-hard wire holds its shape under tension, while dead-soft wire bends easily without work-hardening and snapping.
When to Drill
Drilling is ideal for beads, pendants with a minimalist aesthetic, and stones with a Mohs hardness of 7 or above.
Critical Failure Mode: Never use standard High-Speed Steel (HSS) or titanium twist bits on quartz-family stones (amethyst, citrine, agate). The quartz will instantly dull the metal bit, generating immense friction heat that leads to thermal shock and catastrophic stone failure.
The Correct Drilling Protocol:
- Use a 1.5mm diamond-tipped core drill bit.
- Submerge the stone in a shallow tray of water, or use a continuous drip system. Water acts as both a coolant and a lubricant, preventing the diamond grit from burning out.
- Use a Dremel or flex-shaft tool at a medium speed (10,000 - 15,000 RPM) with very light, pulsing downward pressure. Let the diamond grit do the cutting, not your arm strength.
Essential Tools and Material Grades for Beginners
You do not need an expensive studio to start making crystal jewelry, but you do need the correct metallurgy and tools. Using the wrong pliers will mar your wire and frustrate your learning process.
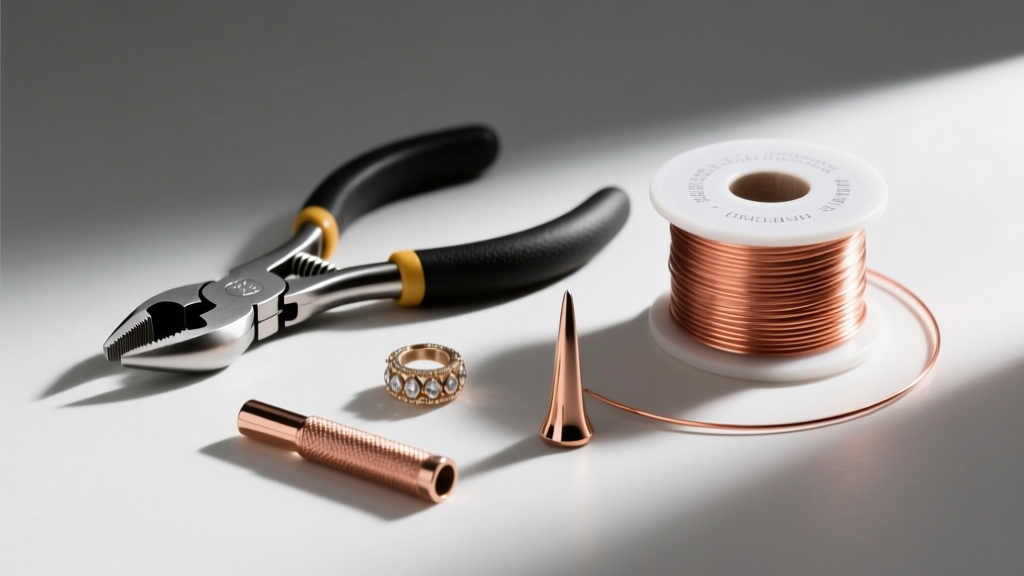
The Non-Negotiable Toolkit
- Flush Cutters: Essential for making perfectly flat wire cuts. Never use standard hardware store wire snips, as they pinch the wire into a sharp, jagged point that will scratch your crystals.
- Nylon Jaw Pliers: These feature soft, replaceable nylon pads on the jaws. They allow you to grip and bend half-hard wire without leaving ugly, permanent tool marks on the metal.
- Round Nose Pliers: Used exclusively for creating loops, bails, and jump rings. Look for a pair with a smooth, polished finish to prevent marring.
- Mandrel or Dowel: A simple wooden or steel mandrel is necessary for forming consistent, perfectly round jump rings and bails.
Understanding Wire Temper
Beginners often overlook "temper," which refers to how hard the metal is.
Dead-Soft: Extremely pliable. Best for weaving and wrapping around stones. It work-hardens (stiffens) as you bend it.
Half-Hard: Offers a balance of malleability and structural integrity. Best for making ear wires, jump rings, and the structural frames of pendants.
Full-Hard: Very stiff and brittle. Rarely used in beginner wire wrapping, but useful for making rigid clasps or pins.
Troubleshooting Common Beginner Mistakes
Even with the right knowledge of crystals for jewelry making, mechanical errors happen. Here is how to troubleshoot the most frequent beginner pitfalls, drawing on technical advice from jewelry fabrication resources like Ganoksin.
Problem: The Wire Keeps Slipping Off the Tumbled Stone
The Cause: Tumbled stones lack natural friction points, and smooth wire slides right off polished surfaces.
The Fix: Create a "figure-8" cross-wrap at the top of the stone. Additionally, you can apply a microscopic drop of jeweler's epoxy or clear UV resin to the inside of the wire where it touches the stone to create a permanent, invisible grip.
Problem: The Wire is Snapping While Weaving
The Cause: You are experiencing "work hardening." Every time you bend metal, its crystalline structure compresses, making it harder and more brittle until it snaps.
The Fix: Switch to a thinner gauge wire for weaving (28g or 30g), or anneal your wire. For copper and silver, annealing involves heating the wire with a torch until it glows a dull cherry red, then quenching it in water. This resets the crystalline structure, making it dead-soft again.
Problem: Crushing Soft Stones During Wrapping
The Cause: Applying too much tension when pulling the weaving wire tight, especially on stones like fluorite or calcite.
The Fix: Never pull weaving wire with sheer brute force. Use your thumb to press the wire flat against the frame, rather than pulling it taut with pliers. For extremely soft stones, coat the stone in a thin layer of clear nail polish or UV resin before wrapping to create a protective, shock-absorbing shell.
Final Thoughts on Crystal Selection
Mastering the use of crystals for jewelry making is a journey of respecting the material. By treating the Mohs scale as your primary decision-making framework, selecting the correct wire temper, and matching your setting technique to the stone's physical properties, you will transition from a frustrated hobbyist to a confident jewelry artisan. Start with forgiving materials like tumbled agate or raw quartz points, master your wire tension, and gradually work your way up to the more fragile, breathtaking specimens that the earth has to offer.


