DIY Forever Linked Permanent Jewelry: A Beginner Guide
Learn how to create forever linked permanent jewelry at home. Discover entry-level micro welders, chain gauges, and safety tips for beginners.

The Shift Toward Seamless Adornment
The jewelry industry has seen a massive shift toward clasp-free, seamless designs, and at the heart of this movement is forever linked permanent jewelry. Unlike traditional bracelets or necklaces that rely on lobster clasps and jump rings, permanent jewelry is custom-fitted to the wearer and welded closed, creating a continuous loop of metal. For DIY jewelry makers and aspiring entrepreneurs, mastering this technique offers a unique blend of artistic satisfaction and high-margin business potential. However, moving from traditional beading or wire wrapping to micro-welding requires a solid understanding of metallurgy, specialized equipment, and safety protocols. This guide breaks down exactly how to begin your journey into crafting seamless chains from your home studio.
Choosing Your DIY Method: Pulse Arc vs. Soldered Rings
When creating forever linked permanent jewelry, you essentially have two paths. The industry standard involves a pulse arc welder, but there is also a no-welder alternative for absolute beginners testing the waters.
Path A: The Entry-Level Pulse Arc Welder
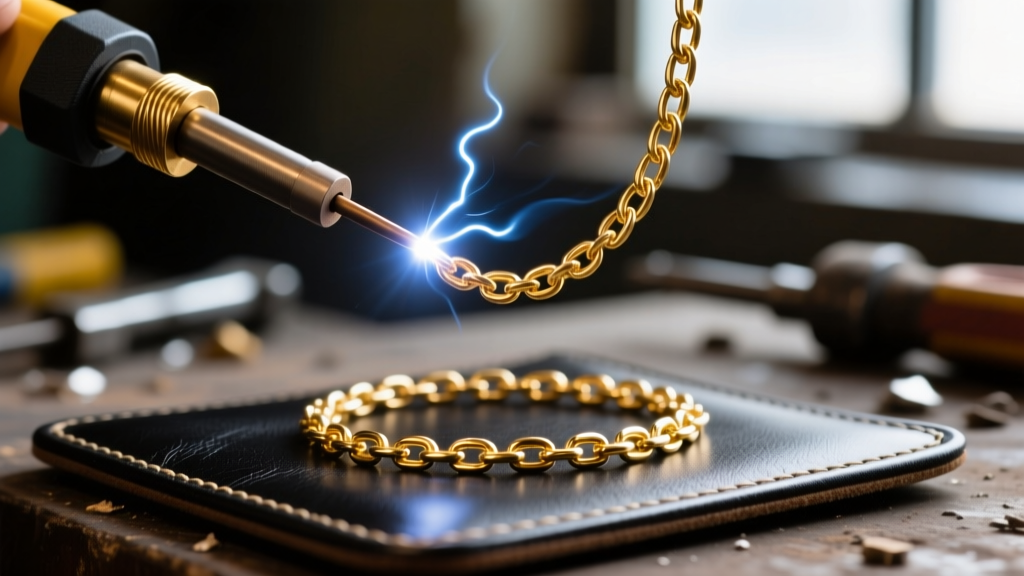
True permanent jewelry is fused using a pulse arc welder. This machine uses a high-frequency electrical arc to melt the metal at the exact point where the two chain links meet, fusing them without the need for solder or flux. Entry-level imported pulse arc welders can be found for $400 to $800, while professional-grade models from brands like Sunstone Welders range from $1,500 to over $5,000. You will also need an argon gas tank and regulator, which typically costs around $150 to $200 to rent or buy locally. The argon gas shields the weld pool from oxygen, preventing oxidation and ensuring a clean, bright seam.
Path B: The No-Welder Alternative
If you are not ready to invest in a welder, you can mimic the permanent jewelry experience using pre-soldered closed jump rings and high-quality crimp covers. By threading the chain through a soldered ring and using a flush cutter to trim the excess, you can create a semi-permanent link. While not truly "welded," this method allows you to practice custom sizing, chain handling, and client consultations before upgrading your equipment.
Material Science: Selecting the Right Chains
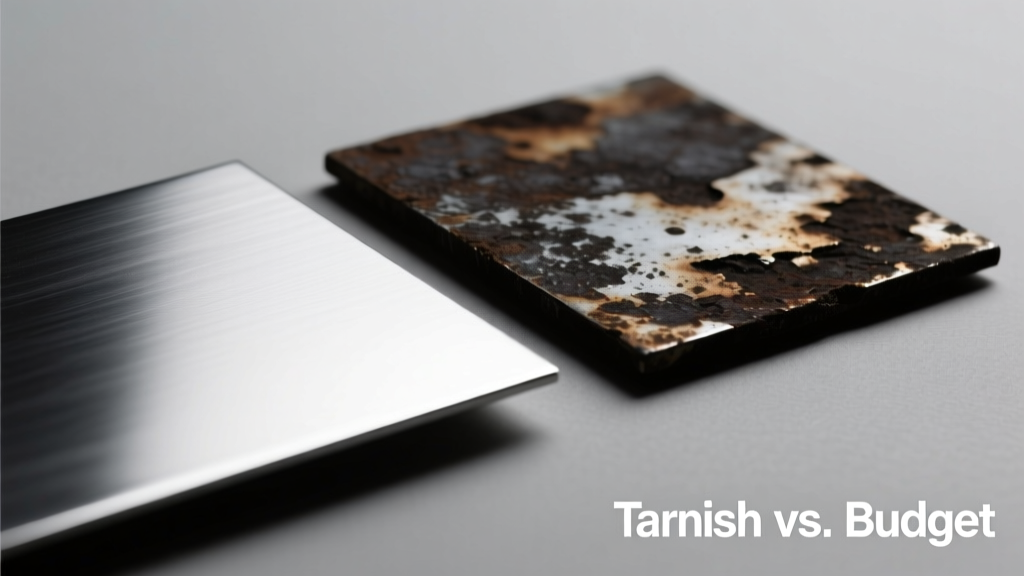
The success of your forever linked permanent jewelry depends heavily on the materials you choose. Not all metals react well to pulse arc welding. According to the metallurgical guidelines provided by Rio Grande, metals with high zinc or brass content can vaporize under the intense heat of an electrical arc, causing porosity and weak welds. Always avoid cheap plated brass chains, as the base metal will burn and the plating will flake, leading to severe skin reactions for the wearer.
Chain Specifications and Pricing
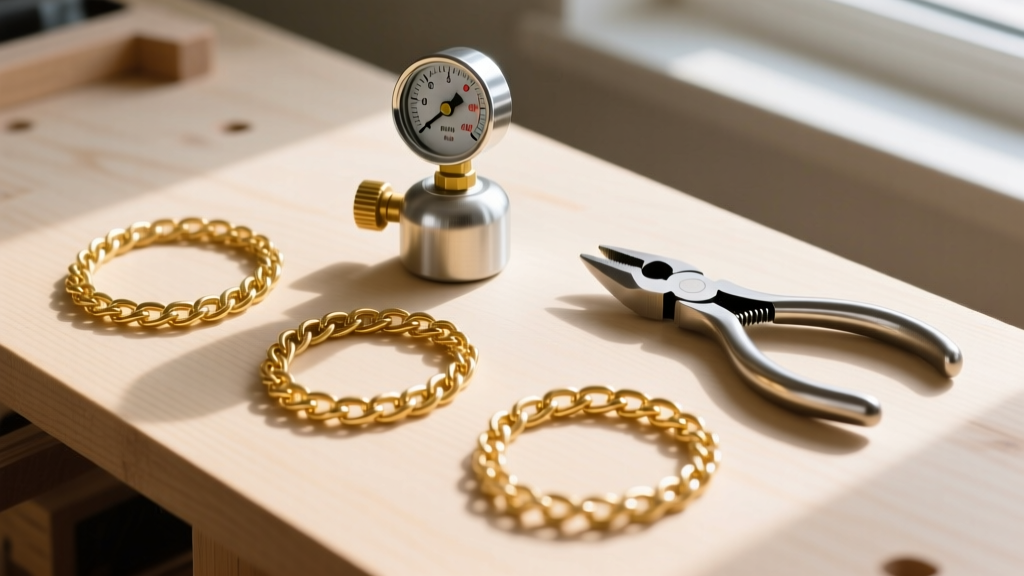
For beginners, 14k gold-filled chain is the ultimate sweet spot. It offers the look and durability of solid gold at a fraction of the cost, and the thick outer layer of gold welds beautifully. Below is a breakdown of the most common materials used in permanent jewelry:
| Material | Recommended Gauge/Thickness | Welding Characteristics | Wholesale Price Range (per inch) |
|---|---|---|---|
| 14k Gold Filled | 1.2mm - 1.5mm | Excellent; requires medium energy settings | $1.50 - $3.00 |
| Solid 14k Gold | 1.0mm - 1.4mm | Superior; melts cleanly, highly durable | $15.00 - $25.00 |
| Sterling Silver | 1.2mm - 1.6mm | Good; high thermal conductivity requires faster pulse | $2.00 - $4.00 |
| Plated Brass | N/A (Avoid) | Poor; zinc vaporizes, causes porous and weak welds | $0.20 - $0.50 |
Step-by-Step: Crafting Your First Linked Bracelet
Once you have your pulse arc welder, argon gas, and 1.4mm 14k gold-filled cable chain, you are ready to make your first piece. Follow this precise workflow to ensure a seamless finish:
- Measure and Cut: Wrap the chain around the wrist, leaving a half-inch for comfort. Use high-quality flush cutters to snip the chain. Ensure the cut is perfectly flat so the two end links sit flush against each other.
- Align the Links: Place the chain on a fireproof leather welding pad. Use a pair of fine-tipped tweezers to push the two end links together. They must overlap slightly or touch perfectly; any gap will result in a failed weld.
- Set the Argon Flow: Turn on your argon gas and set the regulator to 1.5 to 2.0 Cubic Feet per Hour (CFH). This gentle flow is enough to shield the micro-weld without blowing the delicate chain links out of alignment.
- Execute the Weld: Lower the tungsten electrode until it is roughly 1mm above the seam. Press the foot pedal. The arc will flash, fusing the metal in a fraction of a second.
- Inspect and Polish: Examine the weld under a jeweler's loupe. If successful, use a fiberglass scratch brush or a polishing cloth to gently buff the weld spot, restoring the chain's high-shine finish.
Troubleshooting Common Micro-Welding Flaws
Even experienced jewelers encounter issues when welding fine chains. Understanding how to read your weld marks is crucial for mastering forever linked permanent jewelry.
- Dark Soot or Oxidation: If the weld spot turns black or gray, your argon gas flow is too low, or there is a draft in your room disrupting the gas shield. Increase the CFH slightly and block any nearby fans or AC vents.
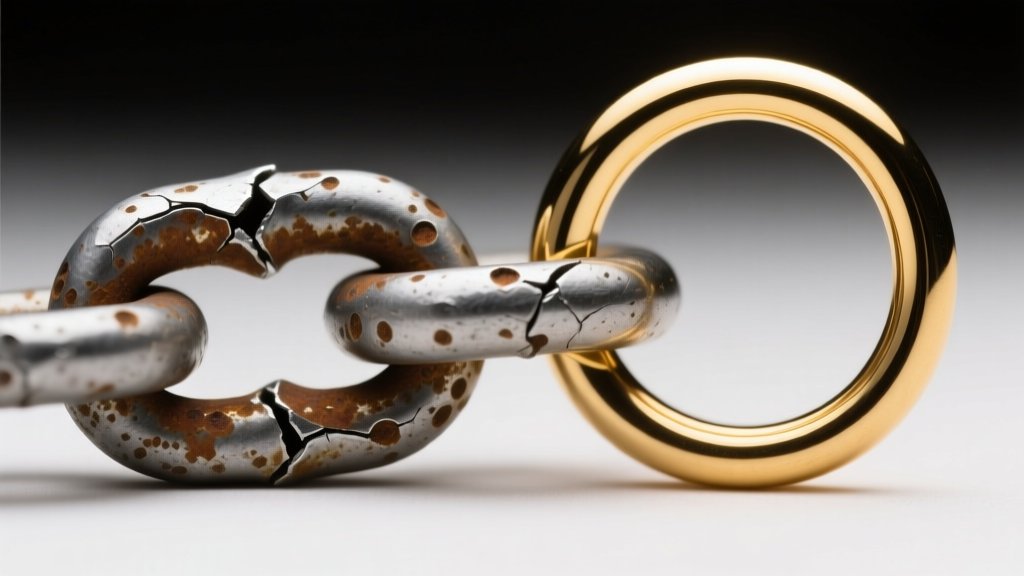
- Weak or Brittle Welds: If the chain snaps easily at the weld point, the energy setting on your welder is too low. The metal is merely "tacking" rather than fully penetrating. Increase the wattage or voltage by 5% increments.
- Blown Links (Holes): If the arc blows a hole through the delicate chain link, your energy is too high, or the electrode was held too close to the metal. Raise the electrode slightly and reduce the power setting.
Workspace Safety and Ergonomics
Micro-welding is generally safe, but it involves intense light and electricity. Never look directly at the arc flash without proper protection. You must wear specialized welding glasses with a Shade 3 or higher lens to protect your retinas from UV and infrared radiation. Additionally, ensure your workspace is well-ventilated. While welding gold and silver produces minimal fumes compared to industrial welding, vaporized metal particulates and argon gas displacement require a room with good airflow. Always keep a small fire extinguisher nearby and work exclusively on fire-resistant surfaces like ceramic tiles or specialized leather welding pads. By respecting the equipment and mastering the metallurgy, you can build a thriving, creative practice in the permanent jewelry space.