Crimp Beads Jewelry Making: The Ultimate Beginner Guide
Master crimp beads jewelry making with our beginner guide. Learn wire sizes, tool techniques, and troubleshooting for secure, professional finishes.

The Heartbreak of a Shattered Necklace
Every beader has experienced the sinking feeling of hearing a snap, followed by the clatter of expensive gemstones hitting the floor. In the world of DIY jewelry, the weakest point of any strung piece is almost always the clasp connection. This is where mastering crimp beads jewelry making transitions your work from amateur crafts to professional-grade design. A crimp is not merely a stopper; it is a mechanical lock that bears the entire kinetic load of your jewelry. In this comprehensive guide, we will dismantle the physics of crimping, explore exact material grades, and provide a fail-proof framework for securing your designs.
Understanding Beading Wire: The Foundation of the Crimp
Before you can successfully fold a crimp, you must understand the wire passing through it. Nylon-coated stainless steel beading wire is the industry standard, but not all spools are created equal. The drape, strength, and kink-resistance of your wire are dictated by its strand count. According to the Soft Flex Company's wire guide, strand count drastically alters how a crimp bites into the metal:
- 7-Strand Wire: The most economical but highly prone to kinking. It is stiff and behaves more like a thick thread. Crimps can easily slice through the thin nylon coating if over-squeezed.
- 19-Strand Wire: A middle-ground option offering decent drape and strength. Ideal for structured pieces and lighter glass beads.
- 49-Strand Wire: The professional standard. It drapes as fluidly as silk thread while maintaining the tensile strength of steel. The dense bundle of micro-strands fills the interior of a crimp tube perfectly, creating maximum friction when compressed.
Crimp Tubes vs. Round Crimp Beads: A Material Showdown
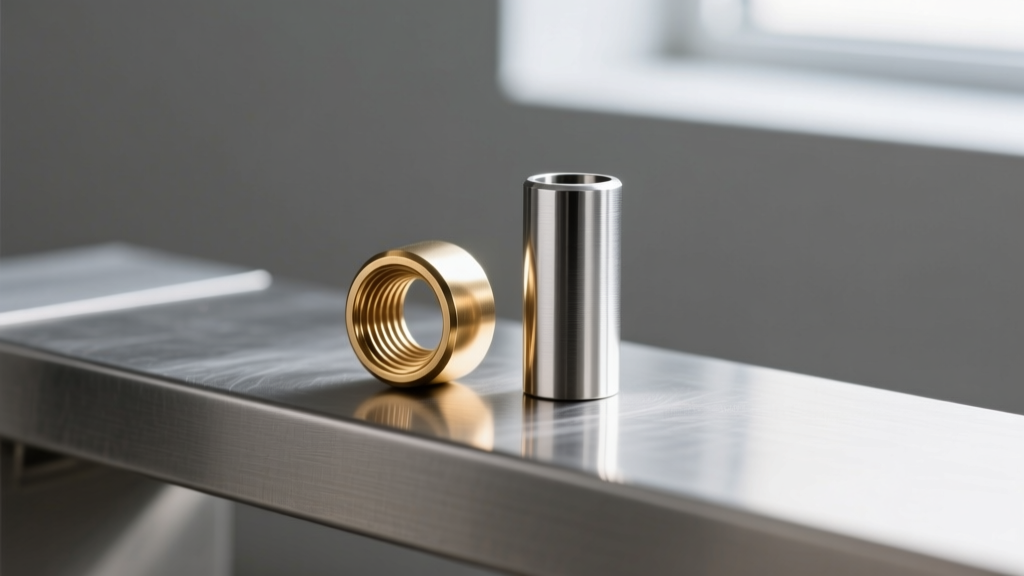
Beginners often grab whatever is cheapest in the bead aisle, which usually means round, base-metal crimp beads. This is a critical mistake. For reliable crimp beads jewelry making, cylindrical crimp tubes made of sterling silver are vastly superior.
Why Shape Matters
Round crimp beads are spherical. When squeezed with pliers, they tend to smash unpredictably, often leaving sharp, jagged edges that act like tiny guillotines against your beading wire. Cylindrical crimp tubes, however, are designed to fold. When used with specialized crimping pliers, a tube collapses inward and rolls over onto itself, encapsulating the wire in a smooth, rounded metal bead.
Why Metal Grade Matters
Sterling silver (.925) is a relatively soft, malleable alloy. When you apply pressure, the silver yields and folds smoothly, creating a tight, uniform lock. Base metals, like brass or copper-plated zinc, are harder and more brittle. Instead of folding cleanly, they tend to crack, split, or develop micro-fractures that eventually snap under the tension of a heavy necklace. Always invest in sterling silver or high-quality gold-filled crimp tubes for pieces you intend to sell or gift.
The Crimp Size Matrix: Matching Wire to Metal
Using a 3mm tube on a fine .012-inch wire will result in a loose, slipping crimp. Using a 1mm tube on a heavy .024-inch wire will prevent the wire from passing through. Use this matrix to match your materials perfectly:
| Wire Diameter | Crimp Tube Size | Best Application |
|---|---|---|
| .012" (Extra Fine) | 1x1mm or 2x2mm | Freshwater pearls, lightweight gemstones, illusion necklaces |
| .015" (Fine) | 2x2mm | Standard glass beads, Swarovski crystals, seed bead weaving |
| .019" (Medium) | 2x2mm or 2x3mm | Heavy gemstones, metal beads, multi-strand clasps |
| .024" (Heavy) | 3x3mm or 3x4mm | Large focal beads, heavy jasper, multi-strand statement pieces |
Step-by-Step: The Two-Notch Plier Technique
To execute a flawless fold, you need a dedicated pair of crimping pliers. These pliers feature two distinct notches: a U-shaped notch near the handle, and an oval-shaped notch near the tip. As detailed in Beadalon's official crimping tutorial, the process relies on a specific sequence of compressions.
Step 1: The Setup
Thread your beading wire through the crimp tube, through the jump ring or clasp, and then back down through the crimp tube. Pull the wire tight, leaving a 2-inch tail. Ensure both wires inside the tube are lying parallel to each other, not crossed or twisted.
Step 2: The U-Notch (The Fold)
Place the crimp tube upright in the back U-shaped notch of the pliers. Squeeze the handles firmly. The U-notch will push the center of the tube inward, creating a crescent or 'U' shape, with the two wires separated into their own individual channels.
Step 3: The Oval Notch (The Roll)
Rotate the crimp 90 degrees so it is resting on its edge (looking like a 'C' from the top down). Place it into the front oval-shaped notch. Squeeze the pliers gently but firmly. The oval notch will fold the 'C' in half, rolling the metal over onto itself and trapping the wires securely inside a neat, rounded bead.
Troubleshooting Common Crimping Failures
Even with the right tools, beginners encounter frustrating failure modes. Here is how to diagnose and fix them:
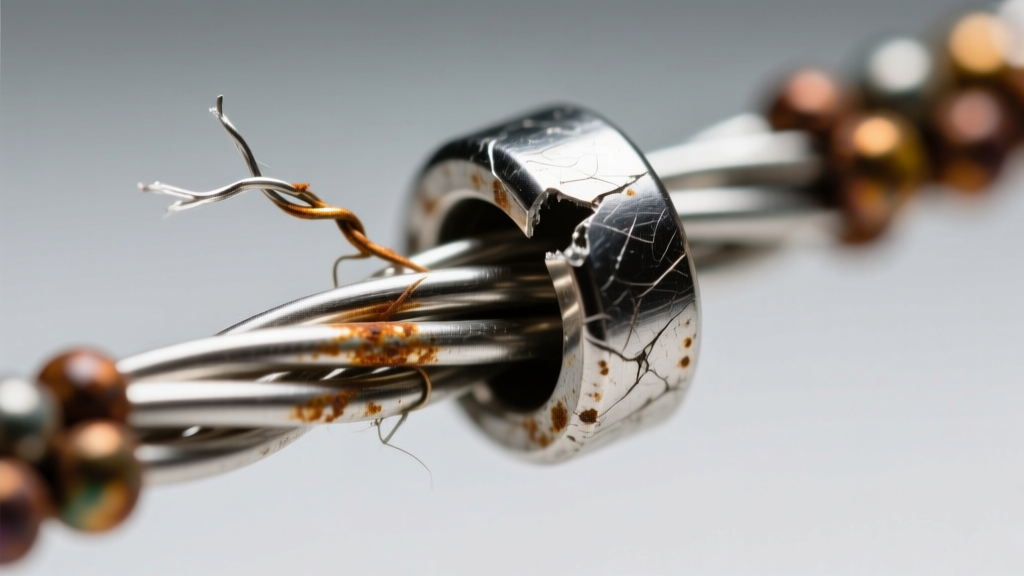
- The Wire Shear: If your wire is snapping right at the edge of the crimp, you are likely using cheap base-metal round beads with sharp interior burrs. Switch to seamless sterling silver tubes and always use a wire guardian (French wire) at the clasp loop to prevent friction wear.
- The Slip: If the crimp slides down the wire after folding, the tube was too large for the wire gauge, or you failed to pull the tail taut before the final squeeze. Always tug the tail wire firmly right before engaging the oval notch.
- The Crushed Tube: If the metal flattens into a jagged mess instead of rolling, your crimping pliers may have misaligned jaws, or you are using the wrong notch. Ensure the tube is perfectly vertical in the U-notch before squeezing.
Upgrading Your Finish with Crimp Covers
While a perfectly folded crimp tube is neat, it still looks like a mechanical component. To elevate your crimp beads jewelry making to a retail-ready finish, use crimp covers. These are small, hollow, C-shaped metal beads (usually 3mm or 4mm) designed to snap over the folded crimp.
To apply a crimp cover, place it over your folded tube and use the very tips of your chain-nose pliers to gently push the two halves together. Roll the cover between your fingers to ensure it is perfectly spherical. The Fire Mountain Gems Encyclopedia recommends buying crimp covers that are exactly 1mm larger than your folded crimp to ensure a flush, seamless closure that mimics a solid metal bead.
Final Thoughts on Jewelry Security
Mastering the crimp is the single most important technical skill a beader can develop. By investing in 49-strand wire, sterling silver tubes, and precision pliers, you eliminate the anxiety of broken jewelry. Take the time to practice the two-notch fold on scrap wire before committing to your expensive gemstones, and your designs will stand the test of time.


