How to Make Breast Milk Jewelry: A Beginner's Preservation Guide
Learn how to make breast milk jewelry with our beginner guide. Master milk preservation, resin mixing, and casting to prevent yellowing and spoilage.

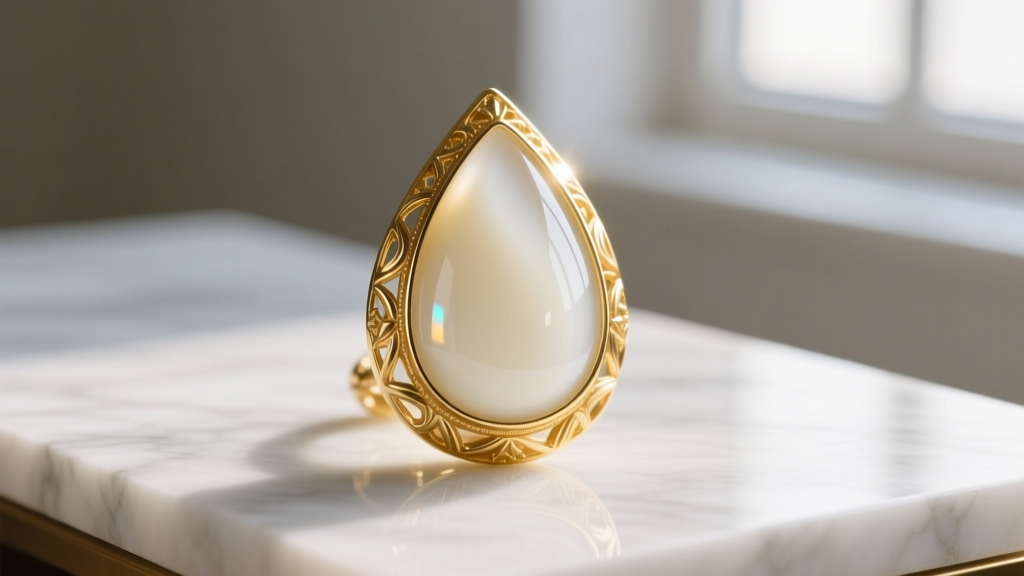
The Science of Breast Milk Preservation
Learning how to make breast milk jewelry is a deeply rewarding process that transforms a fleeting stage of motherhood into a permanent, wearable keepsake. However, unlike traditional beading or wire wrapping, working with biological materials requires a strict understanding of organic chemistry. Breast milk is composed of water, lipids (fats), proteins, and lactose (sugars). If encapsulated in resin without proper treatment, the fats will oxidize and turn rancid, the proteins will degrade and cause foul odors, and the water will create cloudy bubbles or prevent the resin from curing entirely.
The foundational step in this craft is preservation. You must remove the moisture and stabilize the organic compounds before the milk ever touches resin. According to the CDC breast milk handling guidelines, milk is highly susceptible to bacterial growth at room temperature, making a sterile, controlled preservation environment mandatory for jewelers.
Heat Treatment vs. Chemical Desiccation
There are two primary schools of thought for preserving milk: thermal pasteurization and chemical desiccation. Many professional artisans use a hybrid approach to guarantee longevity.
| Method | Process Overview | Pros | Cons |
|---|---|---|---|
| Heat Treatment | Gently simmering milk at 180°F (82°C) to evaporate water and denature proteins. | Kills bacteria; no chemical additives required. | Risk of scorching lactose, which causes severe yellowing. |
| Chemical Powder | Mixing milk with preservation powders (arrowroot, cornstarch, citric acid). | Retains bright white color; lower risk of heat damage. | Can result in a grainy texture if not sifted properly. |
| Hybrid Approach | Low-heat reduction followed by chemical stabilization. | Maximum shelf life; optimal color retention. | Time-consuming; requires precise temperature control. |
For beginners, the chemical powder method is the safest entry point. By mixing 5ml of breast milk with 1.5 grams of a specialized breast milk preservation powder (which typically contains food-grade citric acid to lower the pH and inhibit bacterial growth, alongside a desiccant like arrowroot), you create a stable, thick paste. Allow this paste to dry completely in a sterile, dust-free environment for 24 to 48 hours until it reaches a chalk-like consistency.
Choosing the Right Resin for Milky Inclusions
Once your milk is preserved, the next critical decision is selecting your casting medium. Not all resins are created equal, and using the wrong type is the leading cause of yellowing and structural failure in sentimental jewelry.
Epoxy vs. UV Resin: Which is Better?
While UV resin is popular in general DIY jewelry making for its rapid cure times, it is generally not recommended for breast milk jewelry. UV resin tends to shrink significantly during the curing process, which can pull the resin away from the edges of your bezel. Furthermore, UV resins are highly prone to yellowing when exposed to the very UV light required to cure them.
Instead, opt for a jewelry-grade, non-yellowing epoxy resin. High-quality epoxies contain HALS (Hindered Amine Light Stabilizers) and UV inhibitors that protect the organic inclusions from photodegradation. As noted in ArtResin's comparison of UV and epoxy resins, a premium 1:1 epoxy formulated specifically for art and jewelry will remain crystal clear for decades when used correctly.
Step-by-Step: Mixing and Casting Your First Pendant
Accuracy is paramount when working with two-part epoxy. Here is a professional-grade workflow for casting a standard 15mm silicone mold pendant.
- Prepare Your Workspace: Ensure your room is between 72°F and 75°F (22°C - 24°C). Epoxy requires ambient warmth to cure properly. Wear a NIOSH-approved respirator and nitrile gloves.
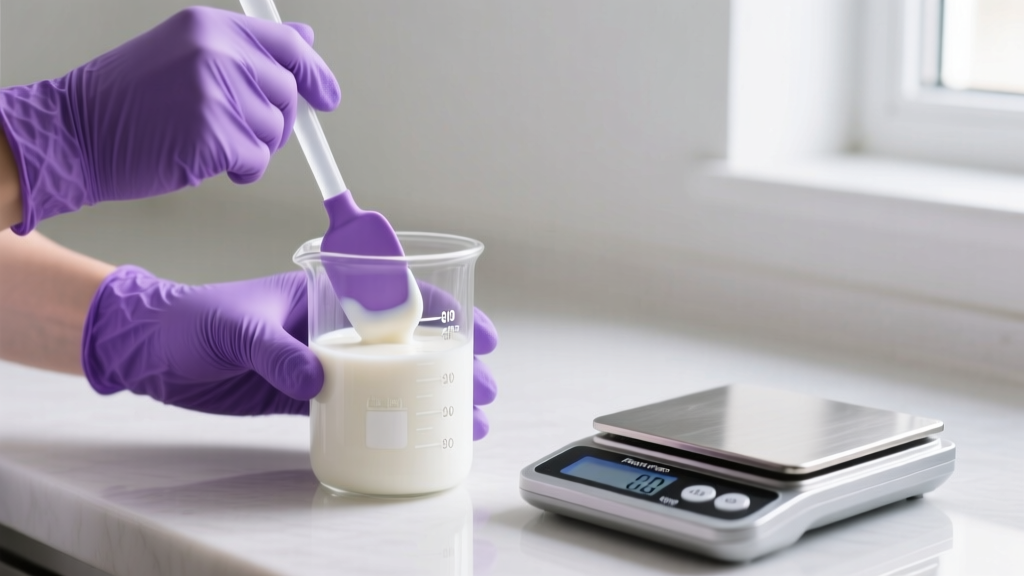
- Measure by Mass, Not Volume: While many resins advertise a 1:1 ratio by volume, measuring by weight on a digital jewelry scale (accurate to 0.01g) ensures perfect stoichiometric balance. For a small pendant, mix 5.0g of Part A (Resin) with 5.0g of Part B (Hardener).
- Mix Thoroughly: Stir slowly with a silicone spatula for 3 to 5 minutes. Scrape the sides and bottom of the beaker to ensure no unmixed streaks remain, which would result in sticky, uncured spots.
- Incorporate the Milk: Take a pinch (approx. 0.1g) of your dried, preserved milk powder and fold it into the mixed resin. Add a drop of white pigment paste if you desire a more opaque, creamy look, as preserved milk can sometimes look slightly translucent in resin.
- Pour and Dome: Use a toothpick to guide the resin into your platinum-cure silicone mold. To create a domed effect, slightly overfill the mold, relying on the resin's surface tension to hold the dome shape.
- Cure in a Dust-Free Zone: Cover the mold with a breathable dust cover (like a cardboard box) and let it cure undisturbed for 24 to 72 hours, depending on the manufacturer's specifications.
Troubleshooting: Why Did My Milk Turn Yellow or Spoil?
Even experienced artisans encounter failures. Understanding the root causes will save you time and expensive materials.
Expert Insight: If your finished piece smells sour or develops dark spots after a few months, the milk was not fully dehydrated before casting. Trapped moisture ferments inside the anaerobic environment of the resin. Always ensure your milk powder is bone-dry before mixing.
Yellowing Issues: If the resin yellows within weeks, you likely used a hardware-store epoxy rather than a jewelry-grade formula, or you exposed the piece to direct, intense sunlight during the curing phase. Always cure epoxy in a dark, temperature-stable room.
Bubbles and Cloudiness: Micro-bubbles are the enemy of clear resin. After pouring, pass a heat gun or butane torch quickly over the surface to pop surface tension bubbles. If the entire piece looks cloudy, your preserved milk still contained too much water, which emulsified into the resin and ruined its optical clarity.
Sourcing High-Quality Molds and Findings
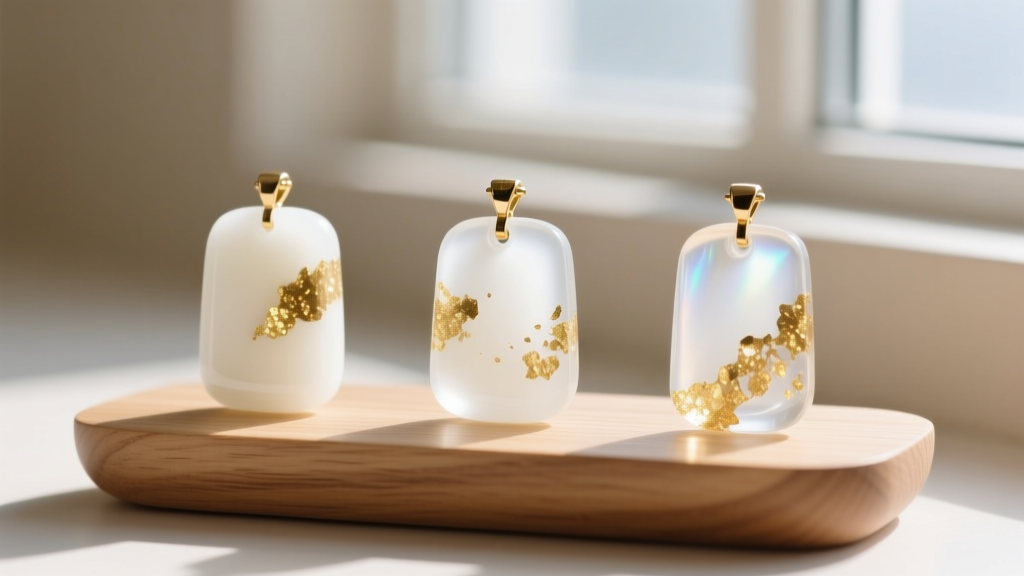
The hardware you use dictates the final perceived value of the jewelry. Avoid cheap, rigid plastic molds from generic craft stores; they will tear your resin and leave matte, scuffed finishes. Invest in platinum-cure silicone molds with a Shore A hardness of 10 to 20. This specific flexibility allows you to gently peel the mold away from the cured resin without snapping delicate points or tearing the silicone.
For the metalwork, source your bezels, bails, and chains from reputable jewelry suppliers like Rio Grande's jewelry findings catalog. Using nickel-free, hypoallergenic metals such as 925 sterling silver, 14k gold-filled, or surgical-grade stainless steel is crucial, as sentimental jewelry is often worn daily against sensitive skin. A beautifully preserved milk stone will be entirely undermined if it is housed in a cheap, tarnishing alloy bezel.
Final Thoughts on Sentimental Jewelry Making
Mastering how to make breast milk jewelry is as much about respecting the biological material as it is about artistic expression. By prioritizing rigorous preservation techniques, investing in UV-stable epoxies, and measuring your components with scientific precision, you can create heirloom-quality pieces that safely encapsulate a mother's journey for generations to come. Start with small test batches, document your ratios, and refine your process before working with a client's irreplaceable milk supply.


