Easy Jewelry Making: A Beginner's Guide to Wire-Wrapped Pendants
Master easy jewelry making with our beginner's guide to wire-wrapped briolette pendants. Learn wire gauges, essential tools, and pro techniques.

Why Wire Wrapping is the Ultimate Easy Jewelry Making Technique
When diving into the world of DIY crafts, easy jewelry making often feels like an oxymoron. Many traditional jewelry techniques require expensive equipment, hazardous chemicals, and years of apprenticeship. Soldering, casting, and stone setting demand torches, pickling pots, and flex shafts. Wire wrapping, however, completely bypasses the need for heat and heavy machinery, relying instead on cold connections and mechanical tension. This makes it the absolute best entry point for beginners looking to create professional-grade, durable jewelry right at their kitchen table.
At its core, wire wrapping is the art of bending, looping, and coiling metal wire to secure gemstones and create structural components. By mastering a few fundamental maneuvers—like the wrapped loop and the bail—you can transform raw materials into boutique-quality pendants, earrings, and rings. In this comprehensive guide, we will break down the metallurgy of jewelry wire, curate an essential beginner tool kit, and walk you through crafting your first faceted briolette pendant step-by-step.
Essential Tools and Materials for Beginners
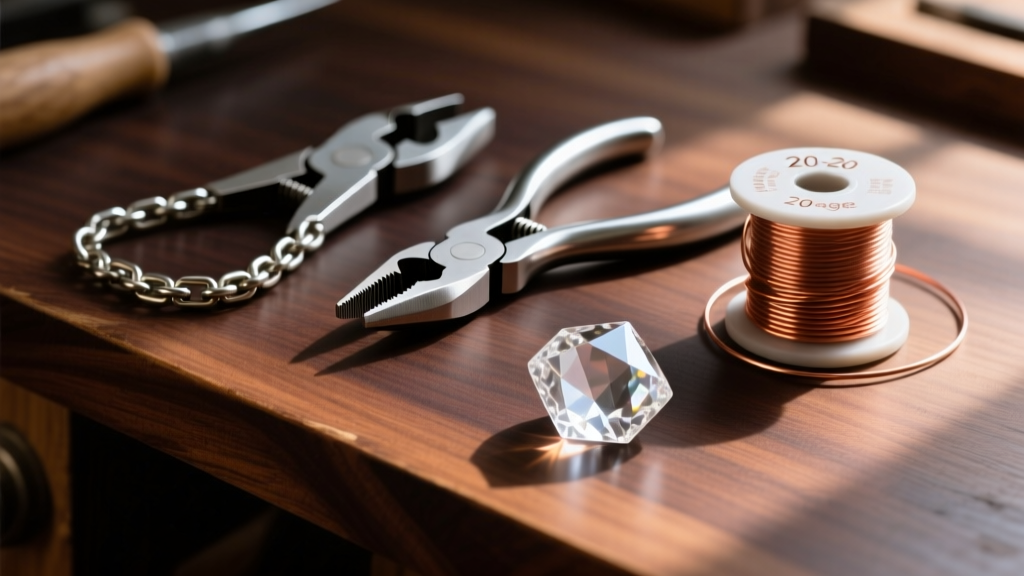
The biggest mistake beginners make is buying cheap, multi-purpose tool kits from general hardware stores. Hardware pliers have serrated teeth that will permanently mar and scratch your soft jewelry metals. To achieve clean, professional results, you need specialized jewelry pliers with smooth, flat jaws. Below is a breakdown of the exact tools and materials you need to start, along with realistic pricing for 2026.
| Tool / Material | Recommended Specification | Estimated Cost (USD) | Primary Function |
|---|---|---|---|
| Flush Cutters | Lindstrom RX or Tronex (Micro) | $45 - $75 | Cutting wire perfectly flush without leaving sharp 'pinch' points. |
| Chain Nose Pliers | Wubbers or EuroTool (Smooth Jaw) | $15 - $25 | Gripping wire, closing loops, and making sharp 90-degree bends. |
| Round Nose Pliers | Wubbers (Stepped or Standard) | $18 - $30 | Forming perfectly circular loops and bail curves. |
| Nylon Jaw Pliers | Tronex or Beadalon | $20 - $35 | Straightening coiled wire without scratching the metal surface. |
| Practice Wire | 20-gauge Dead Soft Copper | $6 - $12 (per 4oz spool) | Low-cost material for practicing loops and wraps before using silver. |
| Premium Wire | 24-gauge Half-Hard 14/20 Gold-Filled | $35 - $50 (per 1oz spool) | High-quality, tarnish-resistant wire for final pendant wraps. |
For sourcing high-quality gemstones and metals, industry-standard suppliers like Rio Grande and Fire Mountain Gems offer extensive catalogs with detailed metallurgical specifications, ensuring you know exactly what you are buying.
Decoding Wire Gauge and Hardness
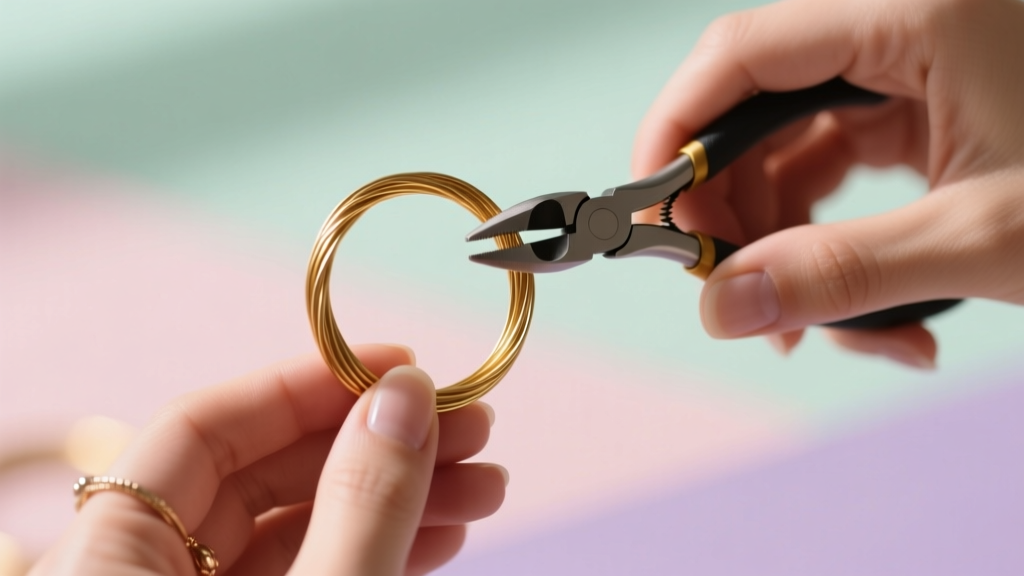
Understanding wire anatomy is the difference between a frustrating experience and easy jewelry making. Wire is measured by two critical metrics: gauge (thickness) and hardness (temper).
The Gauge System
In the American Wire Gauge (AWG) system, the higher the number, the thinner the wire. Using the wrong gauge for a specific structural task is the most common cause of jewelry failure.
- 28 to 30 Gauge: Extremely thin. Used exclusively for delicate coiling and weaving around thicker core wires. Too fragile for structural loops.
- 24 to 26 Gauge: The sweet spot for threading through most drilled gemstone briolettes and creating secure wrapped loops. It is thin enough to pass through a 0.8mm bead hole but thick enough to hold a shape.
- 20 to 22 Gauge: Ideal for ear wires, jump rings, and the structural frames of pendants. It provides the necessary rigidity to support the weight of heavier stones.
- 16 to 18 Gauge: Used for heavy-duty clasps, bangles, and thick ring bands. Requires significant hand strength and heavier-duty cutters.
Wire Hardness (Temper)
Hardness dictates how easily the wire bends and how well it holds its shape after bending.
- Dead Soft: Highly malleable and pliable. It feels almost like cooked spaghetti. It is perfect for weaving, sculpting, and wrapping around stones, but it will not hold a structural loop under heavy tension without work-hardening.
- Half-Hard: The most versatile temper for beginners. It offers a balance of malleability and rigidity. It bends smoothly but springs back just enough to keep wrapped loops tight and secure. This is the recommended temper for making bails and ear wires.
- Full-Hard (Spring Hard): Very stiff and difficult to bend by hand. It is primarily used for making clasps and pin stems where maximum structural integrity is required.
Step-by-Step: Crafting Your First Briolette Pendant
A briolette is a teardrop-shaped gemstone drilled horizontally through the top. Wrapping a briolette teaches you tension control, loop formation, and neat coiling. We will use 24-gauge half-hard wire for this project.
Step 1: The Anchor Loop
Cut a 6-inch piece of 24-gauge wire using your flush cutters. Ensure the flat side of the cutters faces the wire you intend to keep, leaving a perfectly flush end. Thread the wire through the briolette hole, leaving a 1.5-inch tail on one side and a 4.5-inch working tail on the other. Take the shorter tail and bend it upward at a 90-degree angle directly above the stone. Wrap the short tail tightly around the long working tail two times to lock the stone in place. Use your chain nose pliers to gently squeeze the coils flat, then use your flush cutters to trim the short tail perfectly flush against the core wire.
Step 2: Threading and Securing
With the stone anchored, point the long working tail straight up. This will form the spine of your pendant. To ensure the stone does not slide around, you can optionally add a tiny 2mm metallic spacer bead or a micro-wire coil just above the stone's hole before proceeding to the bail.
Step 3: Creating the Bail and Wrapping
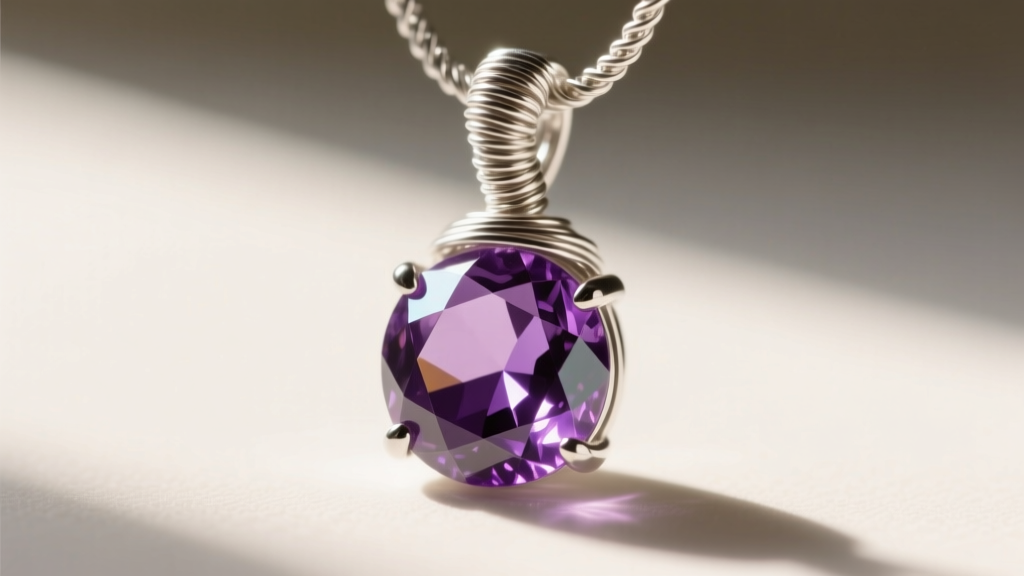
Using your round nose pliers, grip the wire about 1/4 inch above the top of the stone. Bend the wire over the top jaw of the pliers to create a smooth, rounded loop (the bail) where a chain will eventually sit. Bring the wire down the opposite side of the 'spine' wire. Now, begin wrapping the working tail tightly and evenly around the spine wire, moving downward toward the stone. Keep the coils perfectly adjacent to one another—do not let them overlap or gap. After 4 to 5 tight wraps, use your flush cutters to snip the excess wire. Finally, use your chain nose pliers to gently 'tuck' the sharp cut end of the wire inward so it does not snag on clothing.
Troubleshooting Common Beginner Mistakes
Even with the best instructions, easy jewelry making requires physical practice. Here is how to diagnose and fix the three most common beginner errors:
Pro Tip: Always work-harden your finished wire components. If you use dead soft wire for a bail, gently tap it with a rawhide or nylon-jawed mallet against a steel bench block. This compresses the metal's crystalline structure, making it significantly stronger without altering its shape.
- Problem: The wire is heavily scratched and marred.
Solution: You are likely using pliers with serrated teeth, or you are gripping the wire too aggressively. Switch to smooth-jaw pliers. If you must use tools with teeth, wrap the jaws in painter's tape or invest in tool dip (like Tool Magic) to create a protective rubber coating. - Problem: The wrapped coils are gapping and look messy.
Solution: You are wrapping at an angle rather than perfectly perpendicular to the core wire. Slow down. Use your thumbnail to push each new coil tightly against the previous one before pulling the wire taut. Consistent, moderate tension is key. - Problem: The wire keeps breaking at the loop.
Solution: You are experiencing metal fatigue caused by 'fiddling'. If you bend a piece of wire back and forth to adjust a loop, the metal work-hardens rapidly and snaps. Make your bends decisively. If you make a mistake, cut the wire and start with a fresh piece rather than trying to un-bend it.
Next Steps in Your Jewelry Journey
Once you have mastered the basic briolette wrap, the world of wire weaving opens up. You can begin incorporating 28-gauge wire to create intricate, Celtic-inspired weaves around heavy cabochon stones, or experiment with oxidizing your copper and sterling silver pieces using liver of sulfur to create dramatic, high-contrast antiqued finishes. Remember that true mastery in jewelry design comes from understanding your materials. Respect the temper of your wire, maintain your tools, and let the natural geometry of the gemstones guide your designs.


