How to Get Into Jewelry Making: Occasion-Based Gift Guide
Learn how to get into jewelry making by crafting occasion-specific gifts. Discover beginner tools, wire wrapping, and resin techniques for every event.

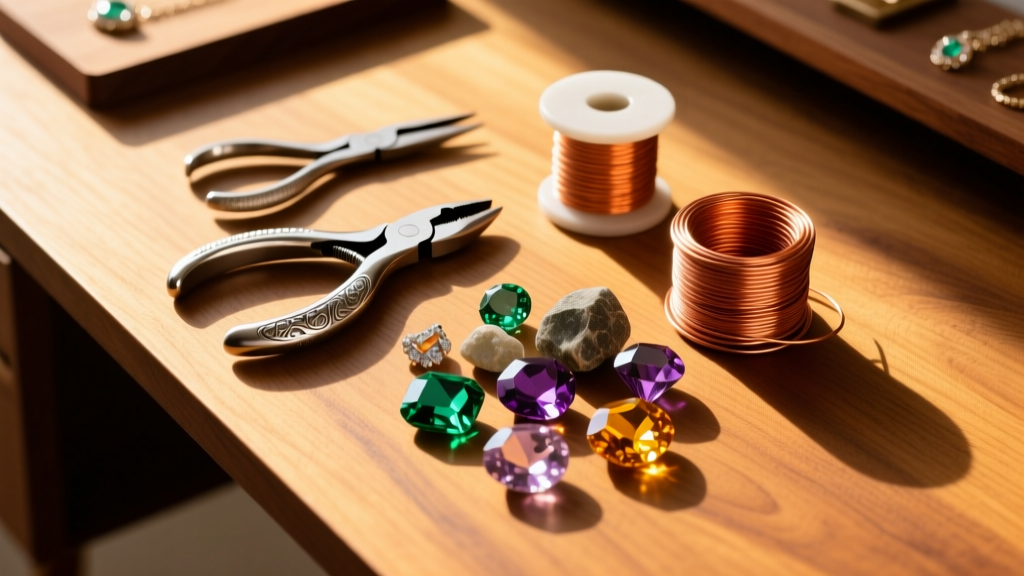
When aspiring crafters ask how to get into jewelry making, they are often overwhelmed by the sheer volume of techniques, metals, and tools available. The most common mistake beginners make is purchasing generic, low-quality supply kits and attempting aimless practice pieces. Without a specific goal, motivation wanes, and expensive wire spools gather dust. The most effective, rewarding framework for onboarding into this craft is occasion-based gift giving. By tying your learning curve to specific milestones—birthdays, anniversaries, and holidays—you create built-in deadlines, emotional investment, and a structured path for skill progression.
This guide bypasses the fluff and provides a highly specific, project-driven roadmap to help you master foundational jewelry fabrication techniques while creating high-impact, professional-looking gifts.
The Essential Starter Toolkit (Under $85)
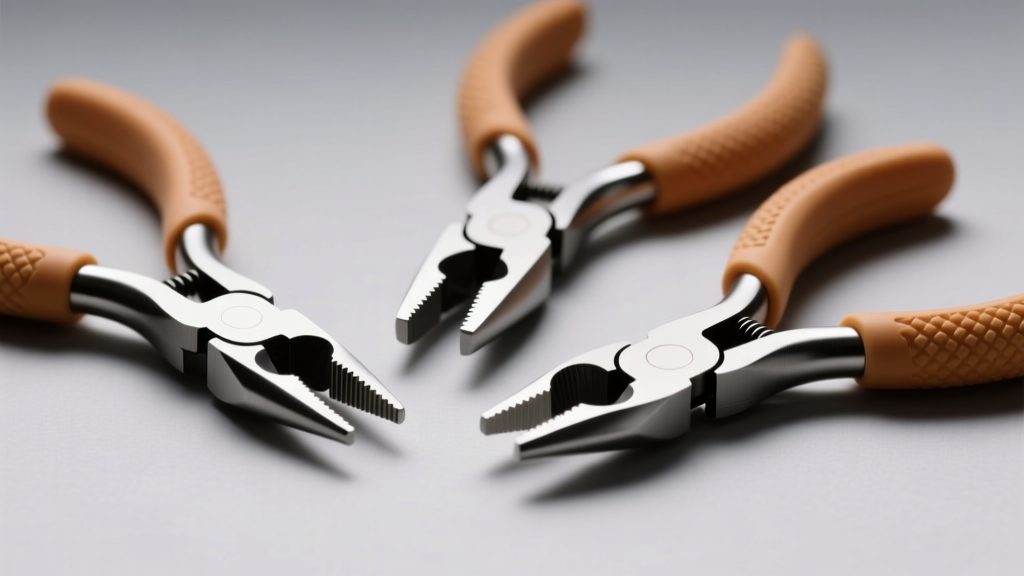
Skip the Amazon starter kits. The pliers included in those sets are typically made from soft, unpolished steel that will gouge your wire and cause hand fatigue. To produce gift-worthy jewelry, you need precision tools. Here is the exact non-negotiable starter kit for a beginner focusing on wirework and light assembly.
| Tool | Recommended Brand/Spec | Primary Application | Est. Price |
|---|---|---|---|
| Chain-Nose Pliers | Lindstrom RX (Smooth Jaw) | Gripping wire, closing jump rings, tucking wire ends. | $35 - $45 |
| Flush Cutters | Xuron 2175 (Micro-Shear) | Cutting wire up to 20-gauge dead soft without pinching. | $22 - $28 |
| Round-Nose Pliers | Wubbers Ergonomic | Creating uniform loops, bails, and jump rings. | $25 - $30 |
| Nylon Jaw Pliers | Tronex or Generic Nylon | Work-hardening wire and removing kinks without marring. | $12 - $18 |
Pro-Tip: Always keep a small block of jewelry polishing cloth and a pin vise on your bench. A pin vise allows you to twist wire evenly, a technique critical for making custom clasps later in your jewelry making journey.
Occasion 1: Birthdays & Casual Milestones (Wire-Wrapped Pendants)
Wire wrapping is the ultimate entry point for learning metal manipulation. For a friend's birthday, a custom wire-wrapped briolette pendant feels deeply personal and requires no soldering. However, beginners frequently fail at this technique due to improper wire temper selection.
Material Specifications & Failure Modes
- The Bail (The Hanger): Use 20-gauge dead soft Argentium silver or copper. Dead soft wire bends easily and holds its shape once work-hardened. Standard sterling silver tarnishes quickly; Argentium contains germanium, making it highly tarnish-resistant—a crucial selling point for handmade gifts.
- The Wrap (The Binding): Use 24-gauge or 26-gauge half-hard wire. Half-hard wire has been partially work-hardened at the mill, giving it the tensile strength needed to snap tightly against the stone without stretching out of place.
The Failure Mode: Beginners often use dead soft wire for the delicate wrapping. When you pull dead soft 24g wire tight, it stretches, thins out, and eventually snaps due to over-work-hardening. Conversely, using half-hard 20g wire for the bail will result in stiff, angular bends that look clumsy and can chip the gemstone's drill hole.
According to expert tutorials on Fire Mountain Gems, practicing your tension on inexpensive 20g and 24g solid copper wire before moving to precious metals will save you hundreds of dollars in ruined materials.
Occasion 2: Anniversaries (Permanent-Style Clasped Bracelets)
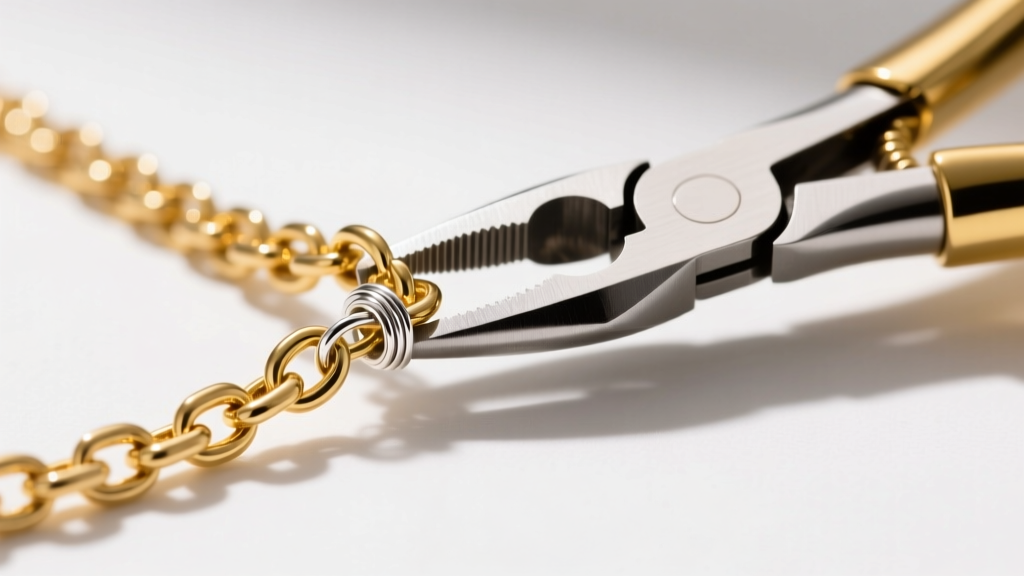
The "permanent jewelry" trend (welded, clasp-less chains) has dominated the market, but it requires a $2,000+ pulse-arc welder. You can achieve a nearly identical, highly luxurious aesthetic for an anniversary gift by mastering the micro-clasped chain bracelet. This project teaches you chainmaille basics, crimping, and clasp integration.
The Anatomy of a Professional Chain Bracelet
- The Chain: Opt for 14/20 gold-filled 1.5mm cable chain. Gold-filled material has a thick outer layer of 14k gold mechanically bonded to a brass core. It will not flake or tarnish like gold-plated brass, making it suitable for daily wear and water exposure.
- The Clasp: Use a 5mm or 7mm lobster clasp with a built-in jump ring. Avoid spring-ring clasps; they are frustrating for the wearer to operate one-handed.
- The Connection (Crucial Step): Never thread a delicate chain directly through a clasp and crimp it. The metal-on-metal friction will eventually saw through the chain links. Instead, use a sterling silver wire guardian (also known as French wire or wire protector). Thread your beading wire or chain through the guardian, loop it through the clasp, and secure it with a 2x2mm sterling silver crimp tube.
"A properly crimped tube should look like a neat, folded 'U' shape, not a crushed pancake. Invest in a micro-crimper tool to fold the tube in two distinct steps; this prevents the sharp edges of the crimp from cutting your chain."
Occasion 3: Holiday Gifting (UV Resin & Dried Floral Pendants)
For broad holiday gifting (teachers, coworkers, extended family), batch-making resin pendants is highly efficient. While traditional 2-part epoxy resins (like ArtResin) require 24-hour curing times and precise 1:1 volumetric mixing, UV-LED resin cures in 60 seconds under a UV lamp, making it ideal for rapid holiday production.
Mastering UV Resin: Bubbles and Inhibition Layers
The most common complaint from beginners is cloudy, bubble-filled resin. To achieve glass-like clarity for your holiday gifts, follow these strict parameters:
- Brand Selection: Use a high-grade Japanese UV resin like Padico UV-LED or Resin Star. Cheap resins yellow within weeks and remain tacky.
- Bubble Prevention: Warm your resin bottle in a bowl of hot water for 5 minutes before dispensing. This lowers the viscosity, allowing trapped air to rise to the surface. Pop surface bubbles with a quick pass from a culinary butane torch or a heat gun.
- The Inhibition Layer: UV resin requires oxygen to cure fully. The very top microscopic layer will remain slightly tacky (the inhibition layer). To finish your piece, wipe the cured pendant with isopropyl alcohol, or apply a final micro-thin coat of resin and cure it pressed flat against a silicone mat to block oxygen.
Sourcing Materials: Where Beginners Should (and Shouldn't) Buy
Knowing where to source materials separates hobbyists from serious makers. Do not buy precious metals or gemstones from random marketplace vendors; you risk receiving plated base metals and dyed glass.
- For Precious Metals & Wire: Rio Grande is the industry standard. They provide certified metals, exact alloy breakdowns, and reliable dead-soft/half-hard temper consistency.
- For Gemstones & Beads: Halstead offers excellent wholesale-tier pricing for verified sterling silver findings and genuine semi-precious cabochons perfect for wire wrapping.
- For Tools & Consumables: Local hardware stores sell flush cutters, but they are not flush on the inside. Stick to dedicated jewelry suppliers for tools that sit perfectly flat against your work surface.
Packaging and Presentation for Handmade Gifts
The perceived value of your handmade jewelry is heavily influenced by its presentation. A beautifully wire-wrapped pendant handed over in a plastic ziplock bag feels like a craft project. That same pendant placed in a 2x2 inch kraft paper jewelry box with a cotton-filled insert and wrapped with a wax-sealed tag feels like a boutique purchase. Always include a small, handwritten care card detailing the materials used (e.g., "Handcrafted with 20g Argentium Silver and Genuine Labradorite. Avoid harsh chemicals and store in the provided anti-tarnish pouch."). This not only elevates the unboxing experience but educates the recipient on the quality of the materials you selected, cementing your reputation as a skilled jewelry maker.


