How to Make Resin Jewelry at Home: Botanical Pendants
Learn how to make resin jewelry at home with our step-by-step guide to crafting flawless botanical epoxy pendants, from mixing ratios to curing.

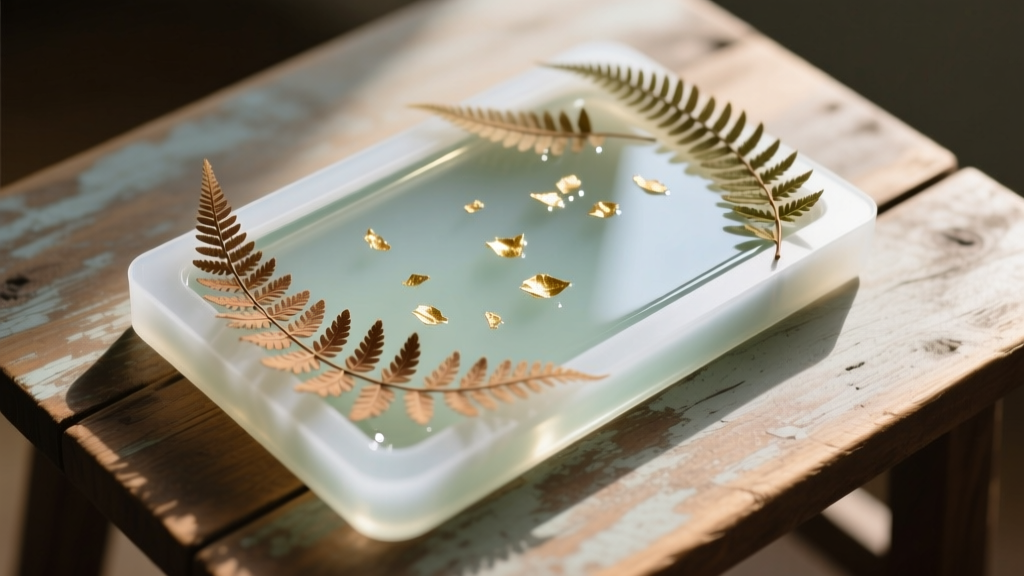
Creating custom jewelry with epoxy resin has evolved from a niche craft into a mainstream artistic pursuit. If you are wondering how to make resin jewelry at home, mastering the art of botanical pendants is the perfect entry point. Unlike opaque mediums, clear resin demands precision in mixing, an understanding of exothermic chemical reactions, and meticulous moisture control. This comprehensive guide bypasses the generic fluff and dives straight into the technical specifications, material grades, and professional workflows required to produce gallery-quality botanical pendants in your home studio.
Understanding Resin Types: Epoxy vs. UV
Before pouring your first mold, you must select the correct chemical medium. While UV resin cures in minutes under ultraviolet light, it is fundamentally unsuited for deep botanical pendants due to shrinkage, layering limitations, and rapid yellowing. For jewelry making, a high-quality, two-part clear epoxy resin is the industry standard.
| Feature | Two-Part Epoxy Resin (e.g., ArtResin) | UV Resin |
|---|---|---|
| Cure Mechanism | Chemical reaction (Hardener + Base) | Photopolymerization (UV Light) |
| Max Pour Depth | Up to 1/4 inch (6mm) per layer | 1-2mm per layer (requires multiple cures) |
| Pot Life | 30-45 minutes | Indefinite (until exposed to UV) |
| Yellowing Resistance | High (with HALS and UV stabilizers) | Low (prone to rapid ambering) |
| Shrinkage Rate | Minimal (< 1%) | High (5-10%) |
Essential Tools and Materials
Professional results require professional-grade supplies. Do not compromise on safety gear or measuring tools.
- Resin: A 1:1 ratio by volume jewelry-grade epoxy (e.g., ArtResin or Teexpert). Ensure it includes both UV and HALS (Hindered Amine Light Stabilizers) additives.
- Respirator: A NIOSH-approved half-face respirator (like the 3M 6200) equipped with 6001 Organic Vapor cartridges. Standard N95 masks do not filter resin vapors.
- Gloves: 4-mil black nitrile gloves. Avoid latex, which can degrade upon contact with uncured hardeners.
- Molds: High-durometer platinum-cure silicone molds. Avoid cheap tin-cure silicone, which degrades quickly and leaves a matte finish on your resin.
- Torch: A culinary butane micro-torch for popping surface tension micro-bubbles.
- Botanicals: Pressed flowers or ferns, dried via silica gel desiccant to ensure a moisture content below 5%.
Step-by-Step Guide: Crafting Botanical Pendants
Step 1: Prepping the Botanicals
The most common point of failure for beginners is introducing organic moisture into the epoxy matrix. Moisture trapped inside petals or leaves will react with the isocyanates in the hardener, causing cloudy halos, micro-bubbles, and incomplete curing. You must dry your botanicals using silica gel crystals for 3 to 7 days. Once dried, seal the botanicals with a thin coat of PVA glue (like Mod Podge) or a clear acrylic spray. This creates a moisture barrier and prevents the natural pigments from bleeding into the clear resin over time.
Step 2: Measuring and Mixing the Epoxy
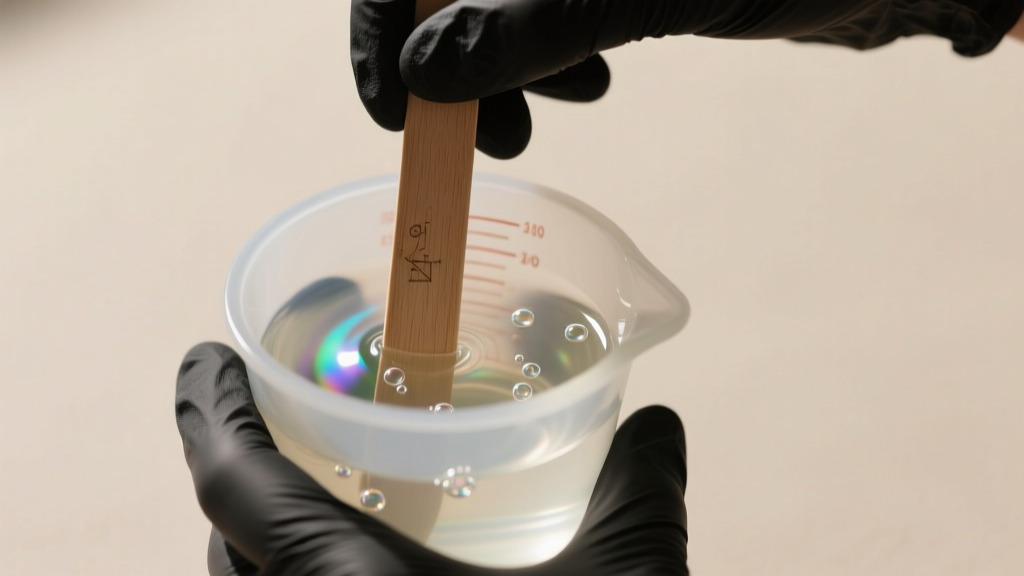
Accuracy is non-negotiable. If you are using a 1:1 volume ratio resin, use graduated silicone mixing cups. Pour Part A (Resin) and Part B (Hardener) to the exact same fill line. Note: Never measure by weight unless the manufacturer's Technical Data Sheet (TDS) explicitly provides a weight ratio, as the density of Part A and Part B differ.
Stir the mixture slowly for a full 3 minutes. Scrape the bottom and sides of the cup continuously with a flat-edged wooden craft stick or silicone spatula. Stirring too vigorously will whip air into the viscous liquid, creating thousands of micro-bubbles that are impossible to extract later. According to the ArtResin FAQ, under-mixing is the primary cause of sticky, uncured spots in finished jewelry.
Step 3: The Base Pour and Placement
Pour a thin base layer of resin into your silicone pendant mold—just enough to cover the bottom. Use a silicone brush to guide the resin into the intricate corners of the mold. Allow this base layer to sit for 10 minutes to reach a tacky, gel-like state. This prevents your sealed botanicals from floating to the surface or shifting when you apply the top coat. Carefully place your dried, sealed ferns or flowers into the mold using precision tweezers.
Step 4: The Top Pour and Doming
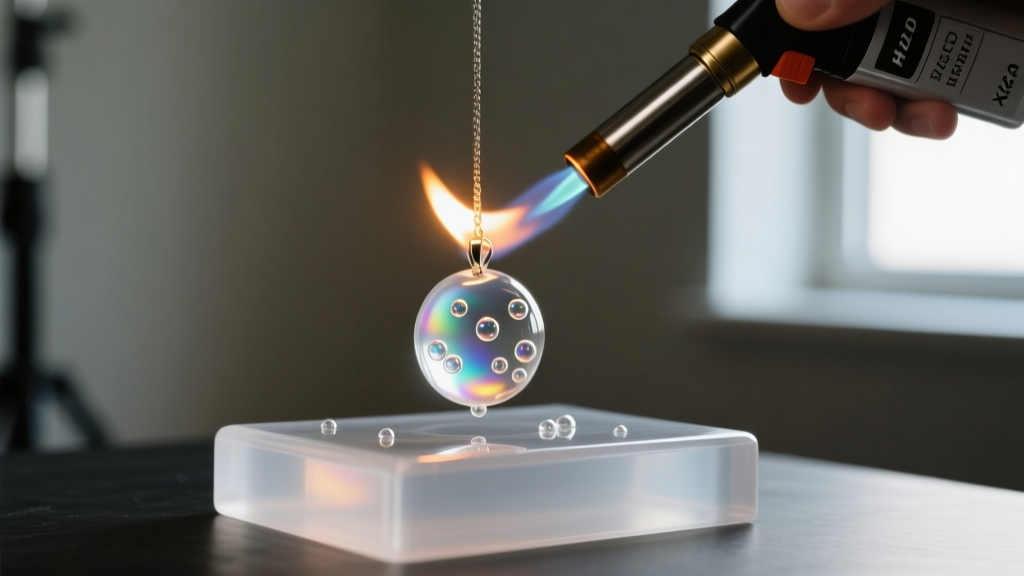
Pour the remaining resin over the botanicals, filling the mold to the very brim. To achieve a professional, convex 'domed' edge, overfill the mold slightly. The surface tension of the epoxy will hold it in a convex shape without spilling over, provided you do not disturb the mold. Pass your culinary butane torch quickly over the surface, keeping the flame 3 to 4 inches away. The heat lowers the resin's viscosity, allowing trapped air bubbles to rise and pop instantly. Do not hold the torch in one spot, as the concentrated heat can scorch the resin or melt the silicone mold.
Step 5: Curing and Demolding
Cover the mold with a clean plastic tote or cardboard box to prevent dust and pet hair from settling into the tacky surface. Allow the resin to cure undisturbed at a room temperature of 72°F - 75°F (22°C - 24°C) for 24 hours. The piece will be demoldable after 24 hours, but it will take an additional 48 to 72 hours to reach its maximum Shore D hardness.
Troubleshooting Common Resin Failures
Even experienced resin artists encounter chemical anomalies. Here is how to diagnose and fix the most frequent issues:
- Amine Blush: A waxy, greasy film on the surface of the cured resin. This occurs when the hardener reacts with ambient humidity and carbon dioxide during the curing process. Fix: Wash the piece with warm water and mild dish soap, then wipe dry. It must be removed before sanding.
- Sticky Spots: Caused by inaccurate measuring or failing to scrape the sides of the mixing cup. Uncured hardener pools in specific areas. Fix: You cannot sand this out. You must mix a fresh, perfectly measured batch of resin and pour a thin flood coat over the entire piece to encapsulate the sticky areas.
- Micro-Bubbles: Usually the result of cold resin or vigorous stirring. Fix: In the future, place your resin bottles in a warm water bath (around 80°F) for 15 minutes before mixing to lower the viscosity and allow bubbles to escape naturally.
Final Sanding and Hardware Assembly
Once fully cured and demolded, your pendant will likely have a 'flash' line where the mold halves met, and the edges may be sharp. Wet-sand the edges using 3M Wetordry sandpaper. Begin at 400 grit to remove the flash, then progress sequentially through 600, 800, 1200, 2000, and finally 3000 grit. Skipping grits will leave deep scratches that cannot be polished out.
After sanding, the resin will appear frosted and opaque. To restore optical clarity, apply a specialized plastic polish like Novus 2 Fine Scratch Remover. Use a Dremel rotary tool equipped with a felt buffing wheel, keeping the speed below 5,000 RPM. High speeds generate friction heat, which will melt the epoxy and ruin your polish job. Finally, attach a gold-filled or sterling silver glue-on bail to the back of the pendant using a two-part jeweler's epoxy (like E6000 or G-S Hypo Cement), allowing 24 hours for the adhesive to set before stringing it on a chain.
For further advanced techniques and chemical safety data, the tutorials at Resin Obsession offer excellent deep-dives into complex layering and pigment dispersion. Mastering these foundational steps ensures your home-crafted botanical pendants will rival high-end boutique jewelry in both clarity and durability.


