How to Make Beaded Jewelry: Fix Crimps, Snaps & Tension Issues
Learn how to make beaded jewelry that lasts. Troubleshoot broken wire, slipping crimps, and stiff necklaces with expert stringing fixes.

The Reality of Learning How to Make Beaded Jewelry
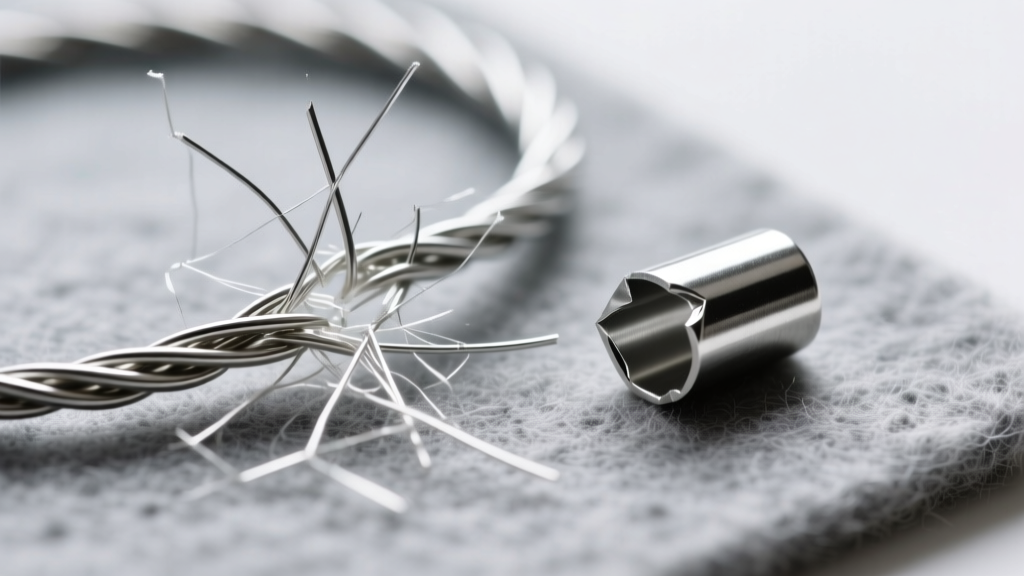
When you first learn how to make beaded jewelry, most tutorials focus entirely on the creative process: selecting color palettes, balancing focal beads, and designing symmetrical patterns. However, the true test of a jewelry maker’s skill isn't just in the design—it is in the structural engineering of the piece. A beautiful necklace that snaps after three wears or a bracelet with a slipping clasp will quickly end up in a junk drawer. Understanding the physics of stringing, the metallurgy of beading wire, and the precise mechanics of crimping is the real secret to creating durable, professional-grade jewelry.
If you are struggling with structural failures, you are not alone. Metal fatigue, improper tension, and mismatched component sizes are the most common culprits behind broken pieces. In this troubleshooting guide, we will bypass the basic aesthetic advice and dive deep into the mechanical failures that plague beginner and intermediate stringers, providing exact, actionable solutions to salvage your designs and elevate your craftsmanship.
Problem 1: Crimp Beads Slipping or Crushing the Wire
The crimp is the most critical structural joint in any beaded piece. When a crimp fails, the entire piece unravels. The most common failure mode is the crimp tube sliding off the wire, which usually happens because the inner diameter of the crimp is too large for the wire gauge, or the crimping pliers are the wrong size. Another frequent issue is the wire being cleanly severed by the crimp during the squeezing process, which occurs when using cheap, stamped metal crimps or applying uneven pressure.
The Fix: Match Sizes and Use the Fold Technique
Stop using round crimp beads; they are notoriously difficult to secure and often crack under pressure. Switch to seamless sterling silver or gold-filled crimp tubes. For a standard 0.018-inch (0.46mm) beading wire, you must use a 2x2mm crimp tube. If you are working with delicate 0.012-inch wire for freshwater pearls, step down to a 1.5x1.5mm tube. According to stringing guidelines from Beadalon, the wire should pass through the tube twice with a snug fit, leaving just enough room for the metal to fold.
Never simply crush the crimp flat with chain-nose pliers. This creates sharp, jagged edges that act like tiny knives against the nylon coating of your beading wire. Instead, invest in a micro-crimping plier (like the Beadalon 1-Step Crimper). This tool creates a U-shape fold, wraps the metal around the wire, and then compresses it into a smooth, rounded bead-like shape, distributing the tension evenly and eliminating sharp edges.
Problem 2: Beading Wire Snapping at the Clasp
If your necklaces are consistently breaking within an inch of the clasp, you are experiencing metal fatigue caused by acute bending. Nylon-coated stainless steel beading wire is incredibly strong under straight tension, but it has very poor tolerance for repeated 90-degree bends. Every time the wearer moves, the clasp pulls against the wire. If the wire is looped directly through the clasp ring and crimped tightly, the steel filaments inside the nylon coating will eventually snap from the repetitive stress.
The Fix: Wire Guardians and the Slack Rule
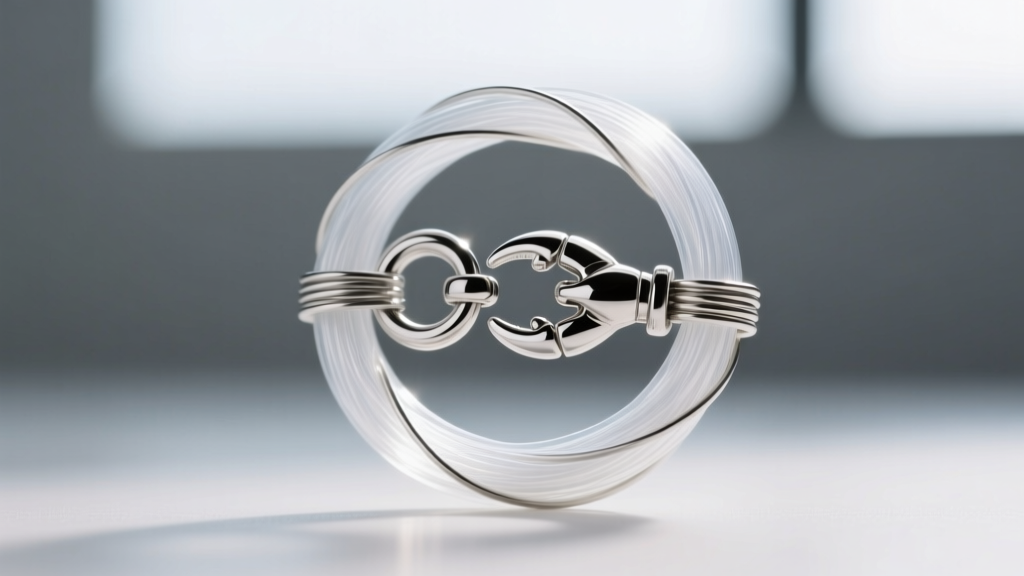
To solve this, you must introduce a protective curve. Use a wire guardian (also known as an Accu-Guard or French wire). These are tiny, horseshoe-shaped metal findings designed specifically to take the abrasion and bending stress away from the beading wire. Thread your wire through the guardian, loop it through the clasp, and bring it back down. This creates a smooth, protected radius that prevents acute bending.
Furthermore, never pull the wire completely taut before crimping the clasp end. You must leave approximately 1/4 inch of slack in the loop. If the wire is pulled drum-tight against the clasp, the tension will force the wire to kink sharply at the exit point of the crimp tube, accelerating metal fatigue. According to technical resources from Fire Mountain Gems, allowing a microscopic amount of movement within the clasp loop significantly extends the lifespan of the jewelry.
Problem 3: Stiff, Kinked, or 'Board-Like' Necklaces
Have you ever finished a necklace, only to find that it sticks out awkwardly from the collarbone instead of draping elegantly? This 'board-like' stiffness is a tension and material issue. It typically occurs when a maker uses a wire with too few strands for the bead weight, or when they pull the wire too tightly while stringing, forcing the beads to lock together rigidly.
The Fix: Upgrade to 49-Strand and Perform the Drape Test
Beading wire is constructed of multiple tiny steel filaments bundled together and coated in nylon. The strand count dictates the drape. 7-strand wire is stiff and prone to kinking; it should only be used for rigid, structured pieces or inexpensive craft projects. 19-strand is a middle ground. For professional, high-end jewelry that requires a fluid, fabric-like drape, you must use 49-strand wire, such as those offered by Soft Flex Company. The 49 individual micro-filaments allow the wire to bend and flow naturally around the neck.
To fix tension issues, always perform the 'drape test' before applying the final crimp. Hold the necklace up by the clasp ends and let it hang in a U-shape. Gently tap the beads. If they don't shift slightly against one another, your tension is too tight. Un-crimp the end, loosen the wire until you see a tiny gap of wire between the beads when they are laid flat, and re-crimp. Beads need room to move to create a fluid drape.
Problem 4: Beads Spinning and Exposing the Wire
Nothing ruins the illusion of a high-end piece faster than visible wire gaps between beads, or focal beads that constantly spin around to show their backs. This happens when the hole size of the bead is significantly larger than the diameter of the beading wire, leaving the bead free to slide and rotate along the nylon coating.
The Fix: Bead Bumpers, Spacers, and Step-Downs
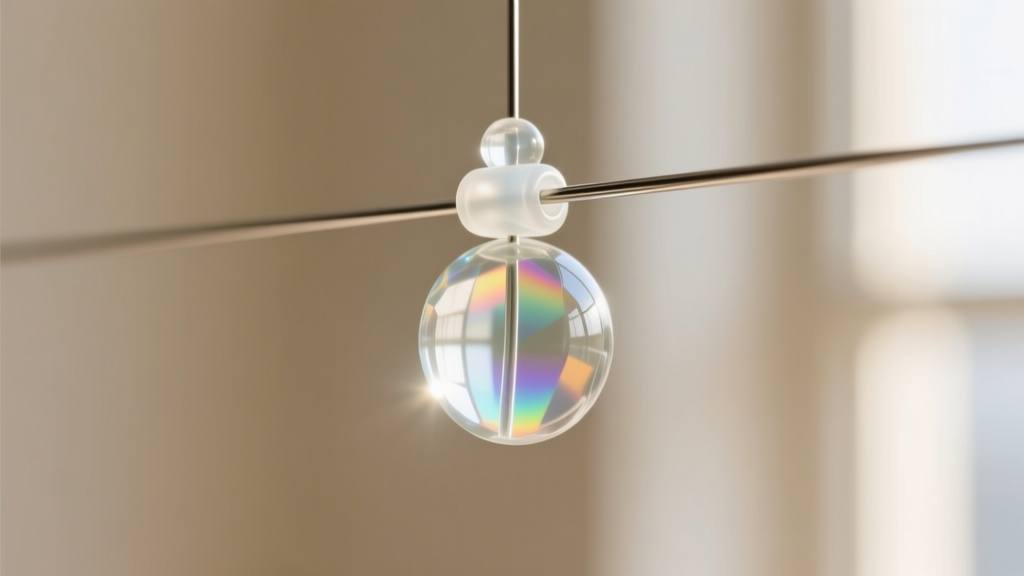
When working with large-hole beads (like Czech glass or certain gemstone beads with 1.5mm holes) on a standard 0.018-inch wire, you need to anchor them. The cleanest solution is to use micro bead bumpers—tiny, translucent silicone or rubber O-rings that slide onto the wire and sit invisibly inside or just outside the bead hole, creating friction and centering the bead.
Alternatively, use metallic bead spacers or step-down crimps (also known as crimp covers or tube beads with an inner partition) to bridge the gap. If you are designing a piece with a heavy focal pendant that tends to slide, anchor it by placing a 2mm crimp tube on either side of the pendant bail, securing it in place with a gentle squeeze using chain-nose pliers. This creates a physical stopper that prevents the focal bead from migrating across the neckline.
Troubleshooting Matrix: Wire Gauge vs. Bead Hole Size
Choosing the wrong wire diameter for your specific bead type is a foundational error. Use this matrix to ensure structural compatibility before you begin stringing.
| Wire Diameter | Strand Count | Best Use Case | Typical Bead Hole Compatibility |
|---|---|---|---|
| 0.012" (0.30mm) | 19 or 49 | Freshwater pearls, seed beads, delicate crystals | 0.5mm - 0.8mm (Very small holes) |
| 0.015" (0.38mm) | 19 or 49 | Lightweight gemstones, glass beads, multi-strand | 0.8mm - 1.0mm (Standard holes) |
| 0.018" (0.46mm) | 49 | The universal workhorse for most medium beads | 1.0mm - 1.5mm (Standard to large) |
| 0.024" (0.61mm) | 49 | Heavy lampwork glass, large metal beads, chunky gems | 1.5mm+ (Large to extra-large holes) |
Essential Troubleshooting Toolkit
To execute these fixes properly, you must move beyond the basic craft-store pliers. Precision tools prevent the micro-damage that leads to catastrophic jewelry failure.
- Flush Cutters (Lindstrom RX 8148): Standard craft cutters pinch the wire, leaving a sharp, angled burr that will eventually slice through your nylon coating from the inside out. Precision flush cutters leave a perfectly flat, smooth cut.
- Micro-Crimping Pliers (Beadsmith or Beadalon): Essential for executing the fold-and-tuck crimp method on 2x2mm and 1.5x1.5mm tubes without crushing the internal wire filaments.
- Chain-Nose Pliers (Wubbers Baby Chain Nose): Used for closing jump rings, tucking wire tails, and gently squeezing crimp covers. The smooth, untextured jaws prevent marring soft metals like sterling silver or gold-fill.
- Awl or Beading Needle: Crucial for pulling the wire tail back through the first few beads after crimping, hiding the tail and adding a secondary layer of friction to the clasp joint.
Pro Tip: Always trim your wire tails flush against the bead after pulling them back through the first three beads. Leaving a tiny tail sticking out will result in it scratching the wearer's skin or catching on delicate fabrics.
Mastering how to make beaded jewelry is an iterative process of solving these microscopic mechanical puzzles. By respecting the physical properties of your materials and utilizing the correct structural findings, you will transform your hobbyist pieces into durable, heirloom-quality accessories that stand the test of time.


