How Can I Make Jewelry That Lasts? Troubleshooting Beginner Mistakes
Asking how can I make jewelry that lasts? Troubleshoot common beginner mistakes like wire snapping, crimp failures, and broken jump rings with expert fixes.

The 'How Can I Make Jewelry' Dilemma: Why Your Pieces Fail
When beginners first ask, 'How can I make jewelry?', they are usually focused on aesthetics: choosing beautiful gemstones, matching colors, and designing striking silhouettes. However, the most common point of failure in DIY jewelry making isn't a lack of artistic vision—it is a fundamental misunderstanding of structural integrity and material physics. In 2026, the market is flooded with cheap, mass-produced jewelry kits that include low-grade base metals, poorly tempered wire, and inadequate stringing materials. If you have ever finished a piece only to have it snap, tarnish, or fall apart within a week, you are not alone.
Troubleshooting jewelry making requires shifting your mindset from purely decorative to highly structural. Every loop, crimp, and jump ring is a load-bearing joint. In this guide, we will dissect the most frequent structural failures in wire wrapping and bead stringing, providing exact material grades, gauge sizes, and metallurgical fixes to ensure your handmade jewelry actually lasts.
Troubleshooting Wire Wrapping: Snaps, Slips, and Work Hardening
Wire wrapping is a cornerstone of DIY jewelry, but it is also where most structural failures occur. If your wire is snapping while you form loops, or if your wrapped bails are slipping loose, the culprit is almost always improper wire temper and work hardening.
The Temper Trap: Dead Soft vs. Half-Hard
Metals are sold in different 'tempers,' which describe their hardness and malleability. Beginners often buy 'dead soft' wire because it is easy to bend with bare hands. However, dead soft wire lacks the structural memory to hold a shape under tension. When you use dead soft wire to make a jump ring or a clasp hook, it will pull open the moment weight is applied.
Conversely, 'half-hard' wire has been drawn and slightly annealed to provide a balance of malleability and stiffness. According to the metallurgical guidelines from Rio Grande, half-hard wire is the industry standard for making ear wires, jump rings, and structural loops. Dead soft should be reserved exclusively for tight, decorative weaving and wrapping around a rigid core.
Understanding Work Hardening and Brittle Fractures
Every time you bend, twist, or hammer metal, you alter its crystalline lattice structure, making it harder and more brittle—a process called work hardening. If you repeatedly adjust a loop with your pliers, the wire will eventually snap. This is a brittle fracture caused by over-manipulation.
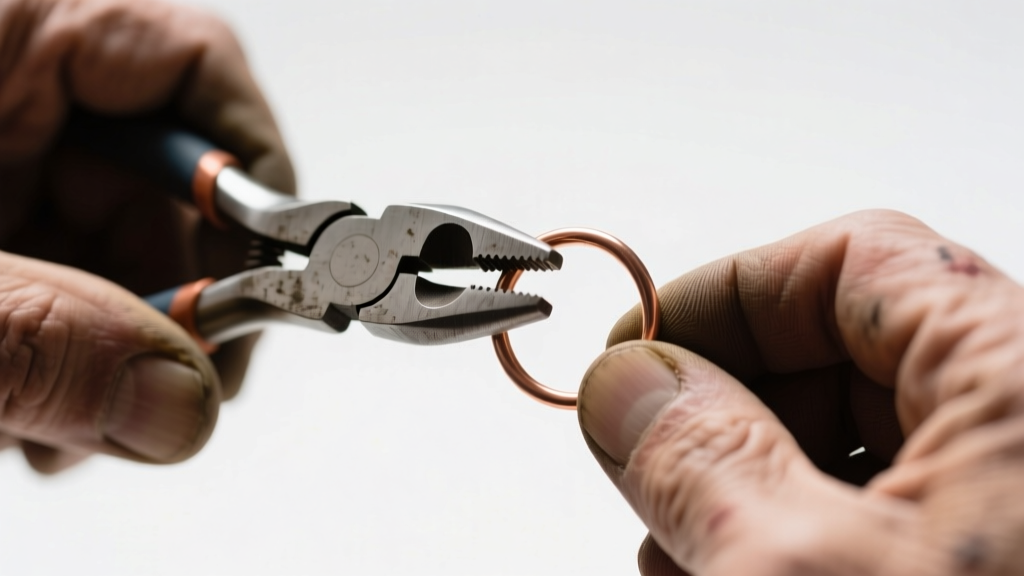
The Fix: Form your loops with confidence and minimal adjustments. If you need to practice, use 20-gauge or 22-gauge solid copper wire (which costs around $8 per 10-yard spool) before moving to sterling silver or gold-filled wire. Furthermore, always use nylon jaw pliers for your final adjustments to prevent the steel teeth of your standard flat-nose pliers from biting into the metal and creating micro-fissures that lead to snapping.
Wire Gauge and Application Matrix
| Wire Gauge | Temper | Best Application | Common Failure Mode |
|---|---|---|---|
| 18-Gauge | Half-Hard | Heavy clasps, thick jump rings, bangles | Too stiff for standard loops; requires heavy-duty flush cutters |
| 20-Gauge | Half-Hard | Standard ear wires, jump rings, wire-wrapped links | Bending out of shape if dead soft temper is mistakenly used |
| 22-Gauge | Dead Soft | Decorative wrapping, weaving, securing briolettes | Snapping from over-manipulation; lacks structural load-bearing capacity |
| 24-Gauge | Dead Soft | Fine detail weaving, securing small pearls | Shearing under the pressure of standard pliers |
Beading & Stringing Failures: Fraying Wires and Crimp Disasters
If you are asking how can I make jewelry using beads, you are likely using flexible stringing wire. The two most catastrophic failures in bead stringing are the fraying of the wire core and the slipping of the crimp bead.
Upgrading Your Stringing Core
Many beginner kits include 7-strand or 19-strand nylon-coated steel wire. These are prone to kinking. Once a kink forms in a steel core, the structural integrity is permanently compromised, and it will eventually snap at the stress point. In 2026, professional DIY makers rely almost exclusively on 49-strand micro-fused stainless steel wire, such as those produced by the Soft Flex Company. The 49-strand construction provides a drape that mimics silk thread while maintaining the tensile strength of steel, virtually eliminating kinking.
The Crimp Bead Catastrophe
A crimp bead is the only thing standing between your beautiful beadwork and a scattered mess on the floor. Beginners often use cheap, base-metal round crimp beads and crush them flat with chain-nose pliers. This creates a sharp, jagged edge that acts like a razor blade against your flexible wire, eventually cutting it.
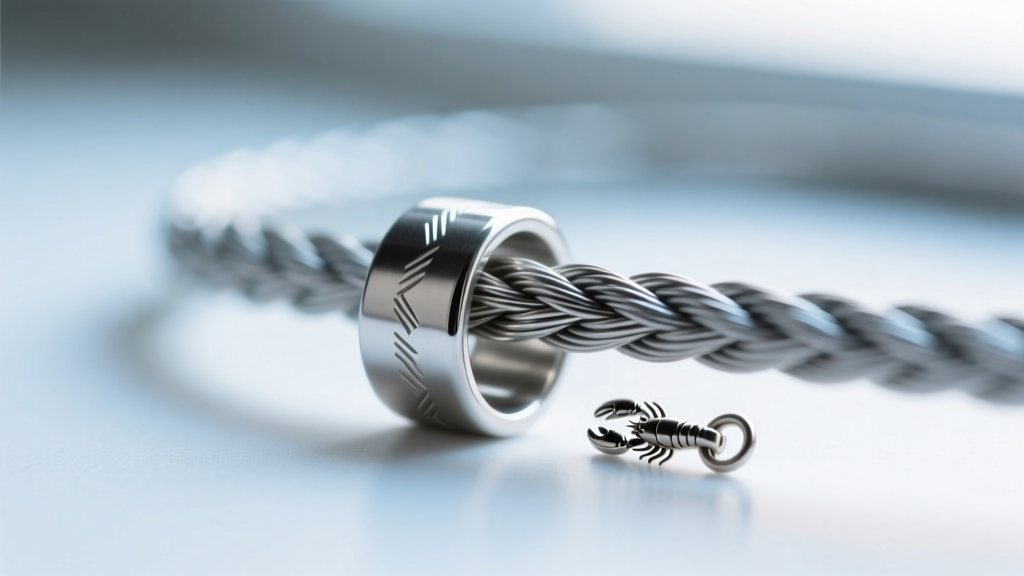
The Fix: Switch from round crimp beads to seamless sterling silver or copper crimp tubes (typically 2x2mm). You must also invest in a micro-crimper tool. A micro-crimper folds the tube into a U-shape, encasing the wire, and then folds it back onto itself, creating a smooth, rounded bead that will never slice your stringing material. As noted by wholesale findings experts at Halstead, using high-quality tube crimps reduces stringing failure rates by over 80% compared to crushed base-metal beads.
Clasp and Jump Ring Catastrophes
The connection point between your chain and your clasp is a high-stress zone. The most common error is pulling a jump ring apart laterally (side-to-side) to open it, which distorts the circle and weakens the metal. When closed, the ring will never sit flush, leaving a gap that catches on clothing and eventually pulls open.
The Twist Technique and Soldered Rings
To open a jump ring correctly, grip it with two pairs of pliers (flat-nose and chain-nose) and twist one hand toward you and the other away from you. This lateral twist preserves the circular shape and the temper of the metal. When closing, twist it back and apply a slight inward pressure to ensure the ends click together perfectly flush.
Pro-Tip: For heavy pendants or high-tension bracelets, never rely on a standard open jump ring. Always use a soldered jump ring (a ring that has been welded shut) or a split ring (which looks like a miniature keychain ring) to connect the clasp to the jewelry body.
Quick Diagnostic Checklist for Broken Jewelry
When a piece fails, don't just glue it back together. Run it through this diagnostic checklist to find the root cause:
- Examine the Break Point: Did the wire snap at the loop? You likely over-worked the metal or used dead soft wire for a structural joint.
- Check the Crimp: Did the wire slip out of the crimp? You either used the wrong size tube for your wire gauge, or you didn't use a micro-crimper to fold the metal properly.
- Inspect the Jump Rings: Did the jump ring pull open? You used an open ring for a heavy load, or you failed to close it flush using the twist method.
- Look for Abrasions: Did the wire fray near the clasp? You likely used sharp-edged crimp covers or didn't use a wire guard (French bullion) to protect the wire from the friction of the clasp movement.
Final Thoughts on Building Durable DIY Jewelry
Learning how to make jewelry that withstands daily wear is a process of unlearning bad habits and investing in the right metallurgical properties. By upgrading to half-hard wire for structural components, utilizing 49-strand micro-fused stringing materials, and mastering the mechanics of tube crimps and jump ring twisting, you will immediately elevate your work from fragile crafts to durable, professional-grade jewelry. Stop fighting your materials, understand their physical limits, and build pieces designed to last a lifetime.


