How Do I Learn to Make Jewelry: A Technical Wire & Metal Guide
Master the technical foundations of jewelry making. Learn wire gauge physics, cold connections, and precision tooling for structural metalwork.

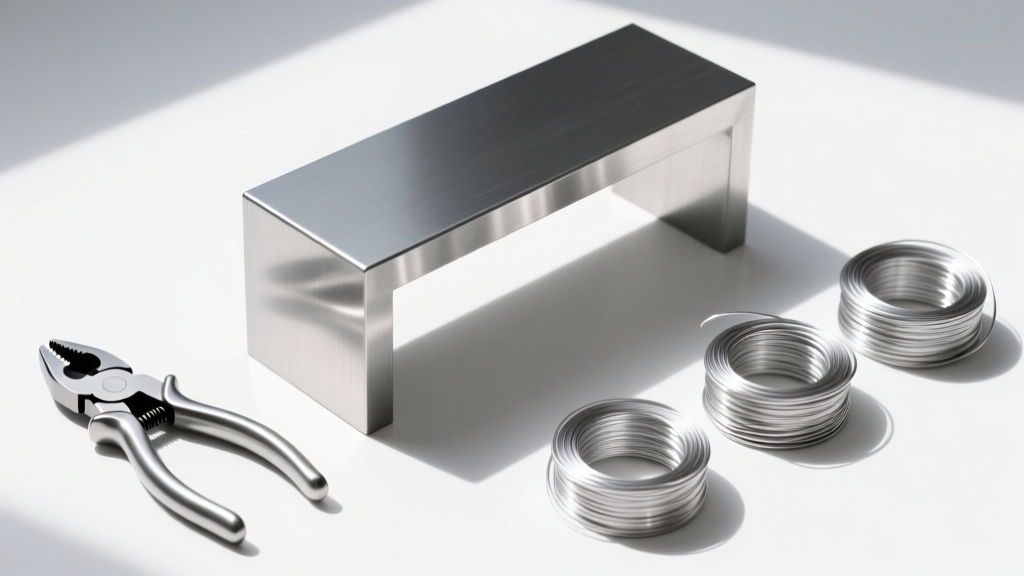
The Physics of Wire: Understanding Hardness and Gauge
When beginners ask, "how do I learn to make jewelry," they are often directed toward basic beading or simple stringing. However, true structural jewelry making requires a foundational understanding of metallurgy. Wire is not merely a string; it is a malleable metal lattice that responds to mechanical stress. Understanding the American Wire Gauge (AWG) system and the temper (hardness) of your metal is the first technical hurdle.
Wire temper dictates how the metal behaves under tension. Dead Soft wire has been annealed, meaning its crystal lattice is relaxed, allowing it to bend easily without springing back. This is essential for tight wire weaving and complex wrapping. Half-Hard wire has been drawn through a die after annealing, introducing dislocation density that increases tensile strength. This makes it ideal for ear wires, jump rings, and clasps that must bear weight without deforming. Full-Hard wire is highly springy and brittle, generally reserved for specialized pin stems or structural armatures.
The Gauge-to-Application Matrix
Using the wrong gauge for a specific structural load is the most common cause of jewelry failure. Refer to this matrix for standard AWG applications:
| AWG Size | Millimeter (mm) | Optimal Temper | Primary Structural Application |
|---|---|---|---|
| 28g - 30g | 0.32 - 0.25 | Dead Soft | Micro-weaving, coiling, securing cabochons |
| 24g - 26g | 0.51 - 0.40 | Dead Soft | Standard wire wrapping, woven jump rings |
| 20g - 22g | 0.81 - 0.64 | Half-Hard | Ear wires, standard jump rings, clasps |
| 14g - 16g | 1.62 - 1.29 | Half-Hard | Heavy bangles, structural neck collars |
| 10g - 12g | 2.58 - 2.05 | Dead Soft | Forged cuffs, heavy cold-connection rivets |
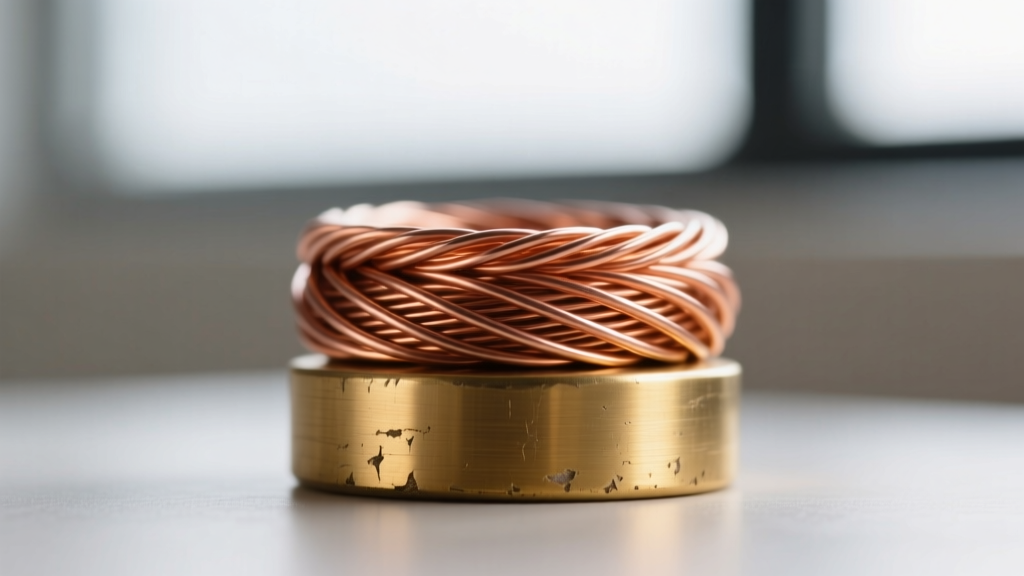
Essential Tooling: Beyond the Hardware Store
You cannot achieve commercial-grade finishes with hardware store pliers. Hardware cutters leave a "pinch" or bevel on both sides of the wire, creating sharp, dangerous protrusions. To learn to make jewelry properly, you must invest in precision lapidary and metalsmithing tools.
- Flush Cutters: The Lindstrom RX 8141 or Tronex 5201 are industry standards. They feature a single flat cutting edge and a beveled edge. Crucial Technique: Always face the flat side of the blade toward your workpiece to ensure a perfectly flush cut.
- Nylon Jaw Pliers: Brands like Wubbers offer nylon-coated jaws that grip wire without marring the metal or work-hardening it prematurely. Use these for straightening wire and closing jump rings.
- Steel Mandrels: Avoid wooden ring mandrels for wire wrapping; they compress and deform. Use hardened steel mandrels with laser-etched sizing to ensure your jump rings and ear wires are perfectly uniform.
- Bench Pin & Vise: A hardwood bench pin clamped to a heavy steel table provides the necessary resistance for sawing and filing without transferring kinetic energy back into your wrists.
Cold Connections: Rivets and Tab Settings
Many aspiring makers believe they need a torch and expensive silver solder to join metals. In reality, cold connections—mechanical joins made without heat—are foundational to mixed-media and structural jewelry. The tube rivet is the most elegant and durable cold connection.
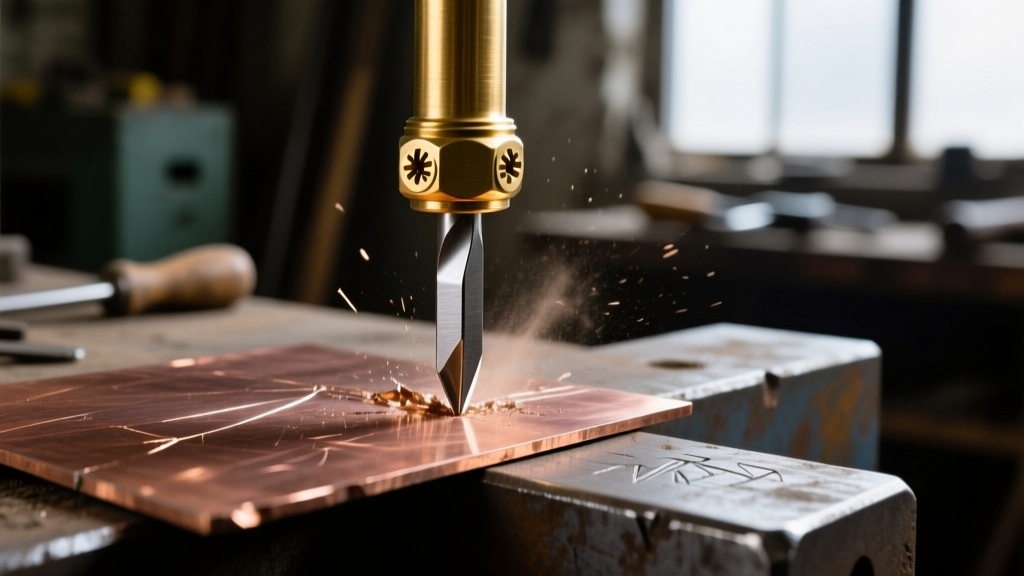
A tube rivet involves passing a hollow metal tube through two drilled sheets of metal and flaring the ends to lock them together. According to the technical archives at The Ganoksin Project, the key to a flawless tube rivet is the relationship between your drill bit, the tube's outer diameter, and the flaring tool.
Technical Specification for a Standard 1/16" Tube Rivet:
Use a 1.59mm (1/16") drill bit to pierce the sheet metal. Cut a segment of 1/16" outer-diameter copper or brass tubing. Insert the tubing so it protrudes exactly 0.8mm on each side. Use a 90-degree steel cone burr in a flex shaft to flare the inside of the tube, followed by a gentle peening with a 250g ball-peen hammer to compress the outer rim flat against the sheet.
Troubleshooting Common Structural Failures
When learning to make jewelry, mechanical failures are inevitable. Here is how to diagnose and fix the most common structural issues:
- Springback in Jump Rings: Caused by using dead-soft wire for high-tension areas. Fix: Switch to half-hard wire, or work-harden your dead-soft jump rings by tumbling them in stainless steel shot for 45 minutes.
- Marring and Tool Marks: Caused by steel-on-steel contact. Fix: Apply a single layer of painter's tape to the jaws of your chain-nose pliers, or use a brass-jawed vise grip when holding sheet metal.
- Cracked Wire at the Bend: Caused by over-manipulating the metal, leading to work-hardening and structural fatigue. Fix: Anneal the wire with a torch to relax the lattice, or start with a thicker gauge that requires fewer wraps.
Sourcing Commercial-Grade Metals
Sourcing materials from craft stores limits your technical growth. Craft store "silver" is often plated brass, and their wire tolerances vary wildly. To produce heirloom-quality work, you must source from industrial refiners and specialized jewelry suppliers like Rio Grande or OttoFrei.
When sourcing sterling silver, consider upgrading to Argentium 935. Unlike traditional .925 sterling silver (which contains 7.5% copper and tarnishes rapidly), Argentium replaces some copper with germanium. This creates a transparent germanium oxide layer on the surface, making it highly tarnish-resistant. Furthermore, Argentium can be fused to itself without solder in some applications, a massive advantage for beginners learning heat control.
Structured Practice: The 100-Hour Progression
Do not attempt complex woven bracelets on day one. Follow this structured 100-hour technical progression to build muscle memory and metallurgical intuition:
- Hours 1-20 (Tension & Cutting): Practice making 500 identical jump rings. Focus entirely on the flush cut and achieving perfect, gap-free closures using two pairs of pliers.
- Hours 21-50 (Weaving & Work-Hardening): Learn the Byzantine and Jens Pind Linkage weaves. This teaches you how aspect ratios (the inner diameter divided by the wire thickness) dictate whether a weave will hold or collapse.
- Hours 51-80 (Cold Connections): Drill, pierce, and rivet copper sheet metal. Practice making tab settings for undrilled cabochon stones.
- Hours 81-100 (Finishing): Master the progression of sanding grits (from 220 up to 2000 micro-mesh) and the use of liver of sulfur for controlled patination, followed by polishing with a rouge cloth.
Learning to make jewelry is not about buying the most expensive gemstones; it is about mastering the physics of the metal that holds them. By respecting gauge tolerances, investing in precision tooling, and understanding structural mechanics, you transition from a hobbyist to a technical metalsmith.


