How Do You Make Jewelry? A Beginner’s Guide to Wire Wrapping
Learn exactly how do you make jewelry using wire wrapping. This step-by-step guide covers tool grades, wire gauges, and pendant techniques.

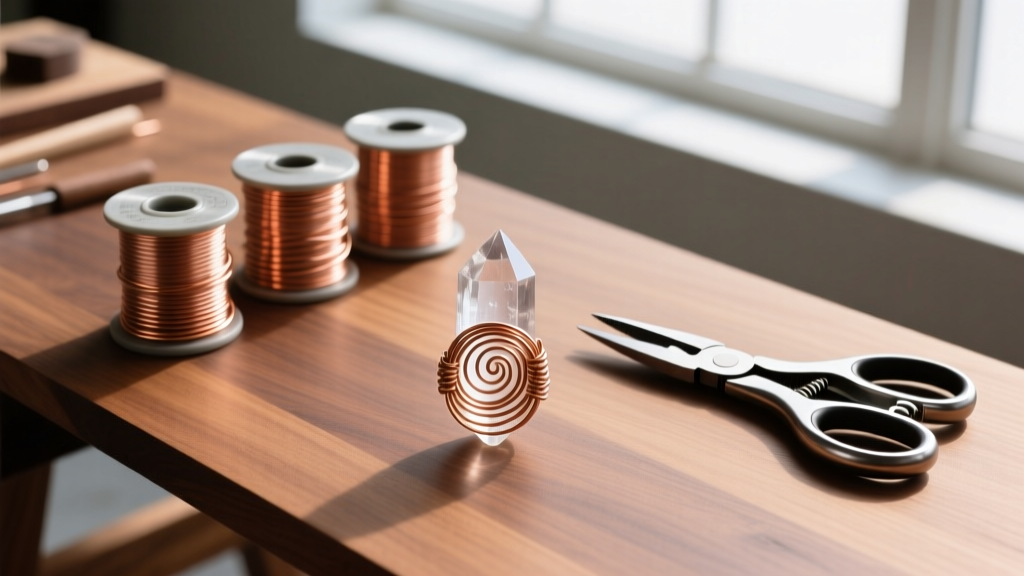
When aspiring creators ask, "how do you make jewelry" without investing thousands of dollars in soldering torches, flex shafts, and casting equipment, wire wrapping is the definitive answer. Wire wrapping is one of the oldest jewelry-making techniques, relying on the mechanical manipulation of metal to secure gemstones and create structural components. Unlike soldering, which uses heat to melt alloy joints, wire wrapping uses tension, loops, and woven wraps to build durable, intricate designs.
In this comprehensive guide, we will bypass generic craft-store advice and dive into the professional metallurgy, precise tool grades, and exact step-by-step mechanics required to craft a flawless wire-wrapped briolette pendant. Whether you are working with pure copper for practice or high-end Argentium silver for retail, understanding the physics of your materials is the first step toward mastery.
The Core Question: How Do You Make Jewelry with Wire?
Making jewelry with wire requires understanding two fundamental concepts: temper and work hardening. Wire temper refers to the stiffness of the metal. When you bend wire, you alter its crystalline structure, causing it to become harder and more brittle—a process known as work hardening. If you bend a wire back and forth too many times, it will snap. Professional jewelers use this to their advantage, manipulating dead-soft wire into shape and allowing it to naturally harden into a rigid, secure setting.
Essential Tools and Material Grades
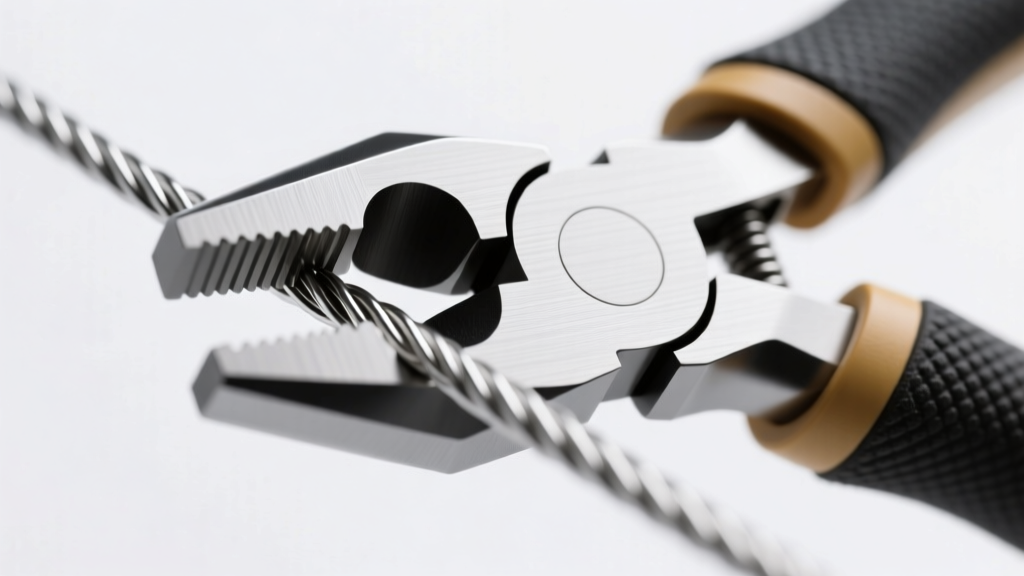
To answer the question of how do you make jewelry that actually lasts, you must abandon cheap, multi-purpose hardware store pliers. Jewelry wire requires precision tools with perfectly flush, polished jaws to prevent marring the metal.
The Non-Negotiable Tool Kit
- Flush Cutters: You need a micro-shear flush cutter. The Xuron 410 or Lindstrom RX 8141 are industry standards. They cut the wire perfectly flat on one side, leaving no sharp "pinch" point that can snag fabric or scratch skin. Expect to spend $25 to $45 for professional-grade cutters.
- Chain-Nose Pliers: Used for gripping, bending, and closing loops. Look for smooth-jawed pliers with a fine taper. The Wubbers or Lindstrom chain-nose models ($30-$50) offer superior grip without teeth that will destroy your wire.
- Nylon Jaw Pliers: Essential for straightening wire and closing loops without leaving steel tool marks on soft metals like silver or gold-filled wire. ($15-$25).
- Round-Nose Pliers: Used exclusively for forming perfect, consistent loops. The jaws are conical, allowing you to create different loop diameters depending on where you grip the wire.
Understanding Wire Gauges and Tempers
Wire thickness is measured in American Wire Gauge (AWG). The higher the number, the thinner the wire. Furthermore, temper dictates how the wire behaves under pressure.
| AWG Size | Diameter (mm) | Best Application | Recommended Temper |
|---|---|---|---|
| 18-Gauge | 1.02 mm | Heavy clasps, ear wires, structural frames | Half-Hard |
| 20-Gauge | 0.81 mm | Standard pendant bails, jump rings, base wraps | Dead-Soft or Half-Hard |
| 24-Gauge | 0.51 mm | Securing briolettes, fine coiling, weaving | Dead-Soft |
| 26-Gauge | 0.40 mm | Intricate Viking knit, micro-weaving | Dead-Soft |
Step-by-Step: Crafting a Wire-Wrapped Briolette Pendant
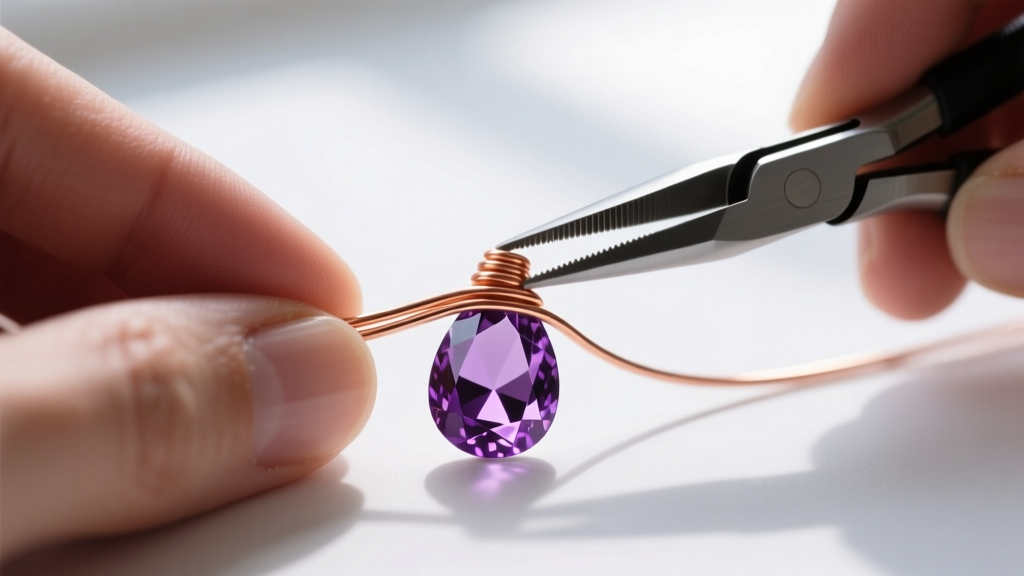
Now that we have established the materials, let us address the practical application of how do you make jewelry by wrapping a top-drilled teardrop gemstone (briolette). This technique creates a secure, professional bail that allows the stone to swing freely on a chain.
Step 1: The Anchor Loop
Cut a 4-inch piece of 20-gauge dead-soft wire. Thread the wire through the top-drilled hole of your briolette. Pull the wire through until you have a short tail (about 0.75 inches) on one side and a long tail on the other. Using your chain-nose pliers, grip the wire just above the gemstone hole on the long side. Bend the long tail upward at a sharp 90-degree angle, creating a "V" shape directly above the stone.
Step 2: Forming the Bail
Take the short tail and wrap it tightly around the 90-degree upright wire. Make exactly three tight, adjacent coils moving upward. Use your nylon jaw pliers to squeeze the coils flat and neat. Once the three wraps are complete, use your flush cutters to trim the short tail perfectly flush against the upright wire. Tuck the microscopic remaining end into the coil using the very tip of your chain-nose pliers to prevent snagging.
Step 3: The Top Loop and Finishing
With the short tail secured, you now have a single upright wire extending from your wrapped coils. Use your round-nose pliers to grip the top of this upright wire. Roll the pliers away from you to form a perfectly round loop, which will serve as the bail for your necklace chain. Finally, take the remaining tail of the wire and wrap it down the neck of the upright wire, covering the space between the gemstone and the new bail. Trim flush, tuck the end, and burnish the entire piece with a polishing cloth.
Troubleshooting Common Beginner Mistakes
Even when following precise instructions, beginners frequently encounter structural failures. Understanding why these failures occur is crucial to mastering how do you make jewelry that withstands daily wear.
"The most common mistake in wire wrapping is over-manipulating the metal. Every time you bend the wire, you are work-hardening it. If you make a mistake and try to unbend and rebend the same section, the crystalline structure will fatigue and snap." — Master Jeweler Bench Notes
- Marring the Wire: If your finished silver or copper wire looks scratched and dull, you are using pliers with serrated teeth or applying too much grip pressure. Always use smooth-jawed pliers and consider dipping the jaws in PlastiDip or using nylon jaw pliers for final adjustments.
- Gaps in Coils: When wrapping the neck of a pendant, gaps between the coils indicate that you are not pulling the wrapping wire at a strict 90-degree angle to the core wire. Keep your tension high and your angle perpendicular.
- Asymmetrical Loops: If your top bail loops look twisted or off-center, you are likely rolling the round-nose pliers unevenly. Practice forming loops on scrap copper wire until your muscle memory develops a consistent rolling motion.
Sourcing Quality Materials in 2026
Knowing how do you make jewelry is only half the battle; knowing where to source reliable materials dictates your profit margins and the longevity of your pieces. Avoid big-box craft stores, as their wire is often poorly annealed and mislabeled regarding gauge and temper.
For professional-grade materials, industry-standard suppliers like Rio Grande offer certified Argentium silver, which contains germanium for extreme tarnish resistance—a massive selling point for retail customers. For specialized wire shapes (square, half-round) and bulk copper for practice, Halstead Bead provides exceptional consistency and detailed metallurgical spec sheets. Expect to pay between $5 and $12 per spool for high-quality copper practice wire, and $40 to $90 per troy ounce for premium sterling or Argentium silver wire, depending on market fluctuations.
By investing in precision tools, respecting the metallurgical properties of your wire, and practicing the briolette wrap until it becomes second nature, you transition from a hobbyist to a capable wire jewelry artisan.


