Permanent Jewelry Course Mistakes: Troubleshooting Micro-Welds
Struggling after your permanent jewelry course? Troubleshoot weak micro-welds, argon gas flow issues, and 14k gold chain sourcing mistakes with expert fixes.

The Reality After the Permanent Jewelry Course
Completing a permanent jewelry course is an exciting milestone, but the transition from a controlled classroom environment to real-world client scenarios often exposes critical gaps in technical training. In a workshop, you weld pristine chains on static displays. In your studio, you are navigating sweaty skin, moving wrists, varying chain thicknesses, and the occasional low-quality metal lot. The most common reason new permanent jewelry artists experience high repair rates or client dissatisfaction within their first six months is not a lack of artistic vision, but a failure to troubleshoot the micro-metallurgy of arc welding.
If your welds are snapping, your chains are melting into green puddles, or your clients are complaining about the 'zap' of the welder, the issue lies in your post-course troubleshooting skills. This guide dives deep into the technical failures that standard certification programs gloss over, providing actionable, data-driven solutions for your daily operations.
Troubleshooting Weak or Brittle Micro-Welds
A weak weld that snaps under light tension is the fastest way to destroy your brand's reputation. When a weld fails, it is almost always due to one of three environmental or mechanical variables that your initial permanent jewelry course likely simplified.
1. Argon Gas Flow and Turbulence
Micro-TIG welding requires an inert shielding gas to prevent atmospheric oxygen from reacting with the molten 14k or 18k gold. Many beginners assume that 'more gas equals better shielding.' This is a critical error. According to technical guidelines from Sunstone Welders, an argon flow rate exceeding 2 Cubic Feet per Hour (CFH) creates turbulence. This turbulence actually pulls ambient oxygen into the weld pool, resulting in microscopic porosity and a brittle weld.
- Too Low (<0.5 CFH): Inadequate shielding, leading to dark, oxidized, and crumbly welds.
- Too High (>2.0 CFH): Venturi effect pulls in oxygen, causing internal porosity and weak tensile strength.
- The Sweet Spot: Set your regulator to exactly 1.0 CFH for standard 14k gold cable chains.
2. Tungsten Electrode Oxidation
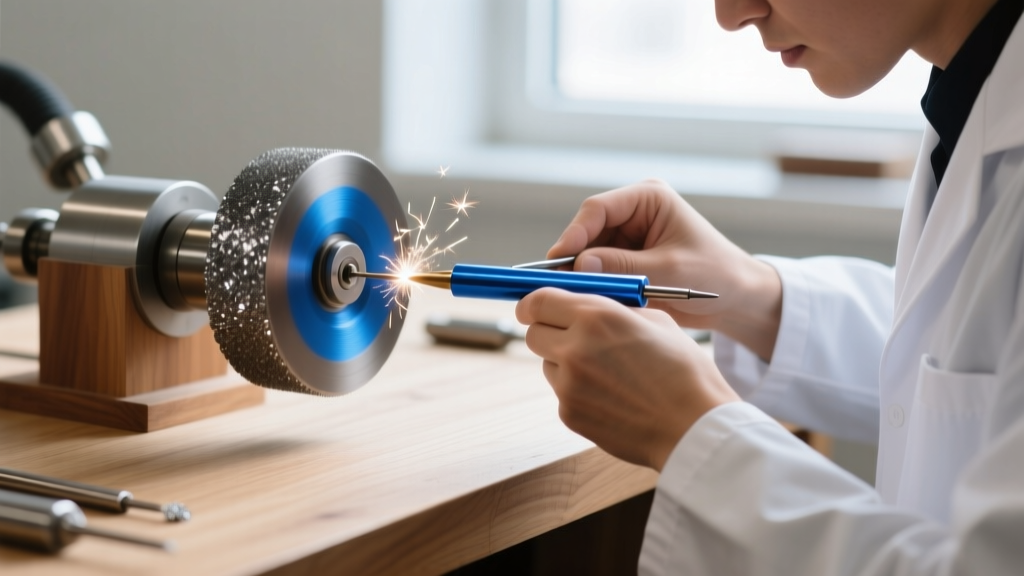
Your tungsten electrode is the delivery mechanism for the arc. If the tip is oxidized or rounded, the arc will scatter rather than focus, delivering inconsistent energy to the jump ring. Never use standard sandpaper to sharpen your electrode; the embedded aluminum oxide will contaminate your gold welds. Always use a diamond grinding wheel, grinding parallel to the electrode's length to ensure the arc travels straight down the tip.
Chain Sourcing Failures: Why Your 14k Gold is Snapping
One of the most expensive mistakes made after a permanent jewelry course is sourcing the wrong type of chain. To protect profit margins, new artists often buy '14k gold' chains from wholesale marketplaces without verifying the metallurgy. If you attempt to micro-weld a flash-plated brass or copper chain, the base metal will instantly oxidize, melt at a lower temperature, and create a toxic, brittle slag that will break the moment the client leaves your chair.
You must source solid 14k or 18k gold, or high-quality gold-filled (1/20 14k GF) chains from reputable suppliers like Rio Grande or Stuller. Below is a troubleshooting matrix for common chain styles and their specific welding failure modes.
| Chain Style | Weldability Score | Recommended Pulse (14k) | Common Failure Mode & Fix |
|---|---|---|---|
| Standard Cable | 9/10 | 35 - 45 WS | Failure: Links melt together. Fix: Ensure jump ring sits flat against the end link; reduce pulse by 5 WS. |
| Curb / Cuban | 6/10 | 50 - 65 WS | Failure: Thick links absorb heat, failing to fuse. Fix: Use a larger jump ring and increase pulse duration. |
| Paperclip | 8/10 | 40 - 50 WS | Failure: Elongated links warp from heat tension. Fix: Use flush cutters to trim the link perfectly flat before welding. |
| Rope | 3/10 | N/A | Failure: Twisted wires create uneven contact points, causing blowouts. Fix: Avoid welding rope chains entirely; use a clasp. |
Client Comfort and Safety Troubleshooting
A frequent complaint from first-time clients is feeling a sharp 'zap' or intense heat during the welding process. While micro-TIG welding is generally painless, a 'zap' indicates a failure in your grounding circuit. The electrical current is seeking the path of least resistance to complete the circuit; if your grounding cable is not properly secured, the current will travel through the client's skin.
Optimizing the Grounding Circuit
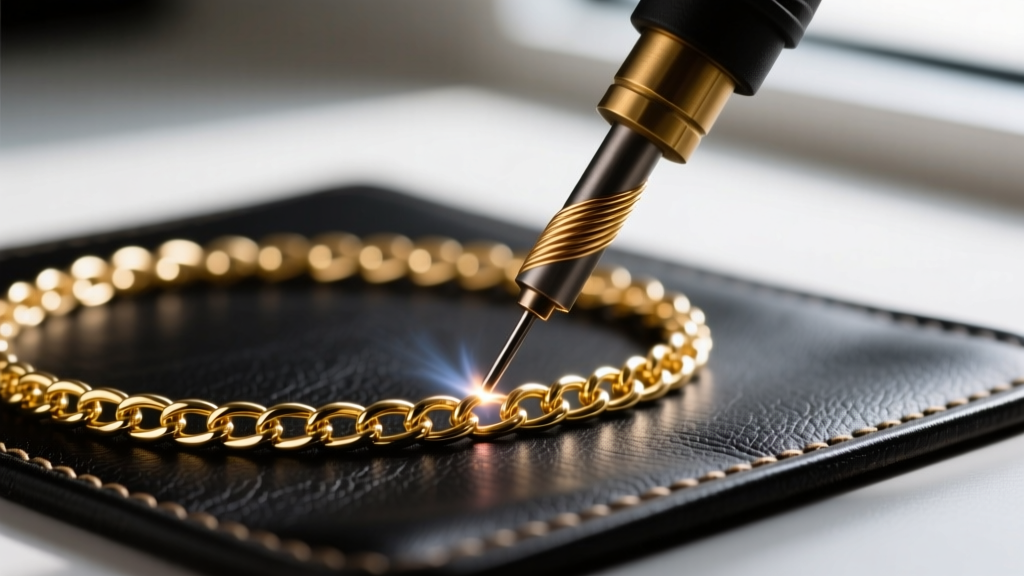
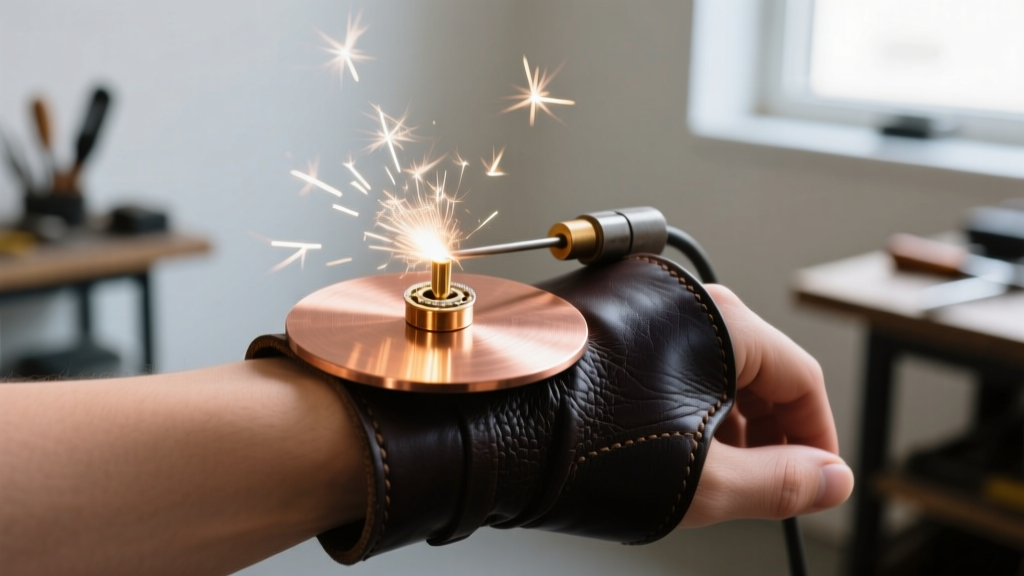
Never rely on the client simply holding a metal wand. Human skin has high electrical resistance, especially if dry. Instead, use a dedicated copper grounding plate. Have the client place their hand flat on the copper plate, and ensure the chain is resting on a thick leather welding shield. The leather protects the skin from UV flash and heat, while the copper plate provides a zero-resistance path for the welder's ground clamp.
Furthermore, ensure the chain is not touching the client's bare skin at the exact moment of the weld. The localized heat transfer through the gold can cause a mild thermal burn if the metal is pressed directly against the epidermis during the 4-millisecond pulse.
Advanced Fixes for Jump Ring Blowouts
A 'blowout' occurs when the welder's energy vaporizes the metal rather than fusing it, leaving a microscopic crater or completely severing the chain link. This almost always happens due to a gauge mismatch between the chain and the jump ring.
If you are welding a delicate 22-gauge cable chain but using a heavy 18-gauge jump ring to close it, the welder faces a thermal dilemma. The energy required to melt the thick 18-gauge jump ring (approx. 55 WS) is far too high for the 22-gauge chain link. The chain link will instantly vaporize before the jump ring reaches its melting point.
The Gauge-Matching Rule
Always match your jump ring wire thickness to the chain link wire thickness. If you are using a 1.2mm 14k gold cable chain (typically drawn from 20-gauge wire), your jump rings must also be 20-gauge or 22-gauge. If you must use a thicker jump ring for structural integrity on a heavy charm, utilize a dual-pulse setting if your machine supports it. The first low-energy pulse (20 WS) pre-heats the metals, and the second high-energy pulse (45 WS) completes the fusion without vaporizing the finer links.
Moving Beyond the Basics
While a foundational permanent jewelry course provides the essential safety protocols and basic machine operation, true mastery requires a deep understanding of metallurgy and electrical resistance. By strictly monitoring your argon flow, refusing to compromise on solid metal sourcing, and meticulously matching your wire gauges, you will eliminate 95% of the repair issues that plague new studios. Treat every failed weld not as a nuisance, but as a data point to refine your technical process.