How to Wire Wrap Jewelry: A Beginner's Guide to Teardrop Pendants
Learn how to wire wrap jewelry with this beginner-friendly guide. Master the teardrop pendant bail, locking wraps, and essential wire gauges.
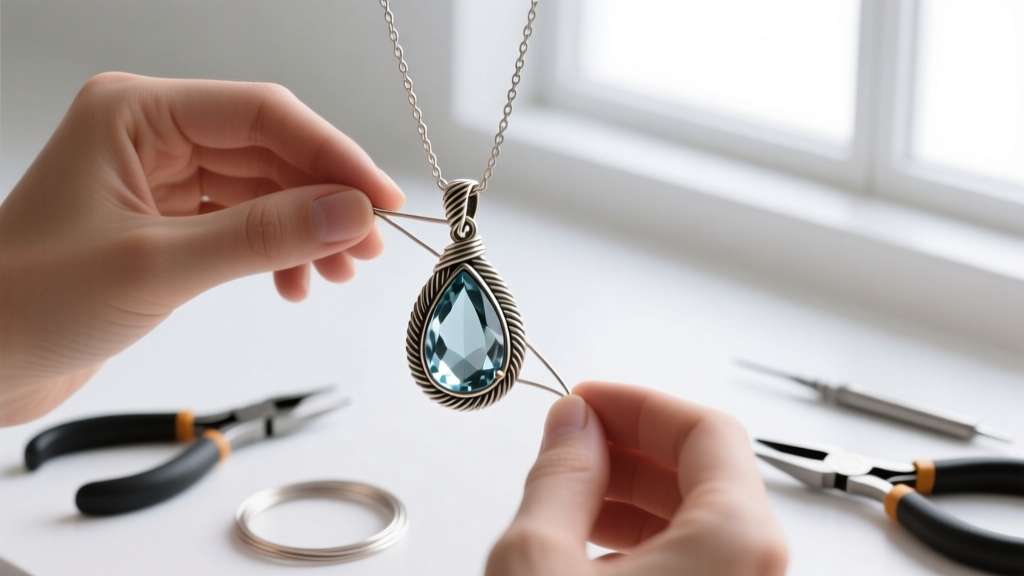
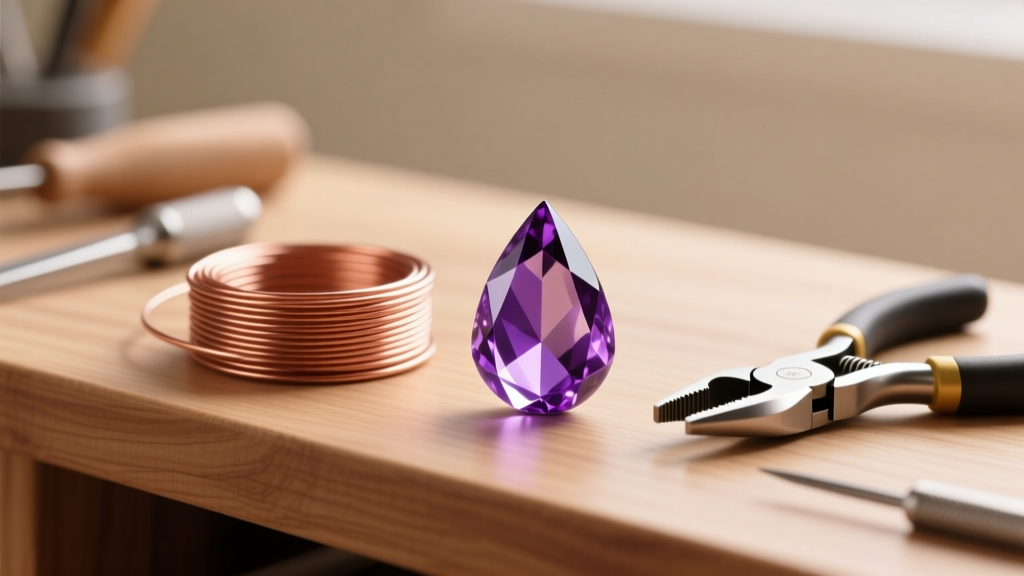
Wire wrapping is one of the oldest and most rewarding techniques in jewelry fabrication. Unlike soldering, which requires torches, flux, and precise temperature control, wire wrapping relies on mechanical connections—using the wire itself to bind, secure, and frame gemstones. If you have been searching for exactly how to wire wrap jewelry without getting overwhelmed by complex weaves, you are in the right place.
In this guide, we will break down the foundational mechanics of wire wrapping by creating a classic teardrop pendant. This project teaches the three most critical skills every beginner must master: creating a structurally sound bail, seating a stone without adhesives, and executing a clean locking wrap. By the end of this tutorial, you will understand wire gauges, metal hardness, and the exact tool mechanics required to produce professional-grade results.
The Anatomy of a Wire-Wrapped Teardrop
Before bending any metal, it is crucial to understand the structural zones of a basic wire-wrapped pendant. A standard teardrop wrap consists of three distinct components:
- The Frame: The heavy-gauge wire that outlines the perimeter of the stone. It provides the structural skeleton and prevents the gemstone from slipping out.
- The Bail: The loop at the top of the pendant through which your chain or cord passes. A well-made bail must withstand the friction and weight of a metal chain without warping.
- The Locking Wrap (or Binding Wire): The thinner wire used to bind the frame wires together at the top and bottom of the stone, effectively 'locking' the stone inside the cage.
Understanding these zones dictates your material choices. You cannot use the same wire for the frame and the wrap; doing so will result in a bulky, unmanageable design or a structurally weak pendant.
Essential Tools and Wire Gauges Explained
The most common point of failure for beginners is using the wrong wire hardness or gauge. Wire is sold by thickness (gauge) and temper (hardness). For a teardrop pendant, you need a combination of a thicker, stiffer wire for the frame, and a thinner, highly malleable wire for the wraps.
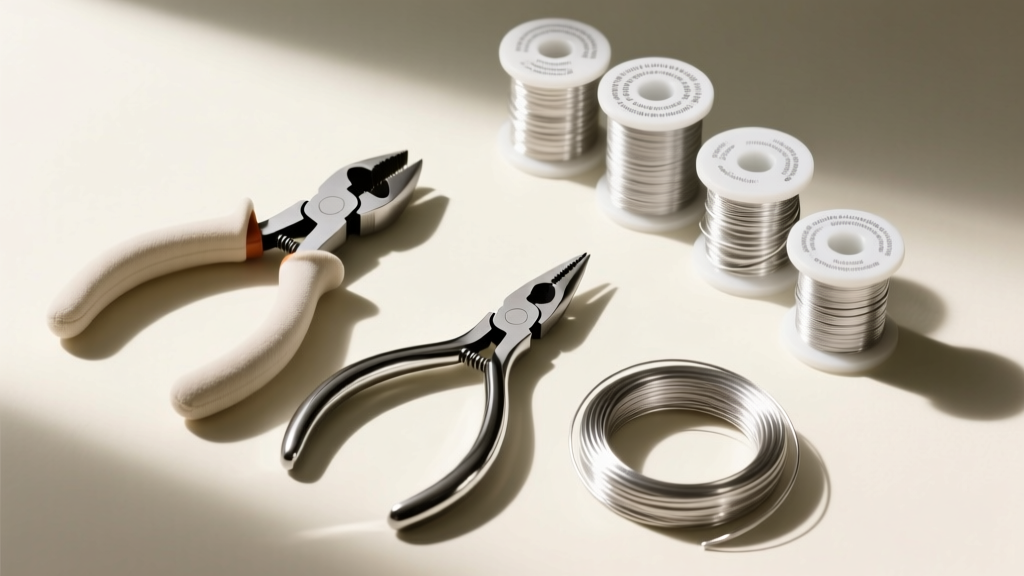
| Material / Tool | Specification | Best Use Case | Estimated Cost (USD) |
|---|---|---|---|
| Sterling Silver Wire | 20-Gauge, Half-Hard | Main frame and bail creation | $35 - $45 per oz |
| Sterling Silver Wire | 24-Gauge, Dead Soft | Locking wraps and coiling | $25 - $30 per oz |
| Flush Cutters | Micro-shear, 5-inch | Cutting wire flush without pigtails | $20 - $35 |
| Chain-Nose Pliers | Smooth jaw, 4.5-inch | Gripping, bending, and tucking wire | $15 - $25 |
| Nylon Jaw Pliers | Flat nose | Straightening wire without marring | $12 - $18 |
Pro Tip: Never use standard hardware store pliers for jewelry making. The serrated teeth on standard pliers will permanently mar and scratch your silver or copper. Always use smooth-jawed jewelry pliers, or wrap the teeth in painter's tape as a temporary fix.
Step-by-Step: How to Wire Wrap Jewelry (The Bail & Lock)
For this project, you will need one 10x15mm teardrop briolette (top-drilled or side-drilled), 6 inches of 20-gauge half-hard wire, and roughly 12 inches of 24-gauge dead soft wire.
Step 1: Creating the Top Bail
The bail is the anchor of your pendant. Cut a 6-inch piece of your 20-gauge half-hard wire. Using your nylon jaw pliers, gently straighten the wire to remove any kinks from the spool. Find the exact center of the wire using a ruler.
Place your round-nose pliers at the center mark and bend the wire in half, creating a tight 'V' shape. Now, cross the two tails over each other just below the bend to form a small teardrop-shaped loop. This loop is your bail. Grip the crossing point firmly with your chain-nose pliers and twist the two wire tails together for two full rotations. This twisted section will sit directly above your gemstone.
Step 2: Seating the Stone
Splay the two twisted wire tails outward so they form a wide 'U' shape. Place your teardrop stone into the cradle of the 'U'. The goal is to bend the 20-gauge wire up along the left and right sides of the stone, following its natural contour.
Using your fingers (not pliers, to avoid scratching the stone or work-hardening the wire prematurely), gently push the wire up the sides of the gemstone. Stop when both wire tails reach the top hole of the briolette. You should have about 1.5 inches of excess wire extending past the top of the stone on both sides.
Step 3: The Locking Wrap
This is where the magic happens. Take your 24-gauge dead soft wire and leave a 2-inch tail. Place the tail against the left side of the 20-gauge frame wire, just below the gemstone's top hole. Hold it firmly in place with your thumb.
Using your other hand, begin wrapping the 24-gauge wire tightly around both the left frame wire and the right frame wire, binding them together. Make 4 to 6 tight, adjacent coils. The wraps must sit perfectly parallel; overlapping wraps look messy and weaken the bind. After your final wrap, use your flush cutters to snip the binding wire as close to the frame as possible.
The Flush Cutter Secret: Flush cutters have a flat side and a beveled side. Always place the flat side of the cutter against the wire you want to keep. The beveled side will create a sharp 'pigtail' on the waste piece. If you do this backward, you will leave a sharp spike on your pendant that will snag on clothing and scratch the wearer.
Finally, take the remaining tails of your 20-gauge frame wire, bend them backward behind the stone, and use your chain-nose pliers to tuck them tightly against the back of the gemstone. This secures the stone from falling forward.
Troubleshooting Common Beginner Mistakes
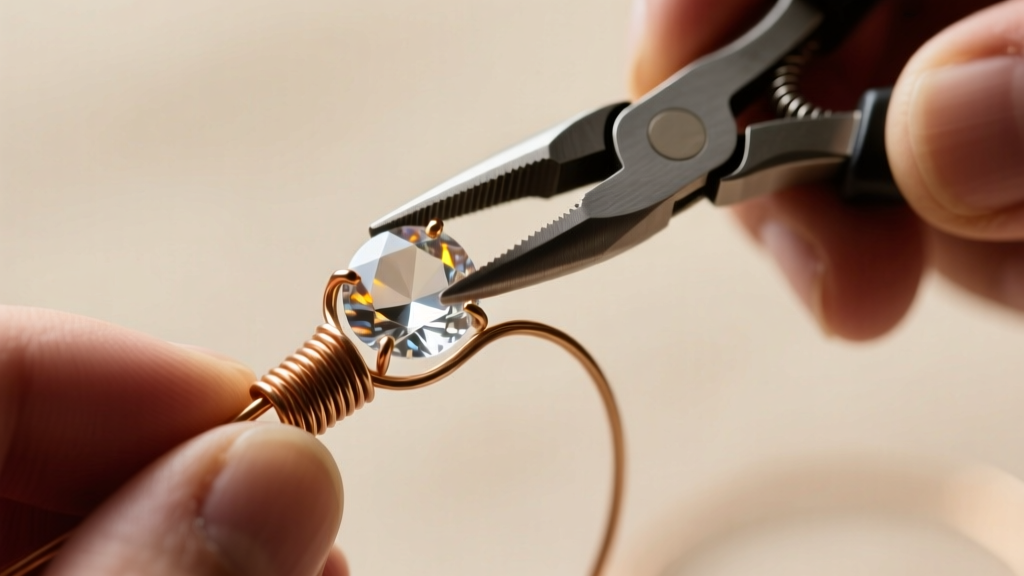
Even with perfect instructions, physical manipulation of metal requires muscle memory. Here are the most frequent failure modes and how to correct them:
- Work Hardening the Wire Too Early: Metals harden as they are bent and manipulated (work hardening). If you bend your 20-gauge frame wire back and forth to 'test' the fit, it will become brittle and snap. Bend it once, confidently, to the shape of the stone.
- Gapping Wraps: If your 24-gauge locking wraps have visible gaps between the coils, you are not pulling the wire taut enough. Grip the binding wire with your fingers close to the frame and pull firmly downward during each rotation.
- Scratched Gemstones: Quartz, amethyst, and agate are hard enough to resist minor scratches, but softer stones like turquoise, opal, and malachite will be damaged by steel pliers. Always use your fingers to shape the wire around soft stones, or apply a layer of masking tape to the jaws of your pliers.
- Slipping Stones: If your stone falls out of the bottom of the frame, your 20-gauge 'U' shape is too wide. The wire must hug the widest part of the stone's belly tightly before angling up toward the top hole.
Sourcing Quality Materials in 2026
Where you buy your wire drastically impacts your final product. Big-box craft stores often sell brands like Artistic Wire, which is excellent for learning because it is inexpensive and usually copper-core with a colored enamel coating. However, for fine jewelry that you intend to sell or wear daily, you must upgrade to solid metals.
According to industry standards from suppliers like Rio Grande, sterling silver (92.5% pure silver, 7.5% copper) remains the gold standard for accessible wire wrapping. It offers the perfect balance of malleability and tarnish resistance. For those on a strict budget, pure copper is an exceptional practice metal. It behaves almost identically to sterling silver but costs a fraction of the price. You can source high-quality, USA-milled copper wire from specialized vendors like Wire-Sculpture or Fire Mountain Gems.
Avoid buying unbranded wire from overseas marketplaces if you intend to sell your jewelry. Unverified 'sterling silver' is frequently silver-plated brass or copper, which will turn your customer's skin green and ruin your reputation. Always buy from reputable mills that provide assay certificates or guaranteed metal compositions.
Next Steps for the Aspiring Wire Artist
Mastering the basic teardrop wrap unlocks dozens of advanced variations. Once you can execute a clean locking wrap and a sturdy bail without marring your wire, you are ready to experiment with woven bails, trapped stones, and complex harness weaves. Keep your tools clean, store your silver wire in anti-tarnish ziplock bags, and remember that wire wrapping is as much about patience as it is about precision. Grab your pliers, cut your first piece of wire, and start wrapping.


