How Do You Make Metal Jewelry? Silver Fabrication Deep Dive
Learn how do you make metal jewelry with our expert guide to silver fabrication, covering metallurgy, soldering temperatures, and precision tooling.

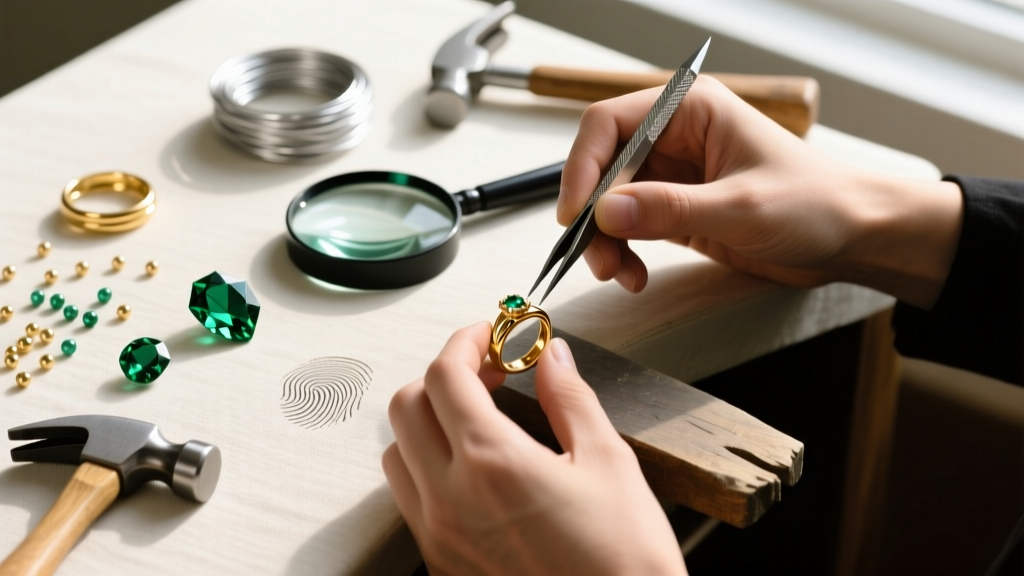
When beginners ask, 'how do you make metal jewelry?', they are often met with superficial overviews of wire wrapping or basic bead stringing. However, true metalsmithing—specifically small-scale fabrication and soldering—requires a rigorous understanding of metallurgy, thermal dynamics, and precision mechanics. This expert deep dive bypasses the fluff and dissects the technical realities of fabricating fine jewelry from sterling and Argentium silver, providing the exact specifications, failure modes, and tooling requirements demanded by professional bench jewelers.
The Metallurgy of Sterling and Argentium Silver
Fabrication begins with an intimate knowledge of your alloy. Standard Sterling Silver (.925) consists of 92.5% fine silver and 7.5% copper. While the copper provides necessary tensile strength, it is also the source of a fabricator's greatest nuisance: firescale. When heated in the presence of oxygen, the copper migrates to the surface and oxidizes, forming cuprous oxide (Cu2O), which presents as a deep, stubborn purple-grey stain that penetrates below the surface layer.
To combat this, many modern fabricators have transitioned to Argentium Silver (.935). Argentium replaces a portion of the copper with germanium. When heated, the germanium preferentially oxidizes, forming a transparent, self-healing layer of germanium dioxide (GeO2) that completely blocks the underlying copper from reacting with oxygen. This virtually eliminates firescale and drastically reduces post-soldering cleanup time.
Annealing Specifications
Work hardening occurs as the crystal lattice of the metal is deformed during rolling, forging, or bending. To restore malleability, the metal must be annealed. The thermal thresholds are unforgiving:
- Sterling Silver (.925): Anneal at 1,100°F (593°C). Visually, this is a dull cherry red in dim lighting. Quenching in water immediately after annealing is acceptable and keeps the metal soft.
- Argentium Silver (.935): Anneal at 1,050°F (565°C). Argentium is highly susceptible to cracking if quenched while hot due to its unique crystalline structure. It must be air-cooled on a soldering block until it reaches room temperature before pickling.
Essential Fabrication Tooling & Specifications
Precision fabrication requires equipment that delivers consistent, controllable power. The backbone of the modern bench jeweler's arsenal is the flex shaft motor. While hobbyists might rely on rotary tools like the Dremel, professionals utilize the Foredom SR Series. The SR motor delivers 1/8 horsepower and a maximum speed of 18,000 RPM, providing the high-torque, low-speed control necessary for setting stones and milling metal without stalling.
Expert Insight: Never use standard steel burrs on silver. Silver is highly conductive and gummy; it will instantly clog (load) steel burrs, generating excessive heat and ruining the cut. Always use High-Speed Steel (HSS) or Tungsten Carbide burrs with aggressive tooth geometries, and keep a brass brush nearby to clear swarf.
For cutting and piercing, the traditional jeweler's saw remains unmatched. A German-style adjustable saw frame allows you to utilize broken blade fragments, reducing waste. The saw frame must be tensioned correctly: when plucked, a properly tensioned blade should emit a high-pitched, resonant 'ping' akin to a guitar string. If the pitch is dull, the blade will wander and snap under lateral pressure.
The Physics of Sawing and Piercing
Selecting the correct saw blade is a matter of matching the tooth pitch to the metal gauge. The fundamental rule of sawing is that at least two, preferably three, teeth must be in contact with the metal at all times. If the metal is thinner than the distance between two teeth, the blade will catch, shatter, and tear the workpiece.
| Blade Size (0/) | Teeth Per Inch (TPI) | Optimal Metal Gauge | Primary Application |
|---|---|---|---|
| 2/0 | 51.5 | 18 - 20 Gauge | General cutting, heavy piercing |
| 3/0 | 59.0 | 20 - 22 Gauge | Intricate scrollwork, bezel wire |
| 4/0 | 66.0 | 22 - 24 Gauge | Fine filigree, ultra-thin sheet |
| 6/0 | 81.5 | 24 - 26 Gauge | Micro-piercing, delicate details |
Friction is the enemy of the saw blade. Applying a micro-layer of beeswax or specialized blade lubricant to the back of the blade reduces drag, dissipates heat, and prevents the silver swarf from welding itself into the gullets of the teeth. Always cut on the push stroke, keeping the blade perfectly vertical to ensure a 90-degree edge, which is critical for flush solder joints later in the process.
Soldering: Thermal Dynamics and Capillary Action
Soldering is not merely 'gluing' metal together with heat; it is an exercise in thermal management and capillary action. Silver solder does not flow toward the heat source; it flows toward the hottest point of the clean, fluxed metal. A common beginner failure mode is applying the torch flame directly to the solder pallion. This melts the solder instantly into a ball, oxidizing its surface and preventing it from wetting the joint.
According to Ganoksin's technical archives, the base metal must be brought to the flow temperature of the solder uniformly. The flux (typically a mixture of borax and boric acid, or a commercial self-pickling flux like Batterns) serves to dissolve existing oxides and create a molten glassy shield that prevents new oxides from forming during heating.
Solder Grades and Flow Temperatures
Complex fabrications require multiple soldering steps. To prevent previously soldered joints from melting during subsequent operations, fabricators use a stepped sequence of solder grades:
- Hard Solder: Flows at ~1,450°F (788°C). Used for the primary structural joints, such as closing ring shanks or attaching heavy galleries.
- Medium Solder: Flows at ~1,350°F (732°C). Used for secondary attachments, like adding bezel cups or structural bridges.
- Easy Solder: Flows at ~1,250°F (677°C). Reserved for final, delicate additions, such as setting jump rings or attaching catch mechanisms.
Troubleshooting Common Fabrication Failures
Even experienced bench jewelers encounter metallurgical anomalies. Diagnosing these failures requires understanding the chemistry occurring at the microscopic level.
1. Solder Balling and Refusal to Flow
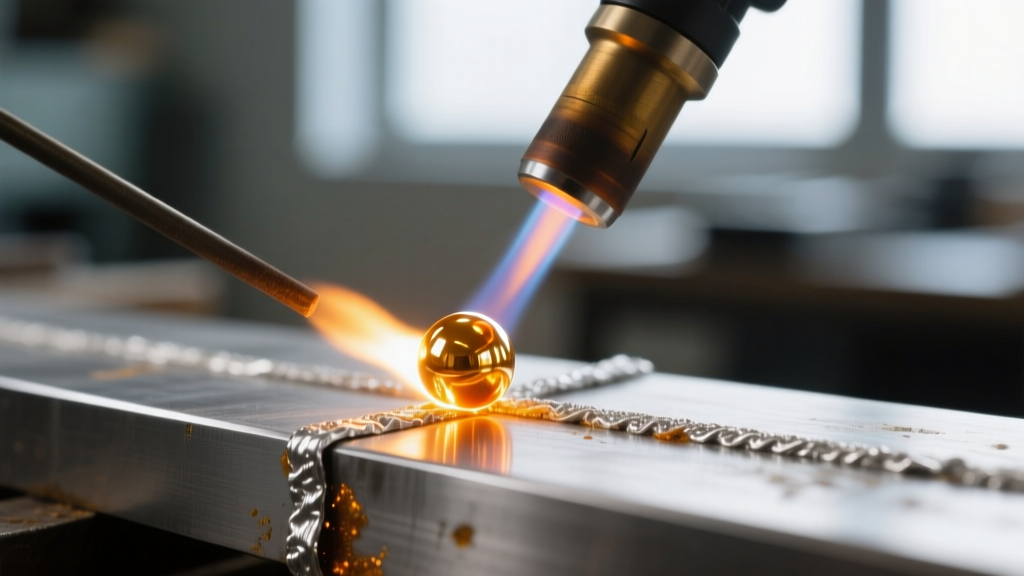
The Symptom: The solder melts into a perfect, shiny sphere on top of the seam but refuses to draw into the joint.
The Diagnosis: This is a surface tension failure caused by either inadequate flux coverage or localized overheating. If the flux burns off (turning black and glassy) before the solder flows, the silver instantly oxidizes, creating a barrier. Furthermore, if the joint is not perfectly flush (light-tight), capillary action cannot occur. The solder will always bridge the smallest gap; if the gap is too wide, it will simply ball on the surface.
2. Pitting and Porosity
The Symptom: The soldered joint appears spongy or pitted after pickling.
The Diagnosis: This occurs when the solder is overheated, causing the zinc or cadmium (in older alloys) to vaporize, or when the joint was contaminated with organic matter (skin oils, polishing compounds) prior to soldering. The vaporizing elements leave microscopic voids in the crystalline structure of the solder. Always clean workpieces in an ultrasonic cleaner or with pumice powder before fluxing.
Finishing and Patination Chemistry
The final stage of fabrication dictates the optical properties of the jewelry. To achieve a high polish, the metal must be progressively abraded from 220-grit sandpaper up to 1200-grit, followed by a tripoli compound on a stitched muslin buff, and finally a rouge (iron oxide) compound on a loose flannel buff. This process aligns the microscopic peaks and valleys of the metal surface, allowing light to reflect uniformly.
For oxidized or antiqued finishes, fabricators utilize Liver of Sulfur (potassium sulfide). When dissolved in warm water, it releases hydrogen sulfide gas, which reacts with the copper in the sterling silver to form copper sulfide (CuS). This creates a rich, dark patina. The depth of the color is controlled by the concentration of the solution, the temperature of the water, and the immersion time. By selectively polishing the high points of the piece with a brass brush or polishing cloth after patination, the fabricator creates dramatic contrast, highlighting the architectural geometry of the metalwork.


