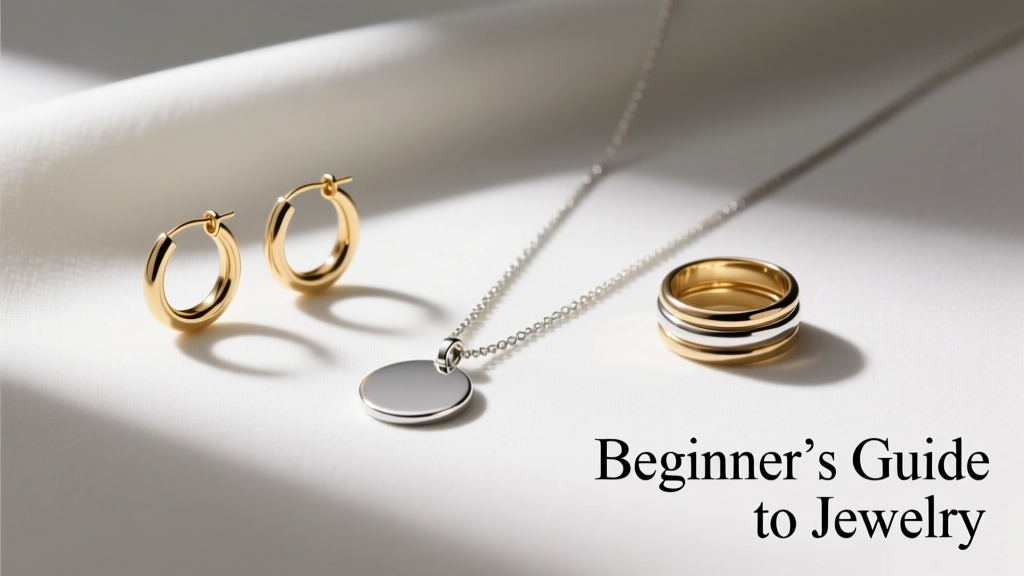
How to Make Custom Jewelry: 2026 Tool & Supply Buying Guide
Learn how to make custom jewelry with our 2026 buying guide. Discover the best pliers, wire gauges, and metal clays for professional DIY results.

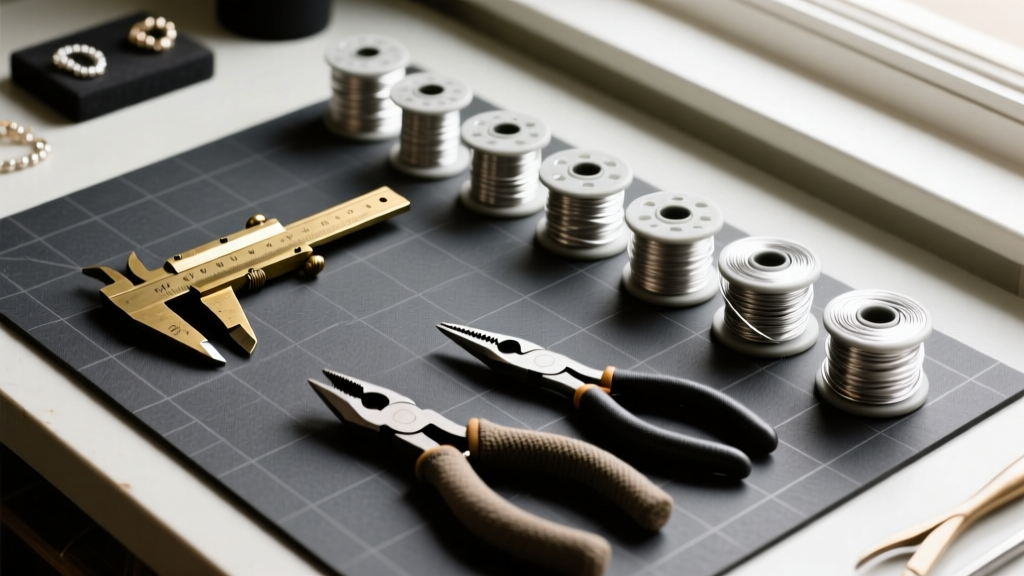
Learning how to make custom jewelry requires more than just a creative eye; it demands a deep understanding of metallurgy, tool mechanics, and material behavior. Whether you are transitioning from basic beading to advanced wire wrapping, or stepping into silver smithing for the first time, the supplies you choose will dictate the structural integrity and finish of your pieces. In this comprehensive 2026 buying guide, we break down the exact tools, wire tempers, and gemstone considerations you need to build a professional-grade custom jewelry kit.
The Foundation: Essential Hand Tools for Custom Pieces
The most common failure point for beginners is purchasing soft, stamped-steel pliers from generic craft stores. These tools feature misaligned jaws and coarse teeth that will permanently mar your metal and cause hand fatigue. When learning how to make custom jewelry, investing in forged, high-carbon steel or precision-machined pliers is non-negotiable.
Pliers: Flat-Nose vs. Chain-Nose vs. Nylon-Jaw
Each plier type serves a distinct mechanical purpose in jewelry fabrication:
- Chain-Nose Pliers: Featuring tapered, semi-round inner jaws, these are your primary gripping and bending tools. Look for brands like Wubbers or Lindstrom that offer smooth, un-serrated jaws to prevent scratching soft metals like fine silver or 14k gold-fill.
- Flat-Nose Pliers: With wide, flat, rectangular jaws, these provide maximum surface area for gripping wire securely without slipping. They are essential for creating sharp 90-degree angles and closing jump rings flush.
- Nylon-Jaw Pliers: These are critical for work-hardening wire. By pulling dead-soft wire through the nylon jaws, you compress the metal's crystalline structure, increasing its tensile strength and stiffness without leaving tool marks.
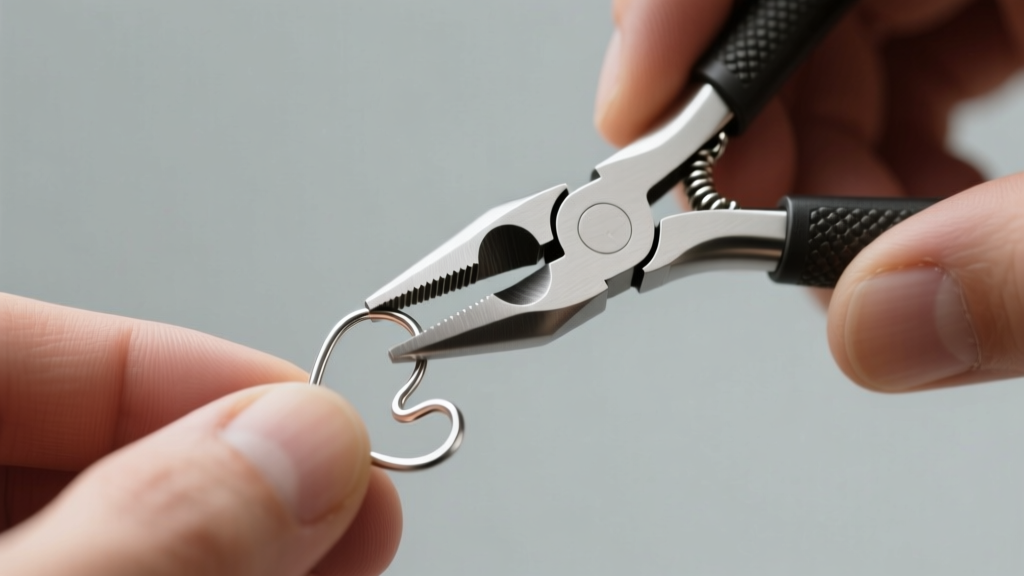
Cutters: The Importance of a Flush Cut
Standard bevel cutters leave a 'pinch' or sharp spike on the wire, requiring extensive filing. For custom jewelry, you need flush cutters. A high-quality flush cutter, such as the Tronex 5300, features a blade geometry that leaves one side of the cut perfectly flat (at a 90-degree angle to the wire). This allows you to sit jump rings and ear wires completely flush against beads or other components, eliminating snag points.
Wire & Metal: Selecting the Right Gauges and Alloys
Understanding wire temper and alloy composition is where amateur makers separate themselves from professionals. Wire temper refers to the hardness of the metal, which is altered through annealing (heating and cooling) or cold-working (drawing through a die).
Decoding Wire Temper
- Dead Soft: Highly malleable and easily bent by hand. Ideal for intricate wire weaving, coiling, and wrapping around cabochons where the wire needs to conform to organic shapes.
- Half-Hard: Has been cold-worked to increase stiffness. It holds its shape well under moderate stress, making it the standard for ear wires, jump rings, and structural frames.
- Full-Hard: Extremely stiff and brittle. Rarely used in hand-wrapping, but occasionally utilized for spring-loaded clasp mechanisms or rigid structural pins.
Wire Gauge Application Chart
| Wire Gauge | Diameter (mm) | Best Use | Recommended Temper |
|---|---|---|---|
| 18g | 1.02mm | Heavy clasps, ring shanks, structural frames | Half-Hard |
| 20g | 0.81mm | Ear wires, jump rings, light wire wrapping | Half-Hard / Dead Soft |
| 22g | 0.64mm | Coiling, weaving, securing briolettes | Dead Soft |
| 24g | 0.51mm | Intricate weaving, knitting, micro-macrame | Dead Soft |
The Argentium Advantage
If you are working with silver, consider upgrading from traditional Sterling (.925) to Argentium Silver. As detailed in metallurgical resources from Ganoksin, Argentium replaces a portion of the copper alloy with germanium. This makes the silver highly resistant to tarnish and allows it to be fused to itself without the use of solder or flux, a massive advantage for custom wire-wrapped and woven designs.
Sourcing Stones and Findings: What to Look For in 2026
When integrating gemstones into custom wire-wrapped or fabricated pieces, the Mohs Hardness Scale must dictate your technique. Applying heavy tension with steel pliers against a soft stone will result in catastrophic cleavage or surface scratching.
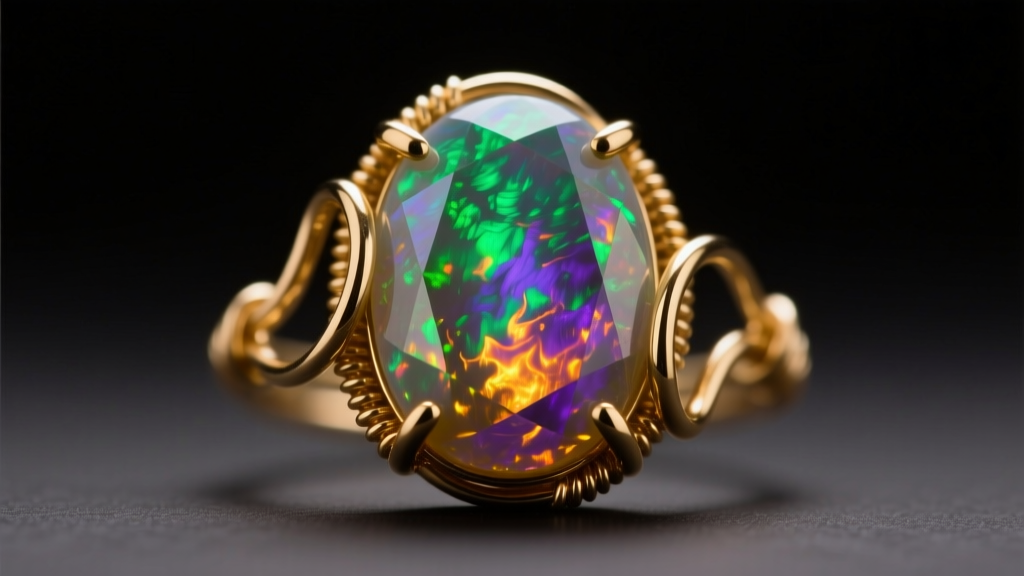
Gemstone Hardness and Wrapping Tension
- Fluorite & Malachite (Mohs 3-4): Extremely soft. Never use tight, structural wire wraps. Instead, use basket settings or bezel cups, and protect the stone with masking tape while working near it.
- Opal & Turquoise (Mohs 5-6): Moderate hardness. Use dead-soft wire and rely on nylon-jaw pliers to tension the wire. Avoid prong settings that require heavy downward pressure.
- Quartz, Topaz & Beryl (Mohs 7-8): Hard and durable. These can withstand traditional prong wrapping, tight tension settings, and direct pressure from smooth-jawed steel pliers.
Finding Quality Clasps and Jump Rings
Avoid base-metal 'lobster' clasps from bulk bins; their internal springs rust and fail quickly. For custom pieces, source solid brass, stainless steel, or precious metal lobster clasps. Furthermore, always use soldered jump rings or heavy-gauge split rings for the primary connection point at the clasp. An unsoldered 20-gauge jump ring will easily pull apart under the weight of a heavy pendant or the lateral stress of a bracelet.
Advanced Additions: Metal Clay and Resin Supplies
For those expanding beyond cold connections, Precious Metal Clay (PMC) offers a way to sculpt custom findings, bezels, and pendants that fire into solid fine silver. You will need a butane torch (like the Blazer Big Shot) or a small kiln, along with specialized burnishing tools. Alternatively, UV-curing jewelry resins have advanced significantly by 2026, offering non-yellowing formulas perfect for encapsulating dried botanicals or creating faux-enamel inlays in stamped metal blanks.
Budgeting Your First Custom Jewelry Kit
Building a professional kit requires an upfront investment, but it prevents the frustration of broken tools and ruined materials. Here is a realistic budget breakdown for a premium beginner-to-intermediate setup:
- Pliers Set (Chain, Flat, Round): $120 - $180 (Lindstrom or Wubbers)
- Flush Cutters: $45 - $65 (Tronex)
- Mandrel & Rawhide Mallet: $35 - $50
- Initial Wire Stock (Argentium & Copper): $80 - $120
- Bench Pin & Jeweler's Saw: $40 - $60
Pro Tip: Always practice new weaving patterns or structural bends using dead-soft copper wire before cutting into expensive Argentium or gold-filled stock. Copper mimics the work-hardening behavior of silver at a fraction of the cost, allowing you to refine your tension and tool control.
Mastering how to make custom jewelry is a journey of continuous material education. By equipping your bench with precision tools, respecting metal tempers, and understanding gemstone physics, you elevate your craft from simple assembly to true jewelry fabrication. For further technical tutorials and metallurgical data, regularly consult industry authorities like Rio Grande and the Ganoksin project to stay ahead of material innovations.