How Do You Make Resin Jewelry with Dried Flowers? Step-by-Step Guide
Learn how do you make resin jewelry with dried flowers. This step-by-step guide covers epoxy ratios, bubble removal, and demolding for perfect pendants.

The Chemistry of Epoxy Resin for Jewelry
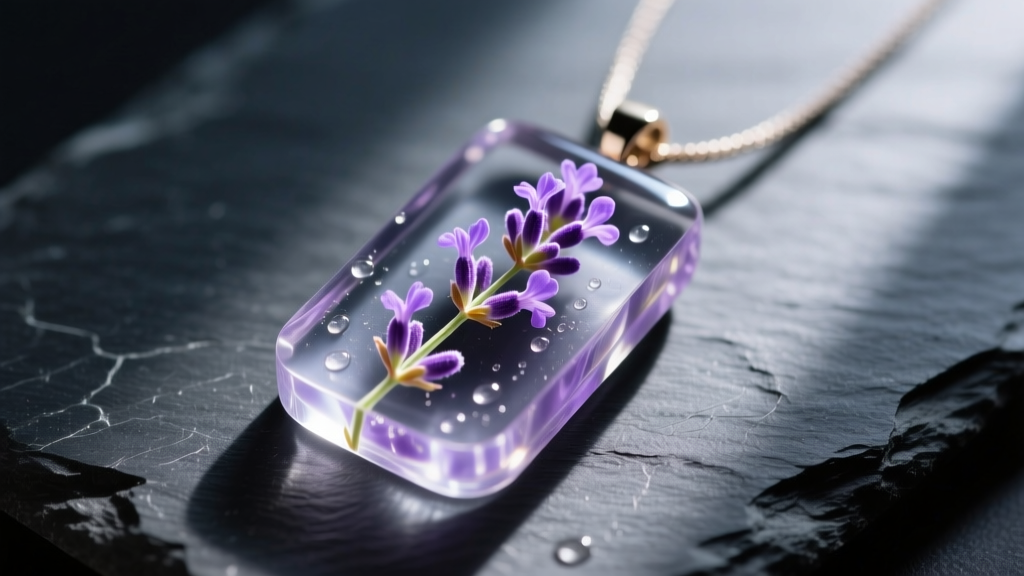
If you are wondering how do you make resin jewelry that looks professional and lasts a lifetime, you must first understand the chemistry of the materials you are handling. Jewelry-grade epoxy resin is a two-part system consisting of Part A (the epoxy resin, typically bisphenol-A/epichlorohydrin) and Part B (the polyamine hardener). When mixed, an exothermic chemical reaction occurs, cross-linking the molecules into a rigid, high-Shore-D-hardness plastic.
For botanical jewelry, selecting a resin with Hindered Amine Light Stabilizers (HALS) and UV absorbers is non-negotiable. Without these additives, the UV rays from sunlight will break down the polymer chains, causing the resin to yellow and the delicate dried flowers inside to turn brown within months. According to the experts at ArtResin, a high-quality, non-toxic, HALS-stabilized epoxy is the gold standard for wearable art that requires crystal-clear optical clarity.
Essential Tools and Material Grades
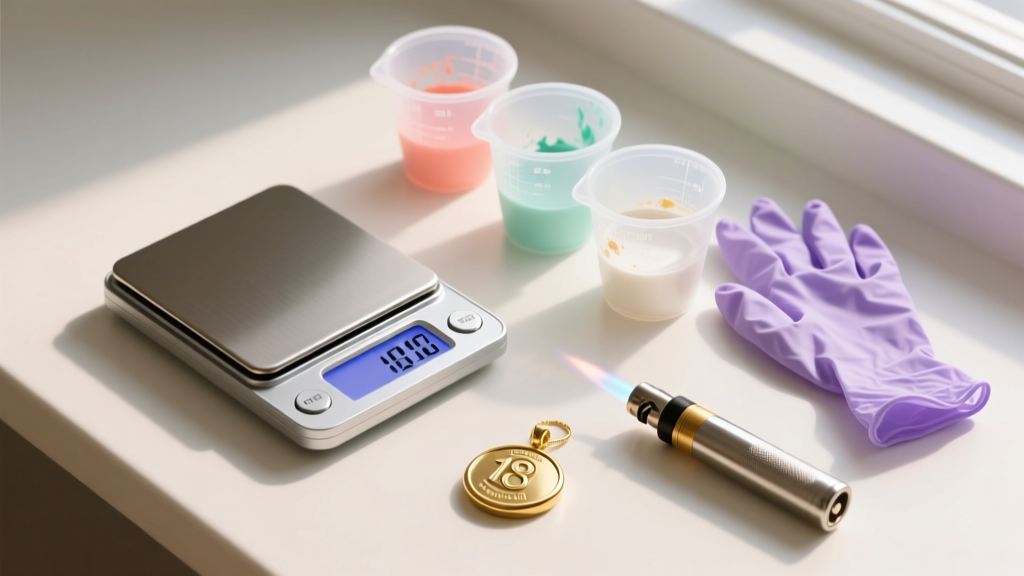
Before you begin your first pour, gather the correct tools. Improvisation in resin crafting leads to catastrophic failure modes like inhibited curing or trapped debris.
- Digital Gram Scale: Must measure down to 0.01g. Volume measurements are inaccurate for advanced formulations.
- Nitrile Gloves: Never use latex. The sulfur compounds in latex can inhibit the surface cure of epoxy, leaving a permanently tacky residue.
- Silicone Mixing Cups & Mats: Platinum-cure silicone is chemically inert to epoxy, making cleanup effortless.
- Clear Acrylic Sealer: Krylon UV-Resistant Clear Coating is essential for prepping botanicals.
- Butane Torch or Embossing Heat Gun: For popping surface tension bubbles.
Step-by-Step: How Do You Make Resin Jewelry with Botanicals?
Step 1: Prepping and Sealing the Botanicals
Resin is a powerful solvent. If you place raw, unsealed dried flowers (like lavender, baby's breath, or pressed ferns) directly into liquid epoxy, the resin will infiltrate the plant's cellular structure. This causes the petals to become translucent, dark, and 'wet-looking,' completely ruining their vibrant colors. To prevent this, lay your dried botanicals on a silicone mat and spray them with two light coats of clear acrylic sealer. Allow them to dry completely for 24 hours before encapsulating them.
Step 2: Measuring and The Double-Cup Mixing Method
Always read your specific manufacturer's instructions. Some resins require a 1:1 ratio by volume, while others require a 2:1 or even 3:1 ratio by weight. As detailed in the Resin Obsession FAQ, measuring by weight on a digital scale is vastly superior for precision. Once measured, pour both parts into your first silicone cup and stir slowly for three full minutes, scraping the sides and bottom continuously. Then, pour the mixture into a second clean silicone cup and stir for one more minute. This 'double-cup' method ensures that unmixed resin clinging to the sides of the first cup does not end up in your final pour, which would cause soft, uncured spots in your jewelry.
Step 3: The Base Pour and Botanical Placement
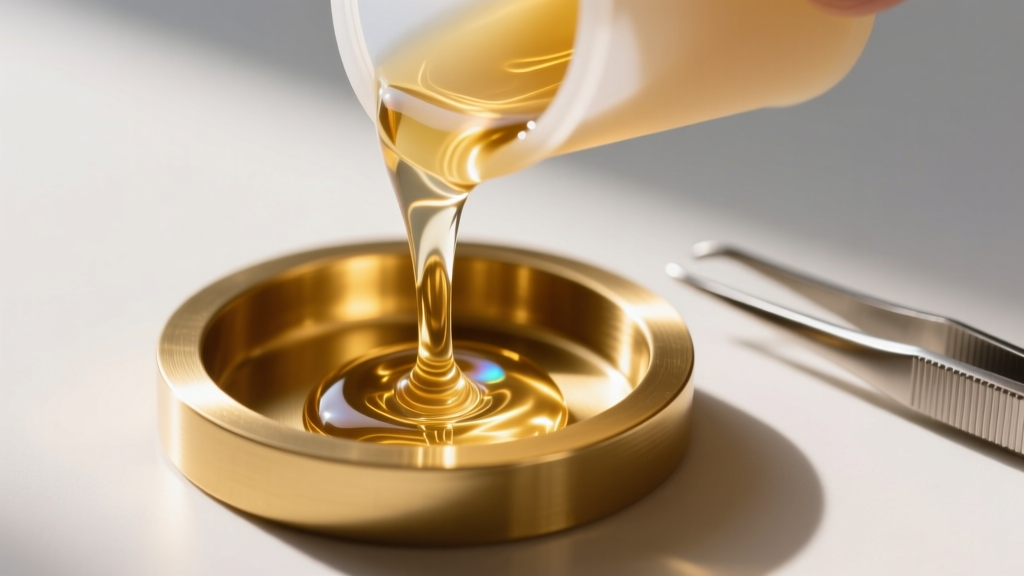
Pour a thin base layer of resin into your silicone pendant mold. This layer should be about 2mm thick. Let it sit for 15 to 20 minutes until it reaches a 'tacky' state. Using precision tweezers, gently place your sealed dried flowers onto this tacky base. This prevents the botanicals from floating to the top or sinking to the bottom of the mold, ensuring they are perfectly suspended in the center of the final piece.
Step 4: The Dome Pour and Bubble Extraction
Once the botanicals are anchored, pour the remaining resin to fill the mold. To create a beautiful convex dome on the back of the pendant, overfill the mold slightly, relying on the surface tension of the epoxy to hold the dome shape without spilling over the edges. Immediately pass a butane torch quickly over the surface, keeping the flame at least 6 inches away and moving continuously. The heat thins the resin and pops micro-bubbles. Do not hold the torch in one spot, or you will scorch the resin and create ripples.
Troubleshooting Common Resin Failure Modes
Even experienced jewelers encounter issues. Here is a diagnostic table for the most common botanical resin failures:
| Failure Mode | Root Cause | Preventative Solution |
|---|---|---|
| Tacky, sticky surface (Amine Blush) | High humidity (>55%) reacting with the polyamine hardener. | Work in a climate-controlled room (40-50% humidity) or use a dehumidifier. |
| Cloudy or milky resin | Moisture trapped inside the botanicals or water in the mixing cup. | Ensure flowers are 100% desiccated and sealed. Never wash silicone cups with water before use. |
| Excessive micro-bubbles | Resin was too cold, making it too viscous for bubbles to escape. | Place Part A and Part B bottles in a warm water bath (80°F) for 10 minutes before mixing. |
| Soft, bendable spots | Inaccurate mixing ratios or failing to scrape the sides of the cup. | Use a 0.01g precision scale and employ the double-cup mixing method. |
Curing, Demolding, and the Wet-Sanding Progression
Allow your resin jewelry to cure in a dust-free environment at a stable temperature of 75°F to 80°F (24°C to 27°C) for a minimum of 24 hours. While it may feel hard to the touch, the chemical cross-linking continues for up to 7 days to reach its maximum Shore D hardness. Do not attempt to demold before the 24-hour mark, or the edges will warp and retain permanent fingerprint indentations.
Once demolded, the edges of your pendant may feel sharp or have a slight lip where the resin met the mold seam. To achieve a glass-like, professional finish, you must wet-sand the piece. Never dry-sand epoxy resin. Dry sanding creates airborne micro-plastic dust that is a severe respiratory hazard, and the friction heat will melt the resin, ruining your sandpaper. Submerge the pendant and your wet/dry sandpaper in a bowl of water with a drop of dish soap.
Follow this exact grit progression, spending about 2 minutes per grit and sanding in alternating directions:
- 400 Grit: To level the seam line and shape the edges.
- 800 Grit: To remove the deep scratches left by the 400 grit.
- 1500 Grit: To begin smoothing the surface.
- 3000 Grit: To achieve a semi-gloss, frosted finish.
After the 3000-grit wet sand, the resin will look cloudy. This is normal. To restore optical clarity, apply a specialized plastic polishing compound (like Novus Plastic Polish #2 or Polywatch) using a microfiber cloth or a rotary tool with a felt buffing wheel. If using a rotary tool, keep the speed below 5,000 RPM. High speeds generate friction heat that will melt the surface of the epoxy, creating permanent cloudy swirls. Buff in circular motions until the pendant is completely transparent and the encapsulated dried flowers look as vibrant as the day they were picked.
Conclusion
Mastering how do you make resin jewelry with dried flowers requires patience, precision, and a respect for the chemical process. By sealing your botanicals, measuring by weight, utilizing the double-cup method, and committing to a rigorous wet-sanding progression, you will elevate your DIY jewelry from amateur crafts to boutique-quality wearable art. Always prioritize ventilation, wear your nitrile gloves, and let the chemistry do the heavy lifting.


