Keeping Jewelry Making Easy: Tool & Metal Care Guide
Discover how keeping jewelry making easy starts with proper tool maintenance. Learn expert cleaning tips for pliers, cutters, and handmade metals.

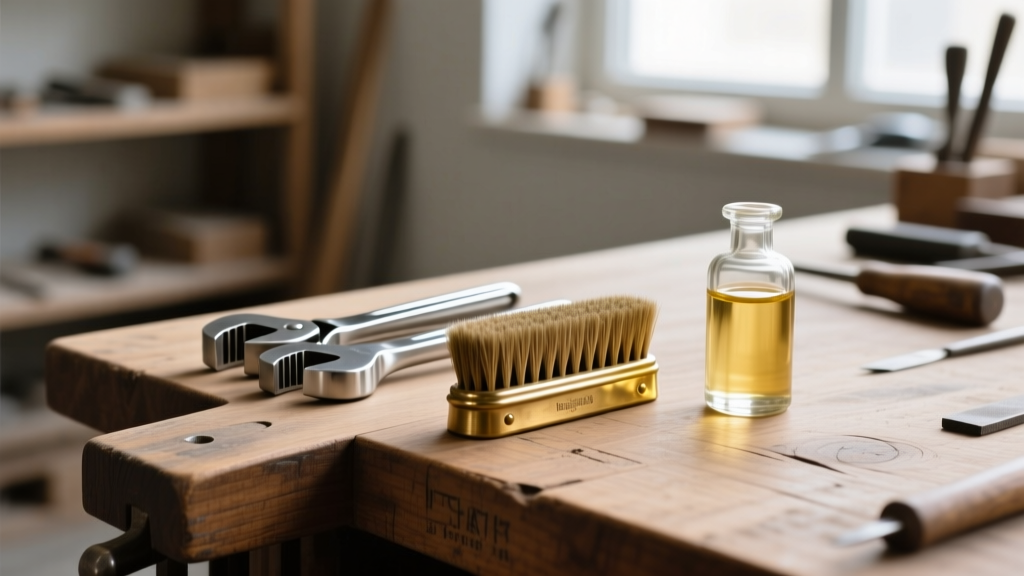
There is a direct correlation between the state of your workbench and the quality of your finished pieces. When you are manipulating 28-gauge dead soft wire or setting delicate cabochons, any friction, residue, or misalignment in your tools translates directly to marred metals and frustrated sessions. Keeping jewelry making easy and enjoyable requires a proactive approach to tool maintenance and metal care. A well-maintained studio not only extends the lifespan of expensive equipment but also ensures that every wire wrap, solder joint, and polished finish meets professional standards.
Why Tool Maintenance Keeps Jewelry Making Easy
Many beginner and intermediate jewelers view tool cleaning as an afterthought, only addressing it when a pair of chain-nose pliers begins to squeak or a flush cutter starts leaving jagged 'pinch' marks on soft copper. However, microscopic metal dust, skin oils, and adhesive residues accumulate rapidly. According to studio guidelines from Rio Grande, failing to lubricate pivot joints and clean cutting edges can reduce the lifespan of premium steel tools by up to 60%. By integrating a simple maintenance matrix into your weekly routine, you eliminate the friction that makes jewelry making difficult.
The Ultimate Cleaning Matrix for DIY Jewelry Tools
Different tools encounter different contaminants. Using the wrong solvent can strip protective coatings or degrade ergonomic handles. Below is a professional-grade maintenance matrix tailored for the DIY jewelry studio.
| Tool Type | Primary Contaminant | Cleaning Agent | Frequency |
|---|---|---|---|
| Flush Cutters & Nippers | Metal shavings, skin oils | 91% Isopropyl Alcohol (IPA) | Weekly |
| Nylon Jaw Pliers | Adhesive & resin residue | Mild dish soap & warm water | As needed |
| Steel Mandrels | Oxidation, filing dust | 0000 Steel wool & mineral oil | Monthly |
| Pumice & Soldering Pans | Embedded flux & metal dust | Brass wire brush & water | Bi-weekly |
| Brass & Copper Brushes | Cross-contamination | Ultrasonic bath (no heat) | Monthly |
Step-by-Step Care for Wire Wrapping Pliers and Cutters
Your pliers and cutters are the extensions of your hands. The most common point of failure is the pivot joint, where microscopic metal dust mixes with ambient humidity to create an abrasive paste that grinds the steel away from the inside out.
Joint Lubrication and Blade Care
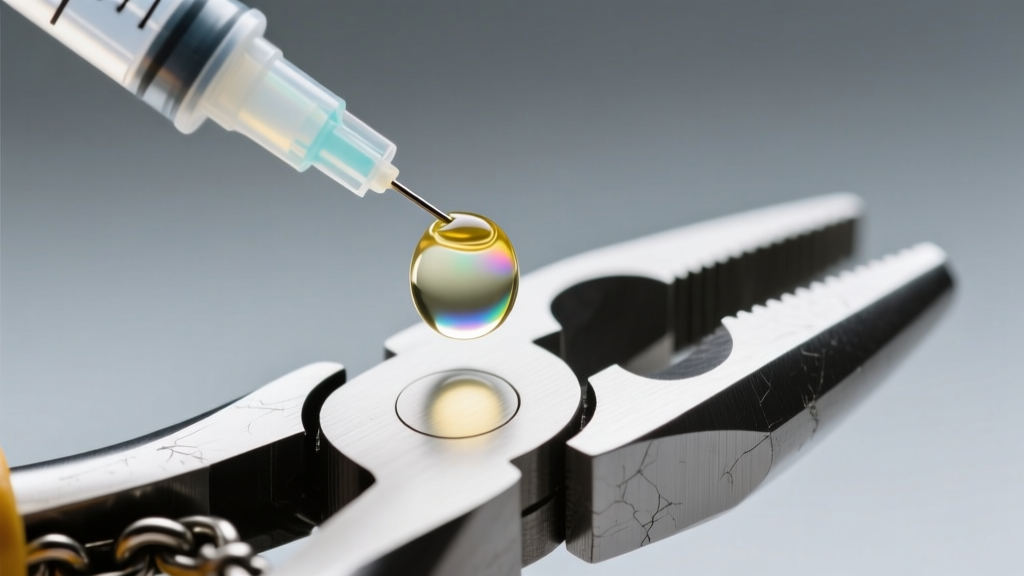
Never use standard WD-40 on precision jewelry tools. Standard WD-40 is a water-displacing solvent that dries out and attracts dust, creating a sludge that seizes the joint. Instead, use a synthetic clock oil or high-grade sewing machine oil. Apply a single micro-drop directly into the pivot joint using a precision syringe, work the handles back and forth, and wipe away all excess with a lint-free microfiber cloth.
For the cutting edges of your flush cutters, avoid cutting memory wire or gauges thicker than the tool's rated capacity. Cutting 14-gauge half-hard wire with cutters rated for 20-gauge soft wire will instantly micro-chip the precision-machined blades. Wipe the blades with 91% isopropyl alcohol after every session to remove acidic skin oils that cause flash rust.
Resin and Epoxy Residue Removal
If you incorporate UV resin or two-part epoxies into your designs, your nylon jaw and chain-nose pliers will inevitably accumulate sticky residue. Do not use acetone on nylon jaws, as it will melt the polymer pads. Instead, use a cotton swab dipped in warm white vinegar or a specialized citrus-based adhesive remover to gently dissolve the epoxy without compromising the tool's grip.
Caring for Finished Handmade Metals
Cleaning your tools is only half the battle; maintaining the metals you work with is equally critical. Copper, brass, and sterling silver are highly reactive and require specific chemical or mechanical interventions to maintain their luster.
The Electrochemical Tarnish Bath for Sterling Silver
When sterling silver reacts with sulfur in the air, it forms silver sulfide (tarnish). While commercial dips like Tarn-X use harsh acids that strip the silver layer over time, you can reverse the reaction electrochemically. Line a glass bowl with aluminum foil (shiny side up). Add your tarnished silver pieces, ensuring they touch the foil. Pour in boiling water, a tablespoon of baking soda, and a pinch of salt. The sulfur will transfer from the silver to the aluminum within minutes, leaving your wire-wrapped pendants perfectly bright without removing any base metal.
Neutralizing Liver of Sulfur (LOS)
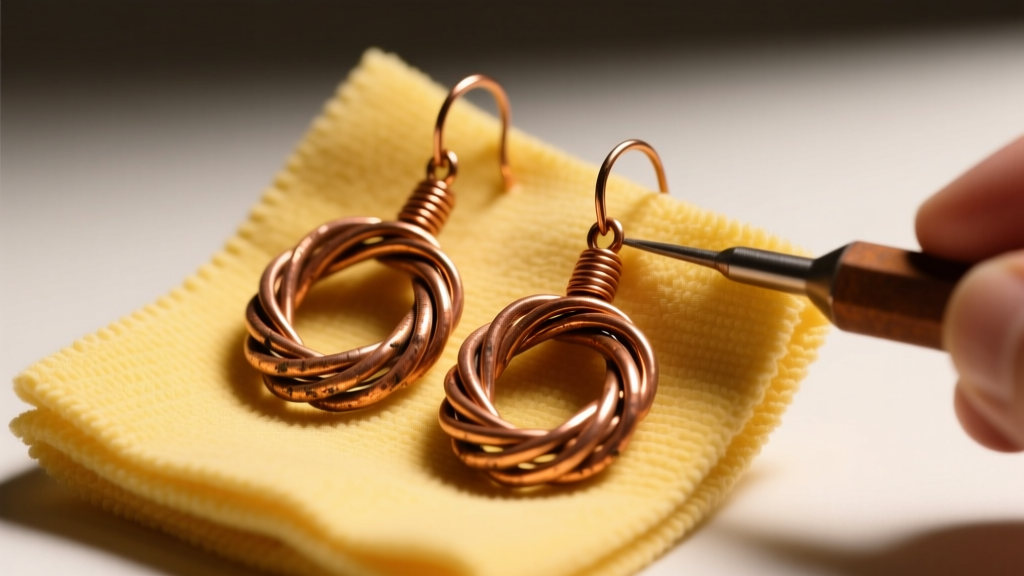
If you use Liver of Sulfur to create antique patinas on your copper and silver jewelry, you must neutralize the chemical reaction once the desired color is achieved. Failing to do so will result in the piece continuing to darken and eventually flake. Immediately submerge the oxidized piece in a neutralizing bath of warm water and baking soda (1 tablespoon per cup of water) for five minutes, then rinse and dry thoroughly before polishing the high spots with a Sunshine cloth.
Troubleshooting Common DIY Jewelry Failures
Even with meticulous care, specific materials and techniques introduce unique maintenance challenges. Here is how to troubleshoot the most common studio failures.
'The biggest mistake I see DIY jewelers make is throwing everything into an ultrasonic cleaner. It is a fantastic tool, but it will shatter a fracture-filled gemstone and turn porous turquoise into a chalky mess in seconds.' — Master Bench Jeweler
Ultrasonic Cleaner Hazards
Ultrasonic cleaners operate at high frequencies (typically 40kHz to 45kHz) that create microscopic cavitation bubbles. While excellent for blasting polishing compound out of intricate filigree, they are destructive to soft or porous stones. According to the Gemological Institute of America (GIA), stones like opal, pearl, turquoise, and emerald should never be placed in an ultrasonic bath. Furthermore, the vibrations can loosen poorly set prongs or weaken structural wire wraps if the gauge is too thin.
Pumice Pan Cross-Contamination
If you use pumice pans to support pieces while soldering, they absorb flux and microscopic metal particles. If you later use that same pan to form or polish a different metal, you risk embedding those particles into your new piece, causing mysterious 'pitting' or localized oxidation. Dedicate specific pans for specific metals, or scrape and wire-brush the surface of your pumice pan under running water bi-weekly.
Sourcing Professional-Grade Maintenance Supplies
To keep your studio running smoothly, source your maintenance supplies from dedicated jewelry suppliers rather than general hardware stores. Brands like Gesswein, Rio Grande, and PepeTools offer specialized lubricants, brass wire brushes, and polishing compounds formulated specifically for precious metals and high-carbon steel tools. Investing $30 to $50 a year in premium cleaning agents, replacement buffing wheels, and high-grade oils will save you hundreds of dollars in prematurely ruined tools and wasted materials, ensuring that your creative process remains seamless and your jewelry making easy.