Solving Common Problems When Making Beach Glass Jewelry
Struggle with slipping wire or cracked shards? Expert troubleshooting guide for making beach glass jewelry, covering drilling, wrapping, and sealing.

The Core Challenges of Beach Glass Jewelry Making
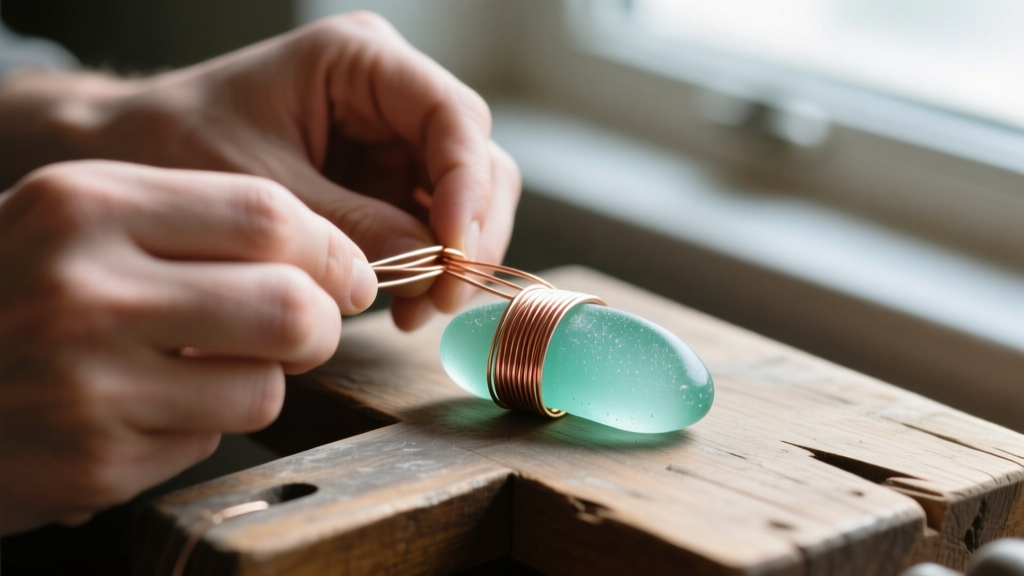
When making beach glass jewelry, artisans quickly discover that sea-tumbled shards behave entirely differently than faceted gemstones or polished cabochons. Glass sits at a 5.5 to 6.5 on the Mohs hardness scale, making it relatively durable, yet its amorphous crystalline structure makes it highly susceptible to conchoidal fracturing under point-stress. Furthermore, the signature 'frosted' surface of authentic beach glass—created by decades of tumbling in silica-rich saltwater—presents unique friction and adhesion challenges. Whether you are wire wrapping a rare cobalt blue shard or drilling a sea-foam green piece for a delicate beaded necklace, standard jewelry-making techniques often fail. This guide addresses the most frequent structural and material failures encountered when making beach glass jewelry and provides actionable, professional-grade solutions.
Troubleshooting Wire Wrapping Slippage on Frosted Glass
The most common complaint among beginners is wire slippage. Frosted glass feels matte and grippy to the human touch, but to hard metal wire, it acts like a low-friction ramp. When you apply tension to a 20-gauge base wire, it will naturally migrate toward the thickest part of the glass shard, eventually popping off the edge.
The Mechanical Lock Technique
To solve this, you must abandon the idea of relying on friction alone. Instead, create mechanical locks. Using a 600-grit diamond needle file, gently carve microscopic 'V' notches into the edge of the beach glass where your primary frame wires will sit. Because glass is amorphous, it will file smoothly without chipping if you use a diamond abrasive rather than a standard steel file. These notches act as physical seats for your wire, completely eliminating vertical slippage.
Wire Gauge and Tension Matrix
Selecting the correct wire gauge is critical. Dead-soft wire will conform to the irregular bumps of beach glass but lacks the structural memory to hold a heavy piece. Half-hard wire provides security but is difficult to bend around asymmetrical shapes. Below is a decision matrix for wire selection based on the glass profile.
| Wire Gauge | Diameter (mm) | Temper | Best Use Case for Beach Glass |
|---|---|---|---|
| 18-Gauge | 1.02mm | Half-Hard | Heavy bails and structural jump rings |
| 20-Gauge | 0.81mm | Dead-Soft | Primary base frames and bezel cages |
| 24-Gauge | 0.51mm | Dead-Soft | Structural weaving and cross-wrapping |
| 26-Gauge | 0.40mm | Dead-Soft | Decorative coiling and securing weaves |
Drilling Beach Glass Without Micro-Fractures
Drilling is often necessary for making beach glass jewelry, especially for stringing or creating drop pendants. However, heat buildup and exit-point blowout (spalling) will instantly destroy a rare piece of sea glass. The frosted surface hides micro-fractures that can propagate the moment a drill bit catches.
RPM, Lubrication, and Bit Selection
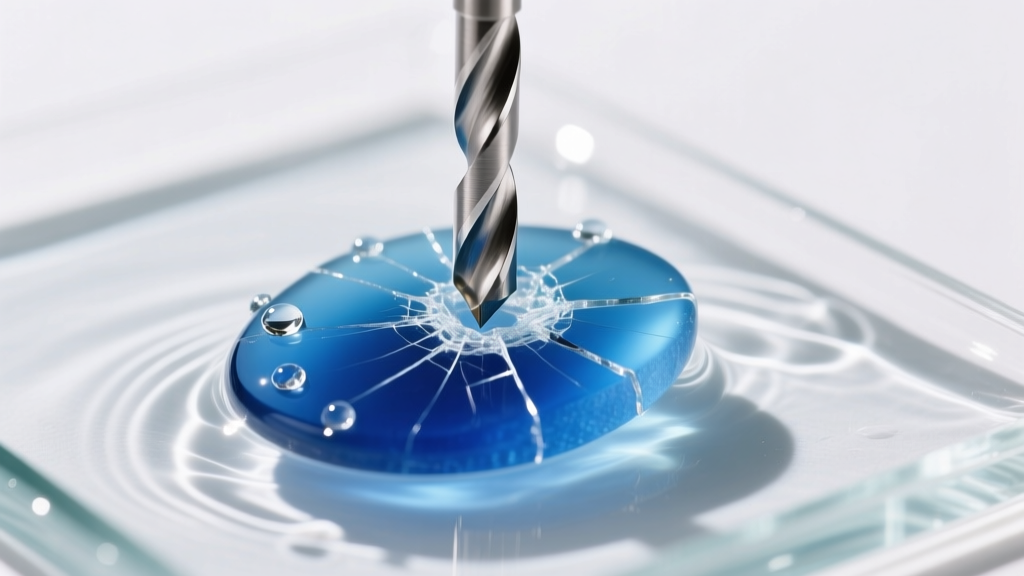
Never use standard high-speed steel (HSS) or carbide twist drills on glass. You must use a 1.0mm to 1.5mm diamond-tipped core drill or a diamond twist drill designed specifically for lapidary work. According to lapidary guidelines from the Gemological Institute of America (GIA), glass requires consistent cooling to prevent thermal shock.
- Setup: Place the beach glass in a shallow plastic tray lined with a piece of silicone or silly putty to hold it firmly in place without clamping pressure.
- Lubrication: Submerge the glass and the drill bit entirely in water. Do not just use a drip feed; full submersion is required to clear the silica slurry from the core bit.
- Speed & Pressure: Set your variable-speed rotary tool (like a Foredom or Dremel) to 5,000 - 7,000 RPM. Apply zero downward pressure; let the diamond grit do the work. Pull the bit out every 5 seconds to clear the slurry.
Expert Troubleshooting Tip: To prevent exit-point blowout, drill exactly halfway through the glass from the top, then flip the piece over and drill from the bottom to meet the first hole. This guarantees a clean, chip-free exit on both sides of your beach glass.
Adhesive Failures on Frosted Surfaces
Many jewelers attempt to glue bails onto flat pieces of beach glass using flexible adhesives like E6000 or UV-curing resins. This almost always results in failure. The frosted surface of sea glass is essentially a sponge of microscopic silica spikes. Flexible glues only bond to the very tips of these spikes and will peel off under the weight of a chain. Furthermore, UV resin will not cure properly if the beach glass is opaque or heavily frosted, as the UV light cannot penetrate the stone to reach the adhesive layer.
The Epoxy and Surface Prep Solution
If you must use an adhesive bail, you need to alter the surface and the chemistry. First, use a 400-grit diamond sanding pad to sand a small, perfectly flat spot on the back of the glass, removing the porous frosting in that specific area. Second, abandon flexible glues in favor of a high-shear, two-part jeweler's epoxy, such as Devcon 5-Minute Epoxy or G-S Hypo Cement for micro-dabs. For heavy bails, mechanical wrapping will always outperform chemical adhesion on sea glass.
Preventing Tarnish in Coastal and Humid Environments
Beach glass jewelry is inherently tied to coastal aesthetics, but coastal environments are brutal on metals. Salt air and high humidity will oxidize copper in hours and turn standard 925 sterling silver black within days. If you are making beach glass jewelry for sale in coastal boutiques or for personal wear near the ocean, material selection is your first line of defense.
Material Upgrades and Sealing Protocols
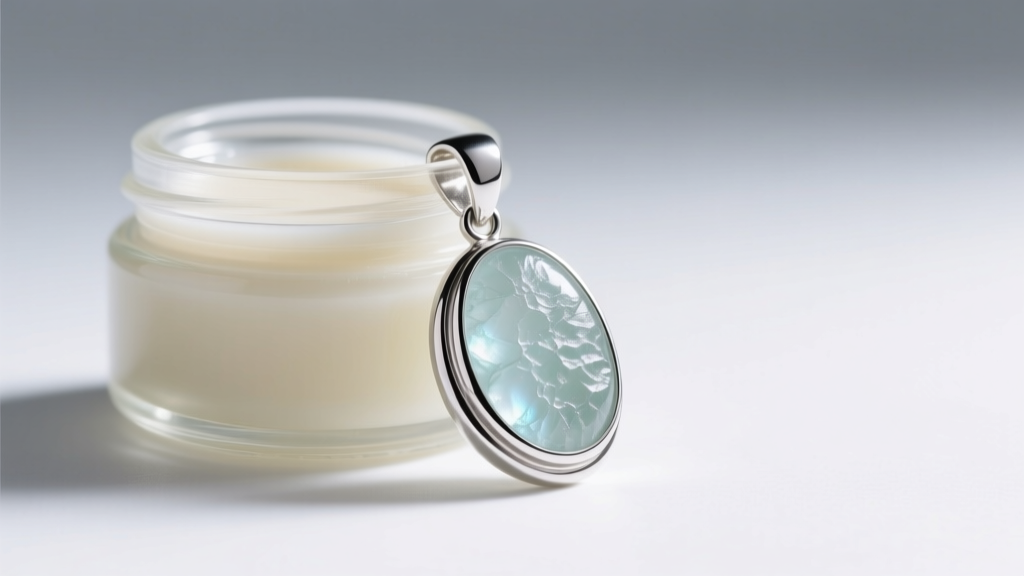
Instead of standard sterling silver, source Argentium Silver (935 or 960 grade). As noted by suppliers like Rio Grande, Argentium replaces a portion of the copper alloy with germanium, which forms a transparent, self-healing oxide layer that drastically slows down tarnishing. For copper and brass wire wrappers, you must apply a physical barrier.
Here is a troubleshooting hierarchy for sealing base metals used in beach glass jewelry:
- ProtectaClear: A polyurethane-based coating specifically designed for jewelry. It is skin-safe once cured and provides a thick, durable barrier against salt air. Apply two thin coats with a soft brush, allowing 24 hours of curing time between coats.
- Renaissance Wax: A micro-crystalline wax developed by the British Museum. It is excellent for a natural-looking finish but requires reapplication every few months if the jewelry is worn daily against the skin.
- Electroplating: For production-level making, sending your finished copper wire-wrapped pieces to a plating service for a heavy rhodium or 24k gold flash will permanently solve coastal tarnishing issues.
Final Assembly and Stress-Testing
Before delivering or selling your finished piece, perform a stress test. Beach glass is heavy for its size compared to porous stones like turquoise. Hold the pendant by the bail and gently tap the glass against a padded surface. If your wire frame shifts, your mechanical locks are too shallow, or your weaving tension is too loose. Disassemble, deepen your diamond-file notches, and re-wrap. By respecting the unique material properties of sea-tumbled glass and applying these targeted troubleshooting techniques, your jewelry will be as enduring as the glass itself.
For more advanced wire weaving patterns and lapidary tools, consult specialized suppliers like Cool Tools to ensure your bench is equipped to handle the specific demands of glasswork.