Best Jewelry Soldering Kit for Beginners in 2026: Buying Guide
Discover the best jewelry soldering kit for beginners in 2026. Compare butane vs. propane torches, flux types, and tools for flawless seams.

The Bridge to Metalsmithing: Why Your First Kit Matters
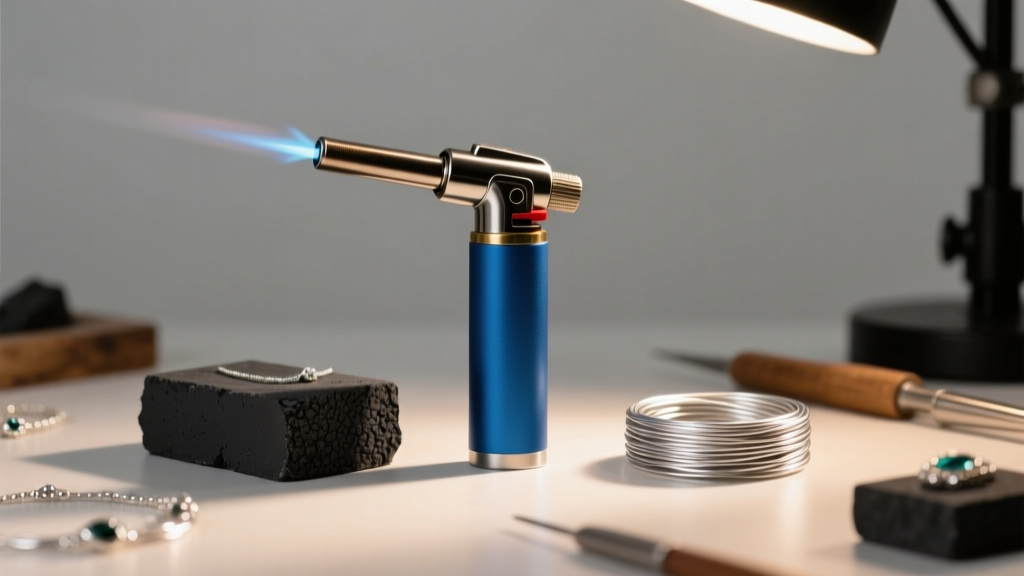
Transitioning from wire wrapping or basic beading into metalsmithing is a thrilling milestone, and learning to solder is the definitive rite of passage. However, searching for the right jewelry soldering kit for beginners can quickly become overwhelming. The market is flooded with cheap, underpowered butane pens that leave your silver seams balled up, or overly complex oxy-acetylene rigs that pose a steep learning curve and safety risk. In 2026, the ideal beginner setup balances precise heat control, accessible fuel sources, and ergonomic tooling.
A proper soldering kit is not just about the torch; it encompasses the chemistry of fluxes, the metallurgy of solder grades, and the safety protocols required to handle high-temperature alloys and acidic pickling solutions. This comprehensive buying guide breaks down the exact specifications, material grades, and tool configurations you need to build a workspace that guarantees flawless seams from day one.
Torch Selection: The Heart of Your Soldering Kit
The torch dictates what metals and gauges you can successfully work with. When assembling your kit, you must choose between three primary fuel systems based on your intended projects.
Butane Micro-Torches: The Accessibility Champion
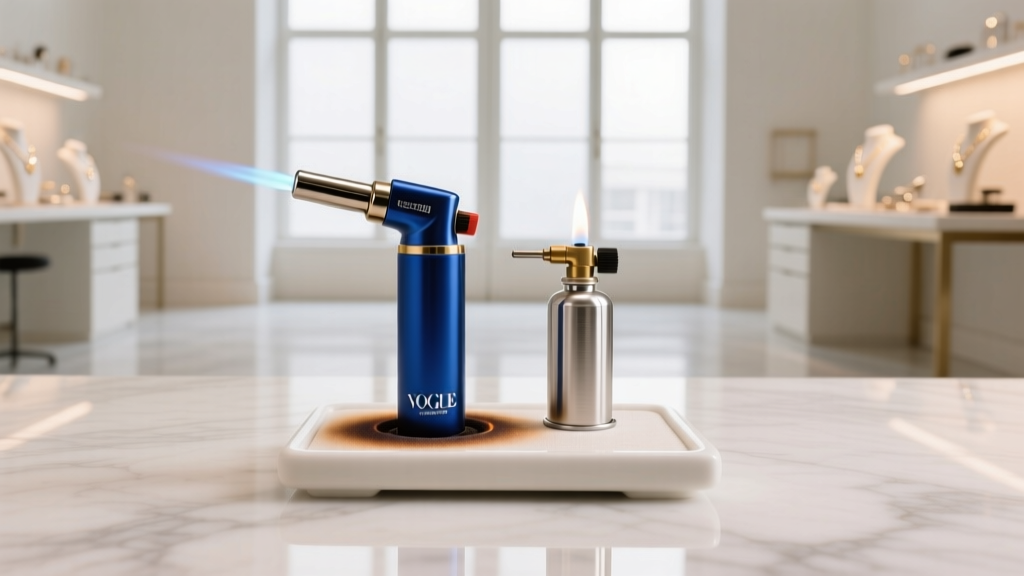
For those working exclusively with sterling silver and gold-filled wire in the 24-gauge to 18-gauge range, a high-quality butane micro-torch is the perfect entry point. Premium butane torches (like the Blazer Big Shot) reach a maximum flame temperature of approximately 2,400°F (1,315°C). This is sufficient to flow easy and medium-grade silver solders on small components like jump rings, ear posts, and delicate bezel cups. The primary advantage is fuel accessibility; you can refill them with standard hardware store butane. However, they struggle to maintain the thermal mass required for soldering heavy 14-gauge stock or large cuff bracelets, often resulting in overheated, oxidized metal before the solder flows.
Propane and Oxygen-Propane Systems: The Serious Beginner
If you plan to work with thicker gauges, brass, copper, or eventually karat gold, an oxygen-propane setup (such as the legendary Smith Little Torch) is the industry standard for small studios. By mixing propane with pure oxygen, these torches produce a concentrated, fiercely hot flame exceeding 3,200°F (1,760°C). The pinpoint flame control allows you to heat a specific millimeter of a seam without melting adjacent delicate findings. While the initial investment is higher and requires purchasing or renting gas cylinders, it is a 'buy-it-for-life' tool that you will never outgrow.
The Chemistry of the Seam: Solder Grades and Flux
A common mistake novices make is buying a single type of solder. Silver soldering requires a cascading temperature approach to perform multiple soldering steps on a single piece without melting previous joints. According to metallurgical standards outlined by Rio Grande, you must stock three distinct grades of silver solder:
- Hard Solder (Flows at ~1,450°F / 788°C): Used for the very first joint on a piece, such as closing a ring shank or attaching a bezel wire to a backplate.
- Medium Solder (Flows at ~1,390°F / 754°C): Used for secondary joints, like attaching a bail to a pendant that already has a soldered bezel.
- Easy Solder (Flows at ~1,325°F / 718°C): Used for final, delicate attachments like jump rings or ear posts, where minimal heat is required to protect previous work.
Equally important is your flux. Flux prevents oxidation and allows the molten solder to flow via capillary action. While traditionalists use a Borax cone and dish, beginners in 2026 are highly encouraged to use a self-pickling paste flux like Stay-Silv. Paste fluxes cling to vertical surfaces, don't require mixing, and provide a clear visual cue: they turn glassy and clear exactly when the metal reaches soldering temperature.
2026 Buyer’s Matrix: Top Kit Archetypes Compared
To help you allocate your budget, here is a comparison of the three most common kit configurations for beginners entering the craft this year.
| Kit Archetype | Primary Torch | Best For | Estimated Cost (2026) | Limitations |
|---|---|---|---|---|
| The Apartment Crafter | Piezo-ignition Butane Pen | 22g-18g Silver, small repairs | $120 - $180 | Cannot handle high thermal mass; limited to easy solder. |
| The Dedicated Hobbyist | Smith Little Torch (Oxy-Propane) | All silver gauges, small gold work | $450 - $650 | Requires gas cylinder storage and regulator maintenance. |
| The Hybrid Studio | Butane + Water Torch (HHO) | Precision work, eco-friendly setups | $300 - $500 | Water torches require distilled water and electrolyte upkeep. |
Safety Gear and Ventilation Non-Negotiables
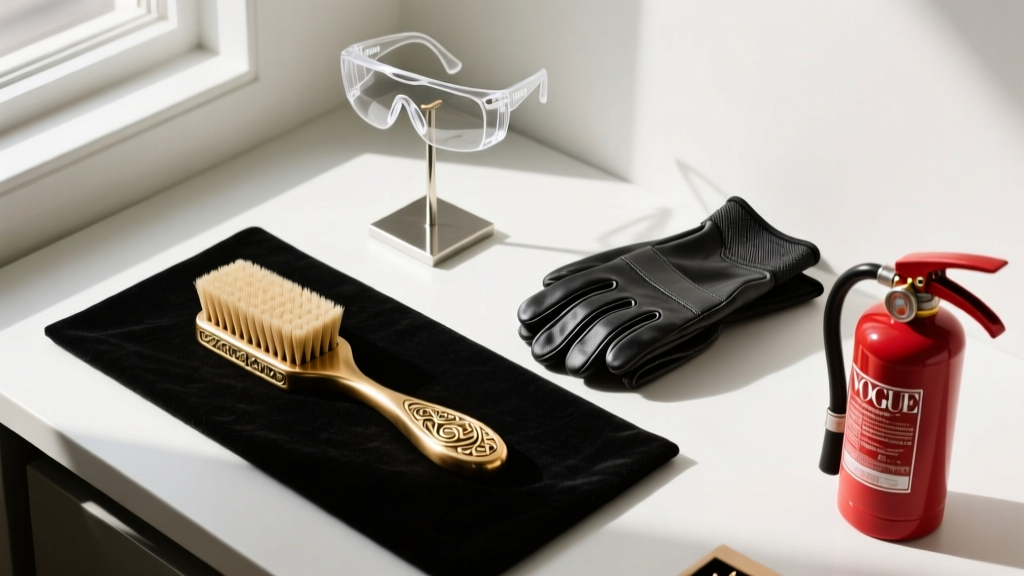
Soldering produces heavy metal fumes (especially if using cadmium-bearing solders, which should be strictly avoided) and involves boiling acidic pickling solutions. Your kit budget must include proper safety infrastructure. As emphasized in the safety protocols by Ganoksin, a respirator rated for particulate and organic vapors is mandatory when soldering or mixing fluxes.
Furthermore, your pickling station—a heated bath of dilute acid used to remove oxidation after soldering—requires strict discipline. You must use copper or brass tongs only when retrieving items from the pickle pot. If steel tweezers touch the acidic solution, an electrolytic reaction will instantly plate a layer of copper onto your sterling silver, ruining the finish and forcing you to file it off and start over.
Expert Troubleshooting: Why Your Solder Isn't Flowing
Even with the best jewelry soldering kit for beginners, technique dictates success. If your solder is balling up into a hard lump instead of flashing smoothly along the seam, you are likely falling victim to one of three classic errors:
1. The Metal is Dirty: Solder will not flow over oils, fingerprints, or polishing compound. Always scrub your piece with a brass brush and pumice powder before applying flux.
2. Heating the Solder, Not the Metal: Solder flows toward heat. If you aim your torch directly at the solder chip, it will melt into a ball while the underlying metal remains too cool to accept it. Heat the surrounding metal evenly, and let the ambient heat draw the solder into the joint via capillary action.
3. Using the Wrong Flame Zone: A torch flame has multiple zones. The dark blue inner cone is actually unburnt gas and is relatively cool. The hottest, most chemically neutral part of the flame is the 'reducing zone'—the faint, lighter blue tip just beyond the inner cone. This is where you should focus your heat.
Final Verdict: Where to Invest Your Budget
When building your workspace, resist the urge to skimp on the torch and the soldering surface. A charcoal block or a high-density ceramic honeycomb board is essential; these materials reflect heat back into your metal, drastically reducing the time your torch needs to be applied and preventing overheating. Skip the cheap, pre-packaged 'hobby store' kits that include low-grade solder and inadequate flux. Instead, source your torch, silver solder sheets, and Stay-Silv flux individually from dedicated jewelry supply houses. By prioritizing thermal control and proper chemical aids, your first foray into metalsmithing will yield professional, durable, and seamless results.


