2026 Gift Guide: Resin Jewelry Making Projects by Occasion
Discover the ultimate 2026 gift guide for resin jewelry making. Learn which molds, inclusions, and techniques match perfectly with every special occasion.

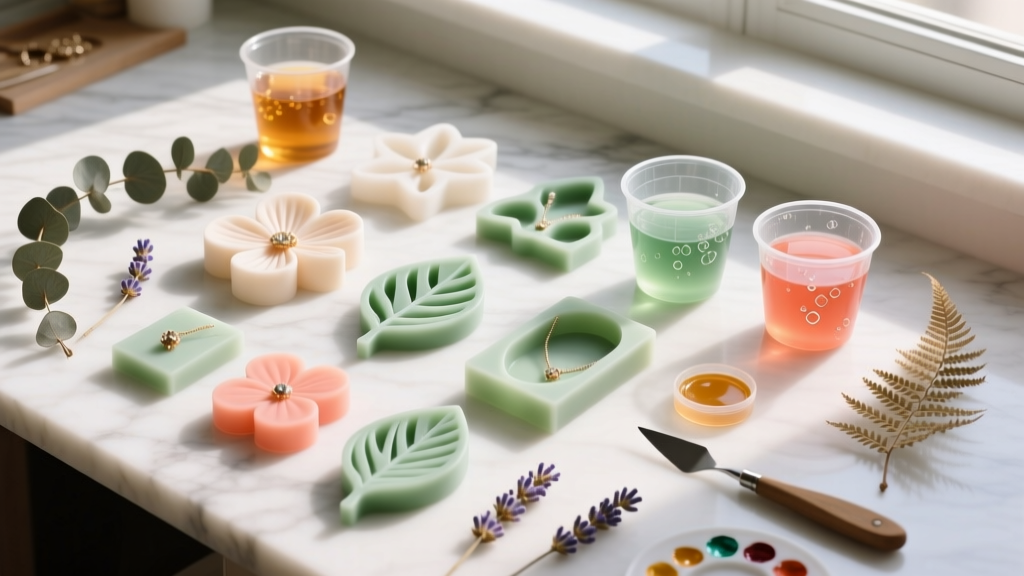
The Art of Occasion-Matched Resin Gifts
Handmade gifts carry an emotional weight that store-bought items simply cannot replicate. As we move through 2026, resin jewelry making has evolved from a niche craft into a sophisticated medium capable of producing heirloom-quality pieces. However, the secret to a truly memorable gift lies in matching the material, inclusion, and technique to the specific occasion and recipient. A delicate botanical pendant might be perfect for a bride, but entirely wrong for a teenager celebrating a sweet sixteen. This guide breaks down the technical specifications, material grades, and design frameworks required to curate the perfect resin jewelry gift for every milestone on your calendar.
Quick Reference: Resin Jewelry Making Gift Matrix
Before diving into specific techniques, use this matrix to align your project parameters with your gifting occasion. This framework ensures you select the correct resin viscosity, curing method, and hardware for the recipient's lifestyle.
| Occasion | Recipient Profile | Recommended Resin | Ideal Inclusions | Hardware Grade |
|---|---|---|---|---|
| Weddings / Anniversaries | Sentimental, Elegant | Deep-Pour Epoxy (Low Viscosity) | Silica-dried botanicals, gold leaf | 14k Gold-Filled, Sterling Silver |
| Milestone Birthdays | Trend-conscious, Bold | Jewelry-Grade Epoxy (1:1 Ratio) | Alcohol inks, crushed glass, mica | Stainless Steel, Brass Bezels |
| Holidays / Teacher Gifts | Practical, Casual | UV Resin (Hard Type) | Micro-glitter, foil flakes, beads | Zinc Alloy, Gold-Plated Brass |
| Memorials / Sympathy | Grieving, Reflective | Optical-Clear Epoxy (Non-Yellowing) | Ash, hair, dried tears (salt crystals) | Sterling Silver, Platinum-Plated |
Weddings & Anniversaries: Heirloom-Grade Botanical Resin
Preserving wedding bouquets or anniversary flowers is one of the most lucrative and emotionally resonant applications of resin jewelry making. However, organic inclusions are notoriously unforgiving. If you introduce moisture into an epoxy system, the resulting chemical reaction will cause the botanicals to rot and turn brown within months.
Material Specs & Moisture Control
To create a lasting heirloom, you must reduce the moisture content of your flowers to below 5%. Air-drying is insufficient for resin encapsulation. Instead, use a silica gel desiccant bath. Submerge the blooms completely in ultra-fine silica gel crystals inside an airtight container for 3 to 5 days. Once dried, the cellular structure of the petal is fragile and porous. You must seal the botanicals before they touch the resin. Apply two light coats of a clear acrylic spray sealant (such as Krylon UV-Resistant Clear) or a thin layer of decoupage medium. Allow 24 hours of curing time between the sealant and the resin pour.
For the encapsulation itself, use a low-viscosity, deep-pour epoxy like ArtResin or Teexpert Deep Pour. These formulas have a longer pot life (45-60 minutes) and release micro-bubbles more effectively than high-viscosity craft resins. For a glass-like, bubble-free finish, professional makers utilize a pressure pot. Curing the resin under 40-50 PSI of air pressure compresses any trapped air bubbles to a microscopic size, rendering them invisible to the naked eye.
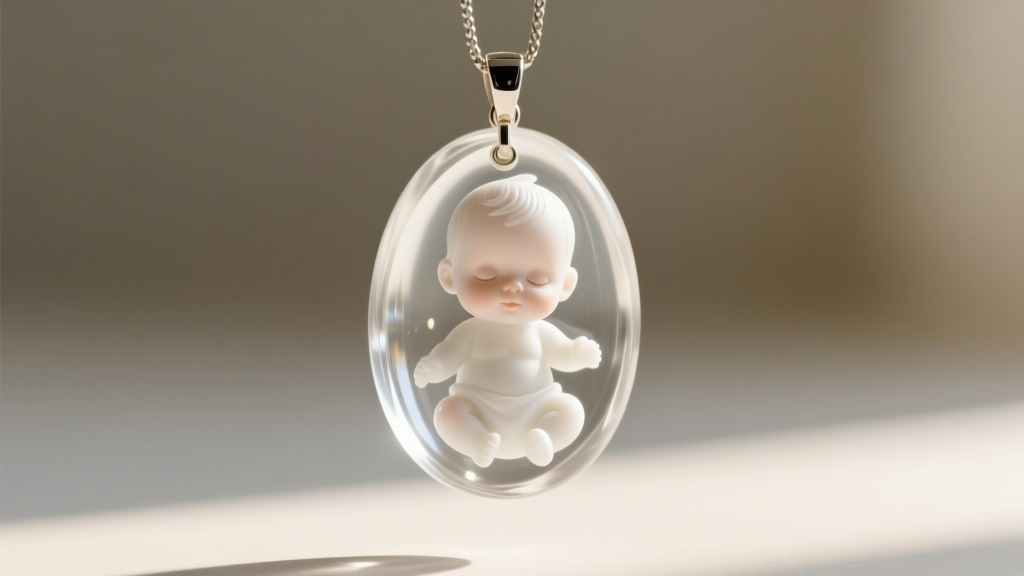
Birthdays & Milestones: Geode & Alcohol Ink Pendants
For birthdays, graduations, and milestones, recipients often prefer bold, contemporary aesthetics over traditional sentimentality. The 'Petri Dish' or geode effect remains a dominant trend in 2026, utilizing the specific gravity of alcohol inks to create mesmerizing, three-dimensional smoke and stone effects within the resin.
Color Theory & Inclusion Dynamics
The key to mastering the Petri dish technique lies in understanding the density of your colorants. Jacquard Pinata alcohol inks are the industry standard due to their high pigment load and predictable sinking rates. To achieve the signature 'roots' or 'smoke' effect, you must introduce a heavier, opaque ink to push the translucent colors downward. Mix a few drops of titanium white alcohol ink or a specialized heavy white resin paste into your translucent colors right before dropping them into the clear resin base.
For milestone gifts, elevate the design by incorporating structural elements. Use 18x25mm stainless steel bezel trays as your mold. Before pouring, apply a tiny drop of resin to the back of the bezel and cure it to create a seal, preventing leaks. Layer your inclusions: start with a base layer of clear resin, add crushed dichroic glass or genuine amethyst chips for the 'geode' edge, and then apply your alcohol ink drops. According to experts at Resin Obsession, allowing the first layer to reach a 'tacky' cure stage (usually 4-6 hours depending on ambient temperature) prevents heavy inclusions from sinking to the very bottom of the bezel, keeping them suspended in the middle of the piece.
Holidays & Teacher Gifts: Quick-Cast Silicone Mold Charms
When December arrives, or when you need to craft 25 identical end-of-year gifts for a child's classroom, epoxy resin's 24-hour cure time becomes a bottleneck. This is where UV resin transforms your resin jewelry making workflow.
Batching & Time Management
UV resin cures in 60 to 120 seconds under a 36W-48W LED UV lamp. For high-volume gifting, invest in high-quality silicone molds with a Shore A hardness of 10 to 15. This specific durometer ensures the silicone is flexible enough to pop out intricate charms without tearing, yet durable enough to withstand the heat generated by rapid UV curing. Hard-type UV resins (like Puduo or BDY) are essential here; soft-type UV resins will remain slightly bendable and feel cheap to the recipient.
To batch efficiently, use a multi-cavity silicone tray (e.g., a 20-cavity heart or star mold). Because UV resin does not require mixing, you eliminate the risk of improper ratios causing sticky spots—a common issue when scaling up epoxy projects. Add micro-glitter, holographic foil flakes, or tiny metallic beads directly into the cavities, fill with UV resin, and cure in layers of 2-3mm to prevent yellowing and excessive heat spikes (exothermic flash).
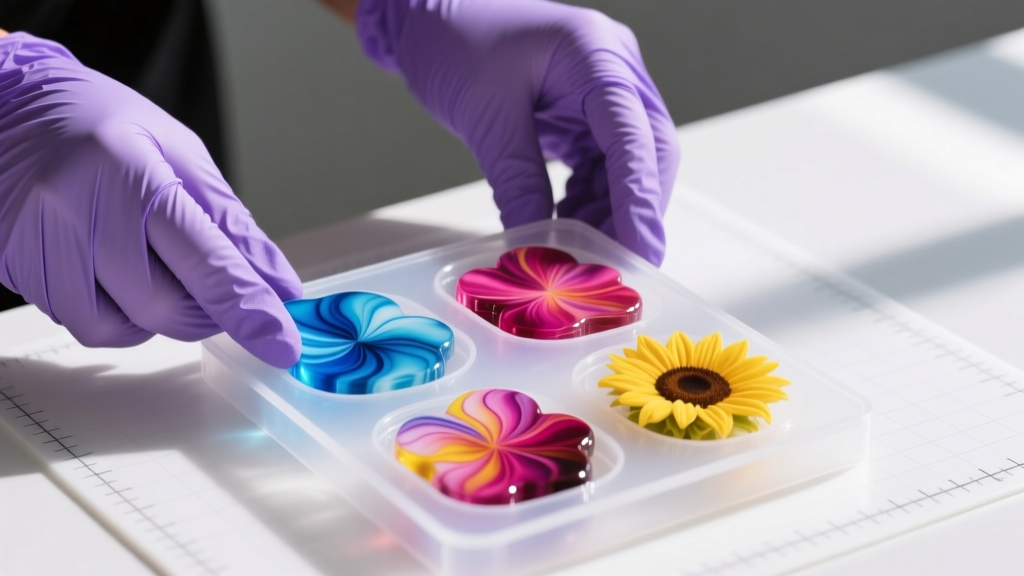
Sourcing Guide: 2026 Resin & Mold Recommendations
The market is saturated with cheap, imported resins that yellow within weeks due to a lack of HALS (Hindered Amine Light Stabilizers) and UV absorbers. When making gifts meant to be kept, sourcing the right materials is non-negotiable.
- Optical-Clear Epoxy: Look for resins that explicitly state a non-yellowing guarantee and feature a 1:1 mixing ratio by volume (not weight) to reduce math errors during late-night crafting sessions.
- Silicone Molds: Avoid rigid plastic molds entirely. Seek out platinum-cure silicone molds. They have a longer lifespan and release resin without the need for mold-release sprays, which can cloud your final finish.
- Hardware: Never use mystery-metal jump rings or clasps for heirloom gifts. Source 14k gold-filled or .925 sterling silver findings. The resin might be flawless, but a green-tainted jump ring will ruin the perceived value of the gift.
Troubleshooting Common Gift-Making Disasters
"The most heartbreaking moment in resin jewelry making is demolding a piece meant for a gift, only to find it covered in a waxy film or stuck to the silicone. Understanding the chemistry of your environment is just as important as the artistry."
Amine Blush: If your cured resin feels greasy or has a waxy, cloudy film, you are experiencing amine blush. This occurs when the amine hardener reacts with moisture and carbon dioxide in the air. To prevent this, ensure your crafting room is between 72°F and 75°F with humidity below 50%. If blush occurs, wash the piece with warm soapy water and a soft brush, then polish with a microfiber cloth and a plastic polish like Novus 2.
Sticky Spots: Sticky or tacky spots that refuse to cure are almost always caused by inaccurate measuring or inadequate mixing. When using a 1:1 epoxy, measure strictly by volume using graduated silicone cups. Scrape the sides and bottom of your mixing cup continuously for a full 3 to 5 minutes. If you pour a sticky piece, the only fix is to sand it down completely, clean it with isopropyl alcohol, and pour a fresh, domed top coat of properly mixed resin over the sanded surface.
By matching the right chemical properties to the emotional intent of your gift, your resin jewelry making practice will transcend simple crafting and become a profound way to celebrate the people you love in 2026 and beyond.


