How to Make Jewelry at Home on a Budget: Wire & Bead Cost Guide
Learn how to make jewelry at home without overspending. We break down the real costs of wire wrapping and beading kits versus sourcing raw materials.

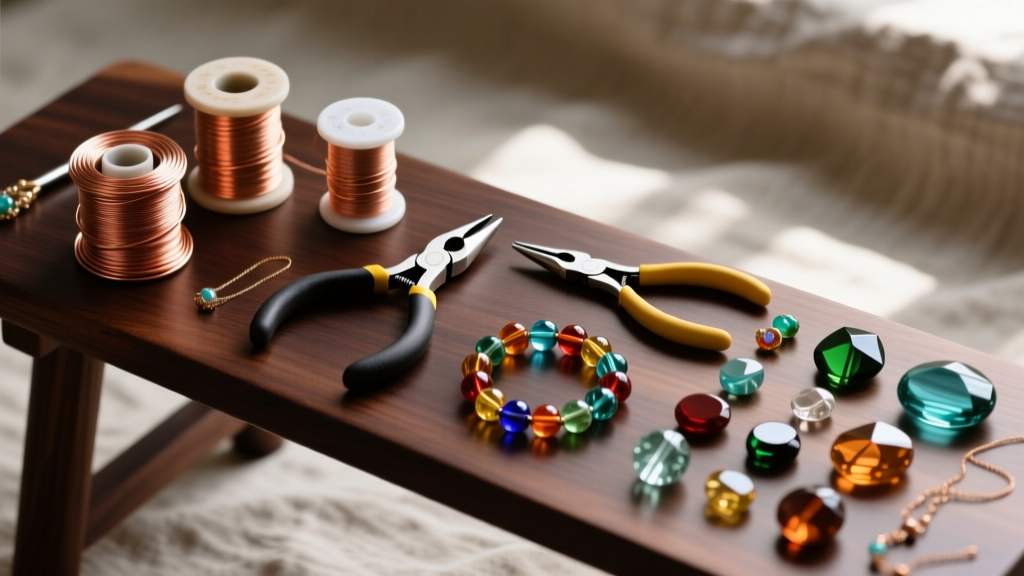
The Hidden Costs of Learning How to Make Jewelry at Home
When aspiring artisans first search for how to make jewelry at home, they are immediately bombarded with advertisements for $30 to $50 "all-in-one" starter kits. While these boxes promise a complete bench setup, they often represent a poor long-term value. In 2026, with the rising costs of precious metals and global shipping, budget-conscious makers must be strategic. Cheap kits typically include high-carbon steel tools that rust and dull within a week, alongside mystery-metal wire that tarnishes instantly and causes skin irritation.
To truly master DIY jewelry making on a budget, you must abandon the convenience of pre-packaged beginner boxes and adopt an à la carte sourcing strategy. By understanding exact material grades, tool mechanics, and wholesale pricing structures, you can build a professional-grade home bench for roughly the same price as a premium kit, but with components that will last a lifetime.
Starter Kits vs. À La Carte Sourcing: A Value Assessment
To understand the financial impact of your sourcing strategy, we analyzed the contents of a top-selling online jewelry starter kit against a custom-curated haul from reputable suppliers like Rio Grande and Fire Mountain Gems.
| Category | Typical $45 Starter Kit | Custom $55 Sourced Haul |
|---|---|---|
| Pliers | 3-piece cast alloy set (rusts, stiff springs) | 1 high-quality Beadalon or Xuron ergonomic pair |
| Wire | Assorted 26g "Tibetan" alloy (nickel-heavy) | 1 oz spool of pure 20g copper & 24g brass |
| Findings | Base metal earring hooks (tarnish in days) | 20 pairs of 14/20 gold-filled French hooks |
| Beads | Plastic pearls and dyed howlite | Genuine freshwater pearls and Czech glass |
| Longevity | Tools fail; materials unsellable | Tools last years; materials yield retail-ready pieces |
The custom haul costs slightly more upfront but yields pieces that can actually be sold or gifted without the embarrassment of rapid tarnishing. Furthermore, investing in a single, high-quality pair of pliers prevents the hand fatigue and wire-marring associated with cheap cast tools.
Essential Tools: Where to Invest and Where to Save
You do not need a $200 bench setup to begin. You only need three specific tools to execute 90% of beginner wire wrapping and beading projects. Here is the exact budget breakdown for your core toolkit:
- Flush Cutters ($18 - $25): Skip the micro-shears and invest in the Xuron 410A Maxi-Shear or a Beadalon flush cutter. These cut wire cleanly without leaving a sharp pinch-point.
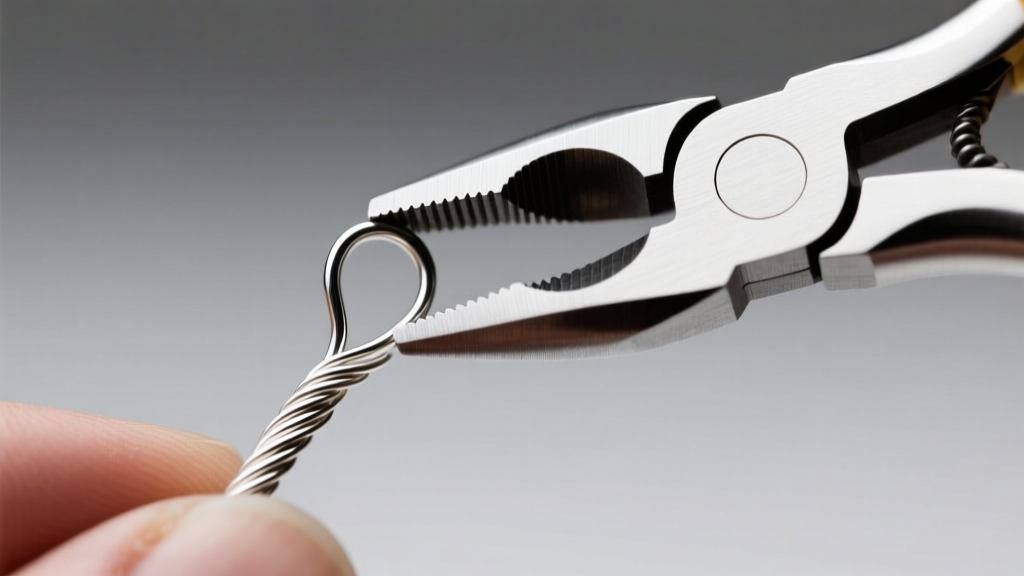
- Round Nose Pliers ($15 - $22): Look for smooth, polished jaws. Textured jaws will permanently scratch soft metals like pure copper and fine silver.
- Chain Nose / Flat Nose Pliers ($15 - $20): Used for gripping, closing jump rings, and bending sharp angles. A flat-nose pair with a wide jaw provides better leverage than tapered chain-nose pliers.
Expert Rule of Thumb: When using flush cutters, always face the flat side of the blade toward your workpiece. The opposite side will leave a sharp, pinched edge. Cutting with the flat side facing the wire ensures a clean, flush end that won't snag on clothing or skin.
Material Grades: Avoiding the "Cheap Metal" Trap
The fastest way to waste money in DIY jewelry making is buying the wrong wire hardness and material. Wire is sold by gauge (thickness) and hardness (temper). Understanding this matrix is critical for budget management, as buying the wrong temper results in ruined components and wasted metal.
Wire Hardness Explained
- Dead Soft: Bends like butter. Ideal for intricate wire weaving, coiling, and wrapping briolettes. It work-hardens as you manipulate it, eventually becoming stiff.
- Half-Hard: Offers resistance and holds its shape well. This is the mandatory choice for making ear wires, jump rings, and structural clasps.
- Full-Hard: Extremely stiff and prone to snapping if bent sharply. Rarely used in beginner wire wrapping; avoid buying this until you are making specific spring-loaded mechanisms.
Budget-Friendly Metal Progression
Do not start with sterling silver. In 2026, silver prices make learning on the metal a costly mistake. Begin with pure bare copper (18-22 gauge). It is incredibly cheap (roughly $8 to $12 per 4-ounce spool) and behaves similarly to fine silver. Once your muscle memory is perfected, upgrade to 14/20 Gold-Filled wire or Argentium Sterling Silver, which offers superior tarnish resistance compared to traditional .925 sterling.
Realistic Pricing for Your First 5 Projects
To prove the viability of the à la carte budget strategy, here is the exact material cost breakdown for five foundational jewelry projects, assuming you have already purchased your core tools.
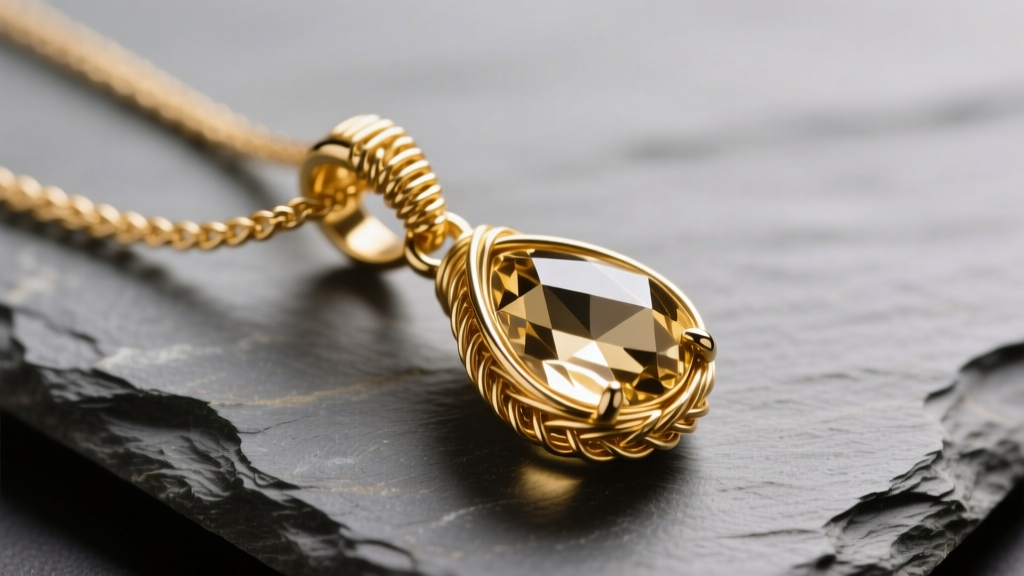
- Wire-Wrapped Briolette Pendant ($3.80): Uses 6 inches of 24g dead-soft gold-filled wire for the wrap, and one $2.50 Czech glass or quartz briolette.
- Minimalist Bar Necklace ($4.20): Requires 4 inches of 20g half-hard copper or brass wire for the bar, plus 18 inches of bulk copper cable chain ($0.10 per inch).
- Pearl Drop Earrings ($5.60): Two 14k gold-filled French hooks ($1.20), two 2-inch 24g gold-filled headpins ($0.80), and two 8mm freshwater pearls ($3.60).
- Simple 4-in-1 Chainmaille Bracelet ($6.15): Requires roughly 60 pre-cut 20g stainless steel or anodized aluminum jump rings. Buying bulk rings from specialized suppliers like Wire-Sculpture keeps the cost under $4, plus a $2.15 magnetic clasp.
- Beaded Memory Wire Cuff ($2.90): One coil of stainless steel memory wire (pennies per use) and a mixed strand of 4mm glass rondelle beads.
Final Verdict: Maximizing Your DIY ROI
Learning how to make jewelry at home does not require a massive financial investment, but it does require intelligent spending. By rejecting the false economy of cheap starter kits and instead sourcing specific, high-quality tools and pure-base metals, you stretch every dollar. A $60 budget, when allocated toward Xuron cutters, pure copper wire, and genuine glass beads, provides enough material to practice hundreds of techniques and produce dozens of durable, beautiful pieces. Focus on mastering the mechanics of half-hard and dead-soft wire, respect the geometry of your pliers, and your home jewelry bench will quickly transition from a costly hobby to a highly rewarding, value-generating craft.


