How to Make Jewelry with Wire: Beginner's Guide to Pendants
Learn how to make jewelry with wire using this beginner-friendly guide. Master wire gauges, essential tools, and your first wrapped pendant bail.

Why Wire Wrapping is the Ultimate Beginner Technique
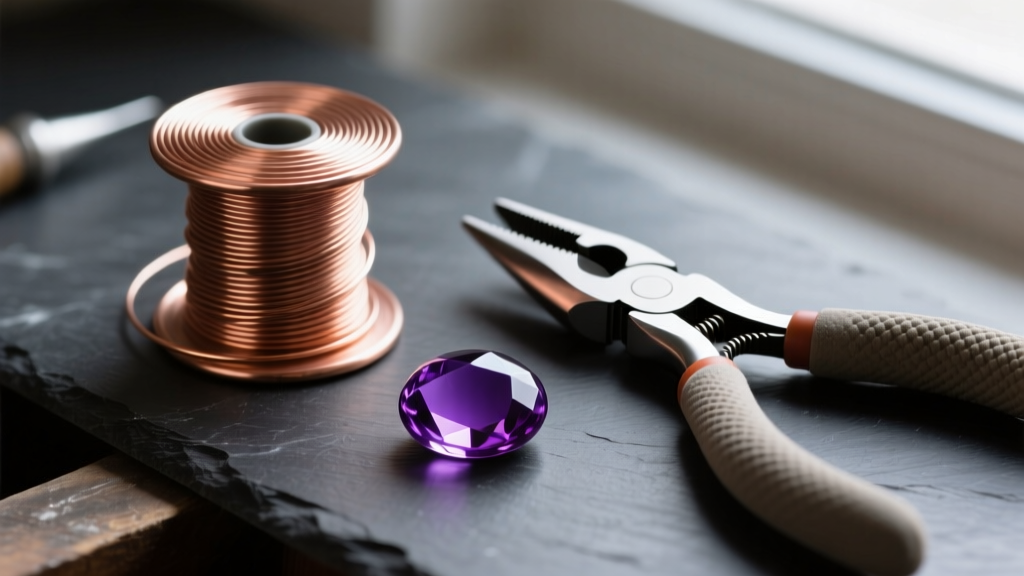
When you first decide to make jewelry with wire, you are stepping into a craft that bridges the gap between raw metallurgy and wearable art. Unlike soldering, which requires torches, flux, and strict safety protocols, wire wrapping relies entirely on mechanical tension and structural geometry. For beginners, this means a significantly lower barrier to entry, both financially and technically. You can create professional-grade pendants, bails, and ring shanks from your kitchen table using nothing but hand tools and a spool of metal.
However, the simplicity of the tools is deceptive. The difference between a clumsy, amateurish wrap and a crisp, gallery-quality piece lies in your understanding of wire temper, gauge selection, and tool control. In this guide, we will bypass the generic fluff and dive straight into the specific material science and practical mechanics you need to make jewelry with wire that actually lasts.
Understanding Wire: Gauges, Tempers, and Alloys
Before you cut your first piece of metal, you must understand the physical properties of your medium. Wire is categorized by three main metrics: gauge (thickness), temper (hardness), and alloy (material composition).
The Gauge System
In the United States, wire thickness is measured in American Wire Gauge (AWG). Counterintuitively, the higher the gauge number, the thinner the wire. Choosing the wrong gauge is the most common reason beginner projects fail structurally.
| AWG Size | Diameter (mm) | Primary Use Case | Recommended Temper |
|---|---|---|---|
| 18-Gauge | 1.02mm | Heavy clasps, ring shanks, structural frames | Half-Hard |
| 20-Gauge | 0.81mm | Standard ear wires, pendant bails, base frames | Half-Hard or Dead Soft |
| 24-Gauge | 0.51mm | Weaving, coiling, securing cabochons | Dead Soft |
| 28-Gauge | 0.32mm | Fine detail work, micro-weaving, knitting | Dead Soft |
Wire Temper Explained
Temper refers to the metal's hardness and malleability, which is determined by how much it has been drawn or rolled at the mill. According to metallurgical standards outlined by suppliers like Rio Grande, temper dictates how the wire behaves under stress:
- Dead Soft: Highly malleable. It bends effortlessly and holds its shape only when work-hardened or structurally locked. Ideal for weaving and wrapping around stones.
- Half-Hard: Has been partially work-hardened. It offers a balance of malleability and stiffness. It resists bending slightly but holds its shape well once formed. Perfect for ear wires and jump rings.
- Full-Hard: Extremely stiff and springy. It is difficult to bend and will snap if forced into a tight radius. Rarely used by beginners.
Essential Tools for the Beginner Workbench
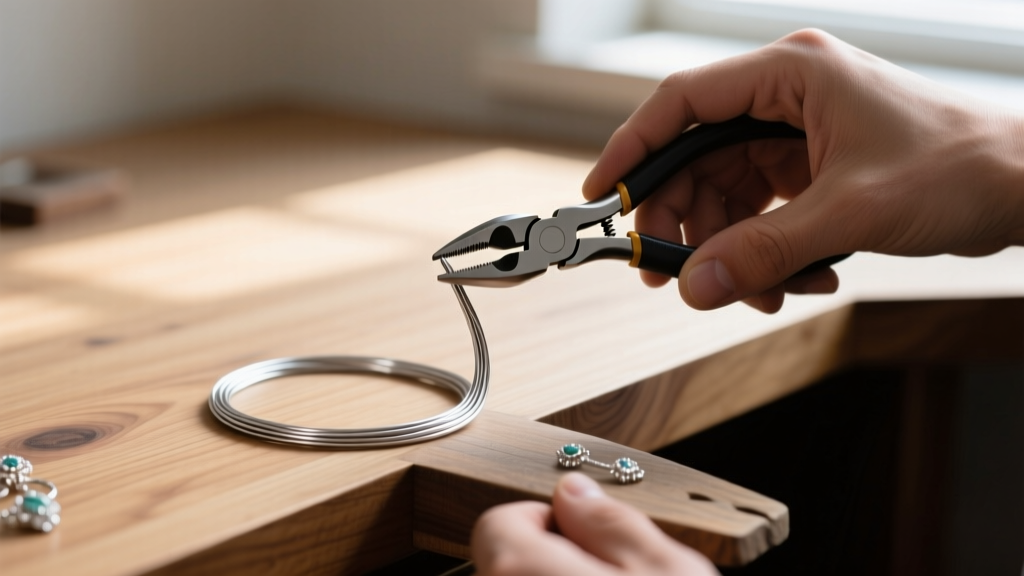
You do not need a massive toolkit to make jewelry with wire, but you do need high-quality precision tools. Cheap hardware store pliers have serrated teeth that will permanently mar your metal, and their cutters will leave sharp, pinched burrs. Invest in these four essentials:
- Flush Cutters: You need a cutter that leaves one side of the cut perfectly flat. The Lindstrom RX 8141 or Tronex 5014 are industry standards, typically costing between $60 and $90. For a beginner budget, the Wubbers Economy Flush Cutters ($25) offer excellent performance.
- Chain Nose Pliers: Used for gripping, bending, and closing jump rings. Look for smooth, flat inner jaws. The Wubbers Medium Chain Nose ($22) is a reliable choice.
- Round Nose Pliers: Essential for creating perfect, consistent loops. The conical jaws allow you to form different loop diameters depending on where you grip the wire.
- Nylon Jaw Pliers: A secret weapon for beginners. The soft nylon pads grip the wire without scratching or marring the metal. They are also excellent for straightening kinked wire pulled from a spool.
Step-by-Step: Crafting a Basic Wrapped Bail
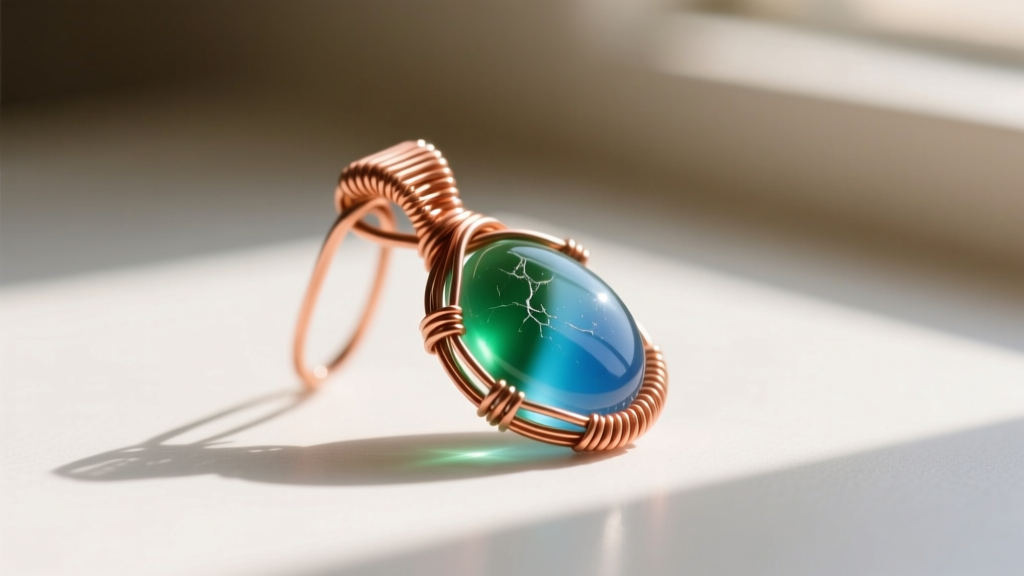
A bail is the component that connects a pendant to a chain. Mastering a simple wrapped bail teaches you tension control, flush cutting, and structural locking. We will use a 6x9mm polished cabochon and 20-gauge dead soft copper wire (C110 ETP grade) for this exercise. Copper is highly forgiving and costs roughly $12 to $15 per 4-ounce spool, making it the perfect practice metal.
Step 1: Cutting and Straightening
Cut an 8-inch length of 20-gauge dead soft copper wire using your flush cutters. Ensure the flat side of the cut faces the wire you intend to keep. Pull the wire gently through the jaws of your nylon jaw pliers three or four times. This removes the 'memory' and spring-back from the spool, giving you a perfectly straight working piece.
Step 2: Forming the Top Loop
Measure 2.5 inches from one end of the wire. Place your round nose pliers at this mark. Roll the pliers toward the long tail to create a 180-degree U-bend, bringing the short tail parallel to the long tail. This forms the top of your bail loop. Ensure the loop is centered and symmetrical.
Step 3: The Structural Wrap
Take the short tail (the 2.5-inch end) and begin wrapping it tightly around the long tail, directly beneath the loop you just formed. Use your chain nose pliers to press each coil flat against the previous one. There should be zero gaps between the coils. Wrap exactly four times. This creates a secure, structural neck that will not pull apart under the weight of a chain.
Step 4: Securing and Trimming
After the fourth wrap, use your flush cutters to trim the short tail as close to the core wire as possible. The flat side of the cutter must face the wrap to ensure a flush cut. Finally, use the tip of your chain nose pliers to gently squeeze and 'tuck' the remaining microscopic burr inward so it will not snag on clothing or skin.
Troubleshooting Common Beginner Failure Modes
Even with precise instructions, beginners encounter specific mechanical failures. Here is how to diagnose and fix them:
Failure Mode 1: The Wire Snaps During Wrapping
Diagnosis: You have over-worked the metal. Bending and wrapping causes 'work hardening,' where the crystal lattice of the metal compresses and becomes brittle.
Solution: Switch to dead soft wire for wrapping tasks. If you must use half-hard, you will need to anneal it (heat it to a dull red and quench it) to restore malleability, though this is rarely necessary for basic 24g or 28g weaving.
Failure Mode 2: Severe Tool Marring
Diagnosis: Your pliers have serrated teeth, or you are squeezing too hard with steel chain nose pliers.
Solution: Coat the jaws of your steel pliers in Tool Magic (a dip-on rubber coating) or use painter's tape on the jaws. Better yet, use nylon jaw pliers for any gripping that requires high pressure.
Failure Mode 3: The Bail Pulls Open Under Weight
Diagnosis: You used dead soft wire for the main structural loop and did not work-harden it after forming.
Solution: Always use half-hard wire for the main load-bearing loop, or use a rawhide mallet to gently tap the finished loop against a steel bench block to work-harden it manually.
Sourcing Materials in 2026
The landscape of jewelry supply has evolved. While local bead shops are wonderful for community, the best pricing and metallurgical consistency come from dedicated online wholesalers. When looking to make jewelry with wire at scale or with premium materials, avoid generic craft store spools, which often suffer from inconsistent gauge diameters and poor alloy purity.
For precious metals, Rio Grande remains the gold standard, offering certified Argentium 935 silver (a highly tarnish-resistant alloy that is perfect for wire wrapping) and ethically sourced gold. For base metals and practice wire, Wire-Sculpture provides excellent bulk pricing on C110 copper and jewelers' brass. As of 2026, expect to pay roughly $45 to $60 per troy ounce for premium sterling silver wire, while high-quality jewelers' brass hovers around $18 per 4-ounce spool.
By mastering the fundamental physics of wire tempers, investing in precision flush cutters, and practicing your tension on forgiving copper, you will build a foundation that allows you to make jewelry with wire that rivals professional bench jewelers. Start with the wrapped bail, master the flush cut, and let the geometry of the metal guide your design.


