Pulse Arc Welder for Jewelry: A Beginner's Setup Guide
Learn how to use a pulse arc welder for jewelry making. Discover energy settings, material tips, and beginner techniques for flawless welds.

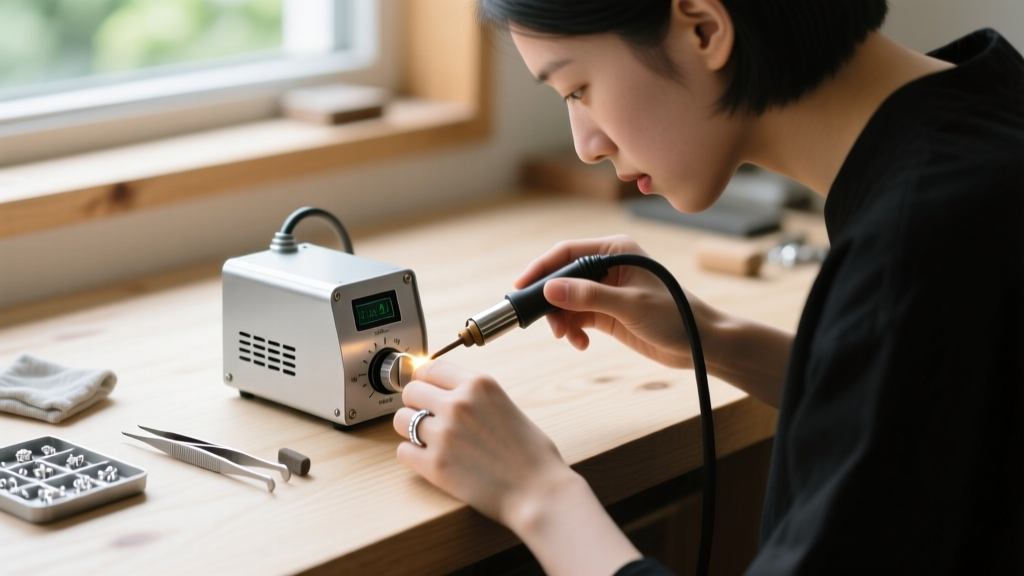
For decades, jewelry makers relied exclusively on torches, flux, and solder to join metals. While traditional soldering remains a foundational skill, the introduction of the pulse arc welder for jewelry has completely revolutionized the modern workbench. Unlike laser welders, which can cost upwards of $15,000, pulse arc welding offers an accessible, highly precise, and solderless method for fusing metals. Whether you are closing jump rings, repairing prongs, or building complex chainmaille weaves, mastering this technology will drastically reduce your bench time and eliminate the frustration of fire scale and solder seams.
In this comprehensive guide, we will break down the exact science behind capacitor discharge welding, outline the realistic costs of setting up your station in 2026, and provide metal-specific energy parameters to ensure your first welds are structurally sound and visually flawless.
The Science of Capacitor Discharge Welding
To use a pulse arc welder effectively, you must first understand how it differs from a continuous TIG welder or a butane torch. A pulse arc welder stores electrical energy in a bank of capacitors. When you trigger the handpiece, the machine releases this stored energy in a fraction of a millisecond—typically between 2 to 5 milliseconds. This ultra-fast burst creates a localized electrical arc between a tungsten electrode and your metal workpiece.
Because the pulse is so brief, the heat-affected zone (HAZ) is incredibly small. You can weld a jump ring just millimeters away from a heat-sensitive gemstone like an opal or emerald without causing thermal shock or fracturing the stone. However, the intense, instantaneous heat would normally cause the surrounding air to react with the molten metal, creating heavy oxidation. This is where shielding gas becomes non-negotiable.
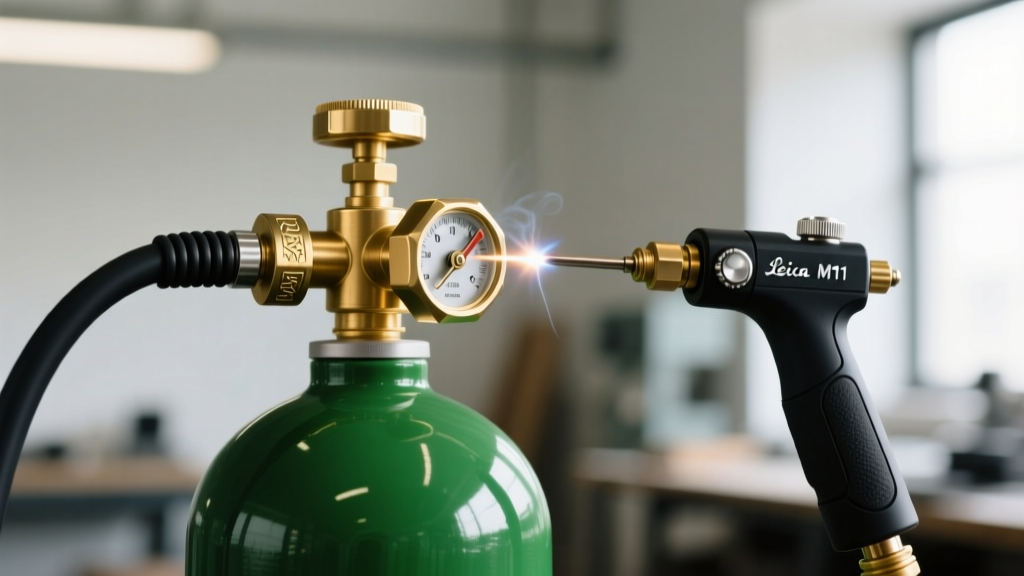
Argon gas is fed through the handpiece nozzle simultaneously with the electrical pulse. Argon is heavier than air and inert, meaning it forms a temporary, oxygen-free envelope around the weld pool. According to metallurgical guidelines published by Ganoksin, maintaining a proper argon envelope is the single most critical factor in preventing the black, crusty oxidation that ruins otherwise perfect jewelry welds.
Essential Gear and 2026 Pricing Realities
Setting up a pulse arc welding station requires more than just the welder itself. Below is a breakdown of the essential equipment you need, along with current market pricing for entry-level and professional-grade setups.
| Equipment | Entry-Level Cost | Professional Cost | Purpose & Notes |
|---|---|---|---|
| Pulse Arc Welder | $1,200 - $1,800 | $3,500 - $6,500 | Core unit. Brands like Sunstone and Orion dominate the market. |
| Argon Gas Setup | $150 - $250 | $350+ | Includes tank, dual-gauge regulator, and flexible tubing. |
| Stereo Microscope | $300 - $500 | $1,500+ | Essential for precision. Must have a welding filter to protect eyes. |
| Tungsten Electrodes | $20 - $40 | $60+ | 2% Lanthanated (blue tip) is the industry standard for jewelry. |
While the initial investment might seem steep for a hobbyist, the elimination of solder, flux, and pickling chemicals quickly offsets the cost for production jewelers. Furthermore, the ability to offer instant, visible-to-the-customer chain repairs can significantly boost retail revenue.
Dialing in Energy: Metal-Specific Parameters
The most common mistake beginners make with a pulse arc welder for jewelry is applying a "one-size-fits-all" energy setting. Different metals possess vastly different thermal and electrical conductivities. The energy dial on your machine (measured in Watt-seconds or Voltage, depending on the manufacturer) must be adjusted for every new alloy you touch.
Sterling Silver and Fine Silver
Silver is the most thermally conductive precious metal. It pulls heat away from the weld joint incredibly fast. Consequently, silver requires higher energy settings to achieve a proper fuse. On a standard 100Ws machine, welding an 18-gauge sterling silver jump ring typically requires between 60Ws and 80Ws. If the energy is too low, the arc will simply bounce off the surface, leaving a superficial mark without structural penetration.
14k and 18k Gold Alloys
Gold alloys are far more forgiving than silver. They have lower thermal conductivity, meaning the heat stays concentrated in the weld pool. For 18k yellow gold, a medium energy setting of 40Ws to 55Ws is usually sufficient. Be cautious with white gold alloys, as the nickel or palladium content can alter the melting point, often requiring a slight bump in energy compared to yellow or rose gold.
Titanium and Stainless Steel
These metals are notorious for blowing holes if over-welded. Because they resist electrical flow differently than precious metals, they require a very precise, lower energy setting. For 20-gauge titanium wire, start at just 15Ws to 25Ws. If you apply silver-level energy to titanium, the metal will instantly vaporize, leaving a jagged crater.
Troubleshooting the Big Three Flaws
Even with the correct energy settings, beginners frequently encounter three specific failure modes. Here is how to diagnose and fix them based on insights from Rio Grande's technical resources.
- Pitting and Cratering: This occurs when the arc gap (the distance between the tungsten electrode and the metal) is too wide. A wide gap causes the arc to scatter, blowing molten metal out of the joint and leaving a pit. Fix: Ensure the workpiece is firmly touching the electrode before firing, or maintain a gap of less than 0.5mm.
- Severe Oxidation (Blackening): If your weld looks like it was hit by a torch, your argon shielding failed. Fix: Check your post-flow timer. The argon must continue flowing for at least 1.5 to 2.0 seconds after the pulse ends to protect the metal while it cools below its oxidation threshold.
- Electrode Sticking: The tungsten electrode fuses to your jewelry. Fix: This happens when the polarity is reversed or when you fire the arc while the electrode is buried in a deep crevice without a clear path to ground. Always ensure the grounding tweezer is securely attached to the workpiece.
Step-by-Step: Your First Weld on an 18-Gauge Jump Ring
Let's put theory into practice. Closing a jump ring is the ultimate rite of passage for pulse arc welding. Follow these exact steps for a seamless, solderless joint.
- Preparation: Use a flush cutter to snip your 18-gauge sterling silver wire. File the ends perfectly flat. A flush joint is mandatory; gaps wider than 10% of the wire diameter will not bridge cleanly.
- Electrode Prep: Grind your 2% Lanthanated tungsten electrode on a diamond whetstone to a sharp 30-degree taper. A blunt electrode will create a wide, unfocused arc.
- Alignment: Place the jump ring in the grounding tweezers. Squeeze the tweezers to apply slight inward pressure, forcing the two filed ends to overlap by a fraction of a millimeter.
- Gas Settings: Set your argon regulator to 0.8 CFH (Cubic Feet per Hour). Set the machine's pre-flow to 0.5 seconds and post-flow to 2.0 seconds.
- The Tack: Set the machine to a low "Tack" mode (approx. 30Ws). Touch the electrode to the seam and fire. This temporarily locks the ring in place so it won't shift during the final weld.
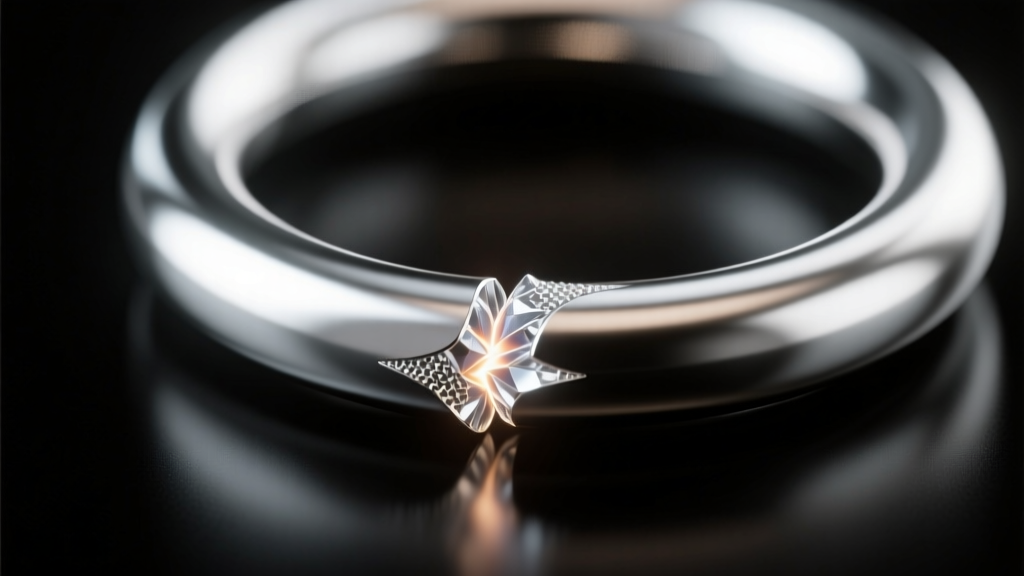
- The Final Weld: Switch to "Weld" mode (approx. 65Ws). Touch the electrode directly to the seam, press the foot pedal or trigger, and hold perfectly still. You will hear a sharp, crisp "snap."
- Inspection: Look through your stereo microscope. The joint should show a smooth, continuous bead with no black oxidation. If done correctly, the weld is as strong as the parent wire.
Safety and Workspace Management
While a pulse arc welder for jewelry does not produce the open flames of a torch, it introduces new hazards. The electrical arc emits intense ultraviolet (UV) light, similar to a miniature lightning strike. Looking directly at the arc without proper protection will cause "arc eye" (photokeratitis), a painful condition akin to a sunburn on your cornea. Always use a stereo microscope equipped with a specialized auto-darkening welding filter, or wear certified shade #8 to #10 welding glasses.
Additionally, argon gas is an asphyxiant. Because it is heavier than oxygen, it can pool in low-lying areas or small, unventilated rooms. Ensure your workspace has adequate cross-ventilation or an active exhaust system to pull displaced air out of the room. Finally, keep your tungsten electrodes meticulously clean. Wipe them with isopropyl alcohol before use, and never touch the sharpened tip with your bare fingers, as the oils from your skin will degrade the arc stability and contaminate your precious metals.
By respecting the metallurgy, dialing in your gas flow, and practicing your electrode placement, your pulse arc welder will quickly become the most indispensable tool on your bench.