How to Remove Permanent Jewelry: A Safe DIY Guide
Learn how to remove permanent jewelry safely at home. Discover the right flush cutters, techniques, and tips to save your chain for re-welding.

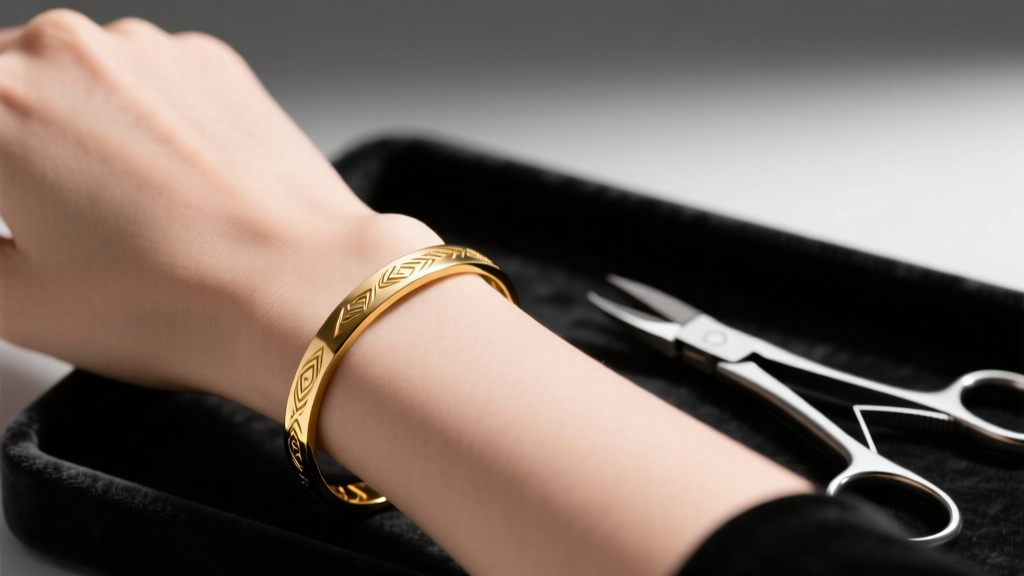
Introduction: The Myth of "Permanent"
Despite the romanticized name, "permanent jewelry" is rarely meant to last a literal lifetime. Whether you are preparing for an MRI scan, undergoing surgery, traveling through regions with strict security protocols, or simply wanting to upgrade your chain, knowing how to remove permanent jewelry safely is an essential skill. In 2026, the vast majority of permanent bracelets and necklaces are secured using argon arc welding rather than traditional soldering. This means the chain is connected by a single fused jump ring or welded link, making at-home removal entirely feasible if you have the right tools and technique.
However, attacking your delicate 14k gold or sterling silver chain with standard hardware store wire cutters is a recipe for disaster. This beginner-friendly explainer will walk you through the exact metallurgy, tool requirements, and step-by-step techniques to remove your welded jewelry without destroying the chain, ensuring it can be easily re-welded by a professional later.
The Critical Tool: Why Flush Cutters Matter
The most common mistake beginners make when learning how to remove permanent jewelry is using standard diagonal cutting pliers. Standard cutters use a shearing action that pinches the metal, leaving a sharp, deformed edge on the jump ring. This ruins the ring and often damages the adjacent chain links. Instead, you must use micro flush cutters.
Flush cutters feature one flat blade and one beveled blade. When positioned correctly, the flat side cuts the metal cleanly, leaving a perfectly flat edge that can be easily reused or re-welded. For permanent jewelry chains—which typically range from 1.2mm to 2.5mm in width and use 20-gauge to 22-gauge jump rings—precision is everything.
- Tronex 5252 Micro Flush Cutter: The industry standard for jewelers. It cuts soft wire up to 20-gauge flawlessly without pinching.
- Wubbers Micro Flush Cutter: A slightly more affordable option that offers excellent precision for delicate gold-filled and sterling silver chains.
- Chain Nose Pliers (Optional but recommended): Use a pair of smooth-jawed chain nose pliers (like those from Rio Grande's cutting tool selection) to hold the chain steady and prevent it from slipping while you snip.
Step-by-Step: How to Remove Permanent Jewelry
Before you begin, ensure you are working in a well-lit area with a clean surface. Place a dark towel or a jewelry mat underneath your workspace so that if the tiny jump ring goes flying, it won't bounce away and get lost.
Step 1: Locate the Weld Spot
Run your fingers along the chain to find the connection point. In 90% of cases, the jeweler used a single jump ring to connect the two ends of the chain before hitting it with an argon arc welder (such as Sunstone's permanent jewelry welders). The weld spot will look slightly thicker or have a tiny, smooth bead of metal where the seam was fused. If the chain was welded link-to-link without a jump ring, you will need to sacrifice one link to remove it.
Step 2: Position Your Cutters
Hold the chain gently but firmly with your non-dominant hand. Take your micro flush cutters and place the flat side of the blades against the jump ring. You want to cut the jump ring itself, not the chain links. If the jump ring was welded shut, aim for the side of the ring opposite the weld bead, as the fused metal is harder and can dull your cutter blades.
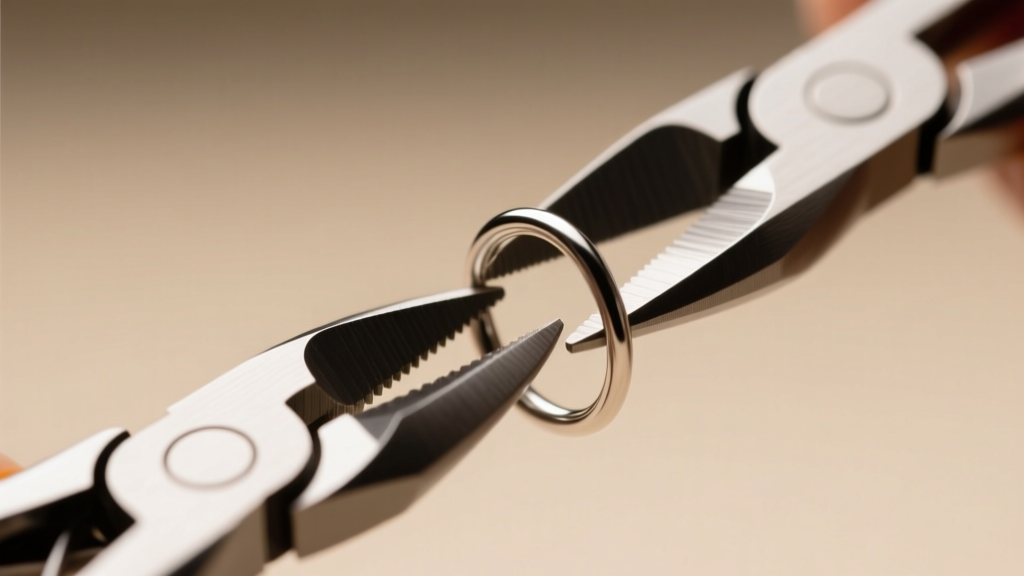
Step 3: The Snip and Slide
Apply steady, even pressure to the handles. You should feel a clean "snip." Once the jump ring is severed, use your chain nose pliers to gently twist the ring open (like a door hinge) and slide it out of the chain links. Do not pull the ring apart laterally, as this will distort its perfect circle shape and make re-welding difficult.
Material Considerations: What Chain Are You Cutting?
Not all permanent jewelry is created equal. The metal composition of your chain dictates how easily it can be removed and, more importantly, how it can be re-welded in the future. Consult the table below to understand your specific chain's properties.
| Metal Type | Removal Difficulty | Re-Weldability | Special Notes |
|---|---|---|---|
| 14k Solid Gold | Easy | Excellent | Can be re-welded seamlessly with argon arc. Soft enough for standard flush cutters. |
| 14k Gold-Filled | Easy | Poor | Arc welding burns off the gold layer. Must be reconnected with a new jump ring or laser welded. See Stuller's guide to gold-filled metals. |
| Sterling Silver | Easy | Good | Highly conductive. Requires anti-tarnish pickling before re-welding to avoid black oxidation marks. |
| Stainless Steel | Hard | Fair | Very tough on cutter blades. Requires high-pulse welding settings to fuse. |
Troubleshooting Common Removal Issues
Even with the right tools, things don't always go perfectly. Here is how to handle the most common hurdles when figuring out how to remove permanent jewelry at home.
Stubborn or Soldered Jump Rings
Sometimes, a jeweler will use traditional silver solder instead of an argon welder to close the jump ring. Solder is significantly harder than the surrounding gold or silver. If your flush cutters are struggling to bite through the ring, do not force them, as you risk chipping the blade. Instead, use two pairs of smooth-jawed chain nose pliers to grip the jump ring on either side of the seam and gently twist it open.
Accidental Chain Snags
If you accidentally snip a chain link instead of the jump ring, don't panic. The chain is not ruined. Carefully remove the broken link using your pliers. When you take the piece back to a jeweler for re-welding, they will simply add a new jump ring to bridge the tiny gap. The loss of a single 2mm link is virtually unnoticeable on a 7-inch bracelet.
Saving Your Chain for Re-Welding
The primary benefit of carefully removing your permanent jewelry is the ability to wear it again. To ensure your chain survives the time between removal and your next jeweler appointment, proper storage is non-negotiable.
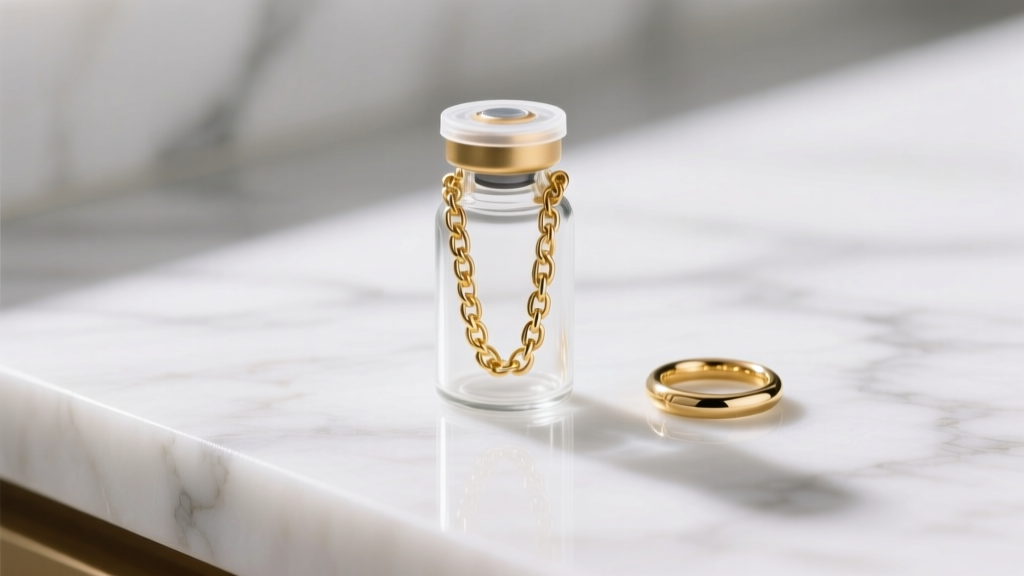
Pro-Tip: Never toss a loose, unclasped chain into a standard jewelry box. The open ends will act like hooks, tangling with other pieces and potentially stretching the delicate links. Always store removed permanent chains in a sealed glass vial or a small, standalone ziplock bag.
Make sure to include the severed jump ring in the bag. While most jewelers have a surplus of 3mm and 4mm jump rings, keeping the original ensures an exact color and gauge match, especially if your chain features a unique alloy or custom finish.
When to See a Professional Instead
While learning how to remove permanent jewelry is highly empowering, there are scenarios where DIY removal is contraindicated. If you are wearing a heavy-gauge chain (18-gauge or thicker, such as a Cuban link), standard micro flush cutters will not be able to cleanly sever the metal. Attempting to do so will ruin your tools and deform the chain. Furthermore, if the jewelry is wrapped tightly around a swollen joint or injured limb, do not attempt to maneuver sharp cutters near the skin. Visit a professional jeweler or a medical facility where specialized ring cutters and protective skin guards are available.
Conclusion
Understanding how to remove permanent jewelry transforms it from a daunting commitment into a flexible, long-term accessory. By investing in a quality pair of micro flush cutters, identifying the weld spot, and respecting the metallurgy of your chain, you can safely detach your bracelet or necklace in under sixty seconds. Treat your tools with care, store your chain properly, and enjoy the freedom of knowing your "permanent" jewelry is entirely on your terms.