Choosing the Best Resin for Jewelry Making: Epoxy vs UV
Discover the best resin for jewelry making. Compare epoxy and UV resin, learn mixing ratios, curing times, and beginner troubleshooting tips.

Understanding the Basics of Resin
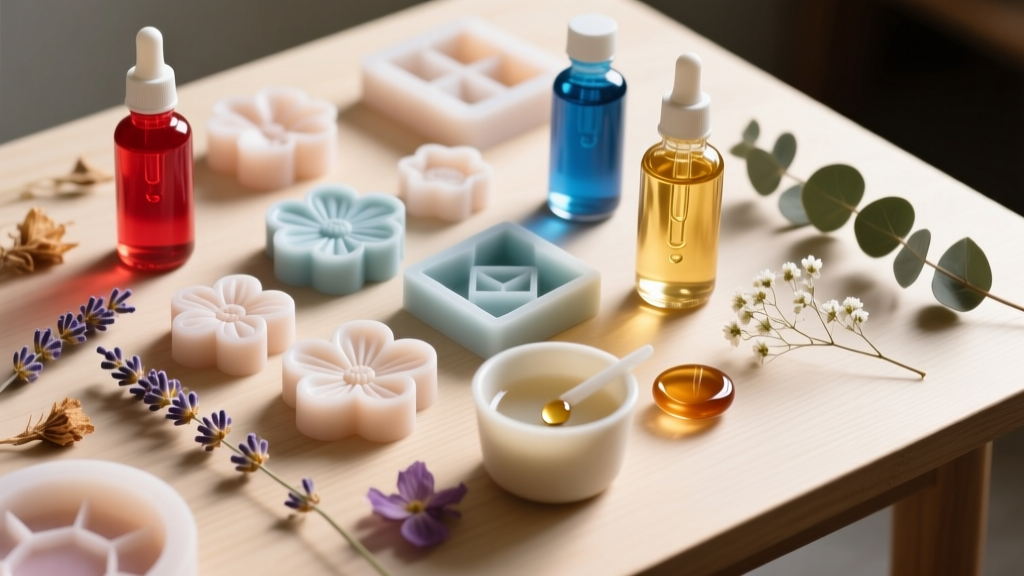
When you first dive into the world of crafting, selecting the right resin for jewelry making is the most critical decision you will make. Resin allows you to encapsulate dried flowers, create ocean-inspired geode pendants, and cast intricate bezel designs. However, not all resins behave the same way. The two primary contenders for beginners are two-part epoxy resin and one-part UV resin. Both offer crystal-clear finishes, but their chemical compositions, curing processes, and ideal use cases are vastly different.
As of 2026, advancements in resin formulations have reduced yellowing and improved bubble release, but the fundamental physics of how these materials cure remain unchanged. This guide will break down the exact specifications, safety requirements, and practical applications of both types, ensuring your first jewelry casting is a success rather than a sticky disappointment.
Epoxy Resin: The Deep-Pour Classic
Epoxy resin is a two-part system consisting of Part A (the resin) and Part B (the hardener). When mixed in the correct ratio, a chemical reaction occurs that generates heat (an exothermic reaction), eventually hardening into a durable, glass-like plastic. It is the gold standard for creating thick, chunky statement pieces, deep ocean-effect pendants, and large geode trays.
Mixing Ratios and Precision
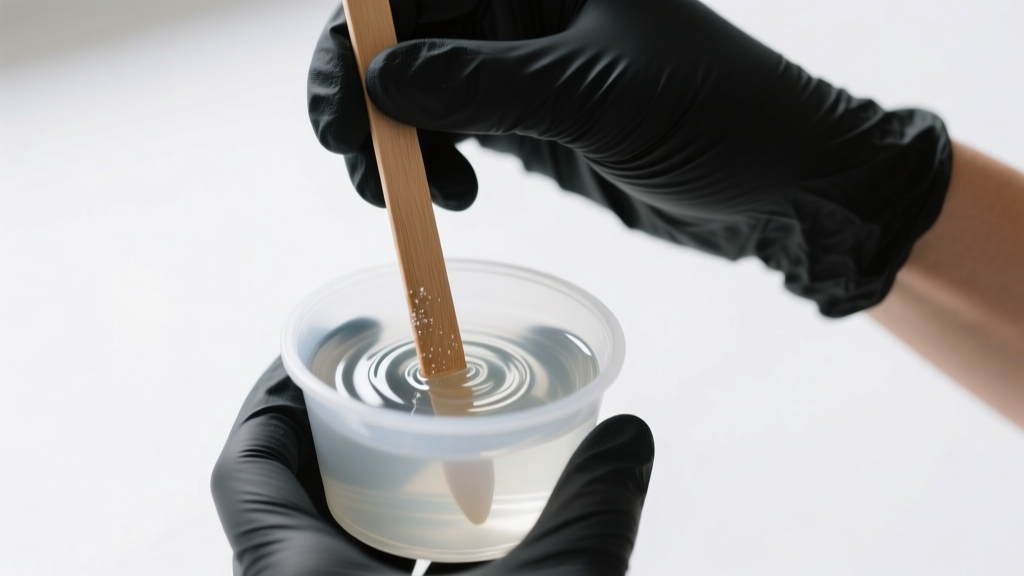
Most jewelry-grade epoxies, such as ArtResin or Let's Resin, require a 1:1 mixing ratio by volume. However, some professional-grade casting resins require a 2:1 or 3:1 ratio by weight. Using a digital jewelry scale accurate to 0.1 grams is non-negotiable for weight-based formulas. If your mixture is off by even 5%, the chemical cross-linking will fail, leaving you with a permanently tacky, uncured mess.
The Curing Environment
Epoxy demands a controlled environment. The ideal room temperature is between 72°F and 75°F (22°C - 24°C) with humidity levels below 50%. Cold temperatures drastically slow the curing process and thicken the liquid, trapping microbubbles. High humidity introduces moisture into the chemical reaction, leading to a phenomenon known as 'amine blush'—a waxy, white film that ruins the glossy finish.
UV Resin: The Quick-Cure Alternative
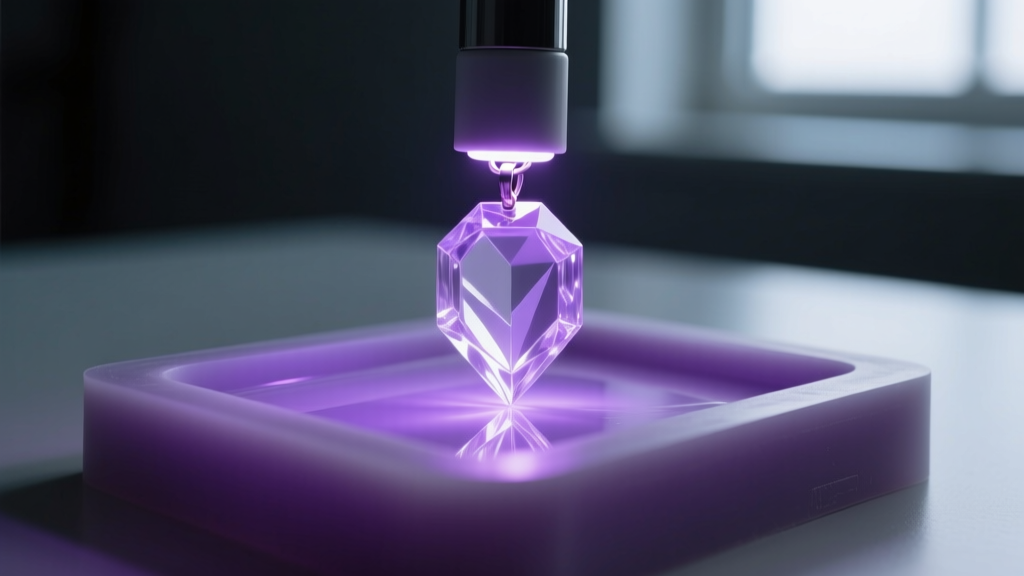
UV resin is a single-component liquid that remains in a liquid state indefinitely until exposed to ultraviolet light. It contains photoinitiators that absorb UV radiation and trigger rapid polymerization. For jewelry makers producing high volumes of small, shallow pieces like bezel pendants or drop earrings, UV resin is a massive time-saver.
Wavelength and Lamp Requirements
You cannot cure UV resin by simply leaving it in direct sunlight, as the UV index fluctuates and curing will be uneven. You need a dedicated UV LED lamp. According to Resin Obsession's material breakdown, your lamp must emit a wavelength between 395nm and 405nm and possess a minimum wattage of 36W to penetrate the liquid effectively. A standard nail polish UV lamp often works, but a specialized jewelry curing dome provides more even light distribution.
Thickness Limitations
The primary limitation of UV resin is depth. UV light can only penetrate so far into the liquid. If you pour a layer thicker than 3mm to 5mm, the top will cure and form a barrier, leaving the bottom completely liquid. To create thicker pieces, you must pour and cure in multiple sequential layers, which can introduce dust and layer lines if not done carefully.
Head-to-Head Comparison
To help you decide which resin for jewelry making fits your current project, refer to this technical comparison chart:
| Feature | Epoxy Resin | UV Resin |
|---|---|---|
| Cure Time | 24 to 48 hours | 1 to 3 minutes per layer |
| Max Thickness | Up to 2 inches (depending on brand) | 3mm to 5mm per layer |
| Mixing Required | Yes (strict ratios) | No (ready to use) |
| Bubble Release | Requires heat gun/torch | Naturally low, but can trap air |
| Shelf Life | 6 to 12 months | 12 to 18 months |
| Cost per Ounce | $1.50 - $3.00 | $4.00 - $8.00 |
Essential Safety and Workspace Setup
Working with liquid polymers requires strict safety protocols. Uncured resin is a known sensitizer, and repeated skin contact can lead to severe, lifelong allergic contact dermatitis. Never handle uncured resin with bare hands, and avoid latex gloves, as the chemicals can degrade latex. Always use powder-free nitrile gloves.
Furthermore, ArtResin's safety guidelines emphasize the importance of respiratory protection, especially when working with UV resins or heating epoxy to remove bubbles. A standard dust mask is useless against Volatile Organic Compounds (VOCs). You must invest in a NIOSH-approved half-face respirator equipped with 6001 organic vapor cartridges. Ensure your workspace is well-ventilated, and always work on a reusable silicone craft mat, as cured resin will permanently ruin wood or fabric surfaces.
Troubleshooting Common Beginner Mistakes
Even with the best materials, beginners frequently encounter structural and cosmetic failures. Here is how to troubleshoot the most common issues:
- Sticky or Tacky Spots (Epoxy): This is almost always caused by inaccurate measuring or inadequate mixing. You must scrape the sides and bottom of your mixing cup with a silicone spatula and transfer the mixture to a second clean cup for a final stir to ensure homogeneity.
- Microbubbles: If your epoxy looks like champagne, your resin was too cold or you mixed too vigorously. Place your sealed resin bottles in a warm water bath (around 80°F) for 15 minutes before mixing. After pouring, pass a culinary butane torch or heat gun quickly over the surface to pop the bubbles.
- Shrinkage and Pulling (UV): UV resin shrinks slightly as it cures. If it pulls away from the edges of your silicone mold, you poured too thick of a layer, generating excessive heat and rapid shrinkage. Stick to thin layers.
- Yellowing: All resins eventually yellow when exposed to UV light. However, UV resin yellows much faster than high-quality epoxy. To delay this, store your finished jewelry in a dark box and avoid wearing it during prolonged, direct sun exposure.
Final Thoughts on Your First Cast
Choosing the right resin for jewelry making ultimately depends on your design goals. If you are encapsulating large botanicals or pouring deep oceanic landscapes, two-part epoxy is your only viable option. If you are producing batches of small, shallow enamel-style pendants and need immediate results, UV resin will streamline your workflow. Start with small batches, respect the safety protocols, and master the environmental variables before scaling up your jewelry business.


