Mastering Crimping Beads for Jewelry Making: A Technical Guide
Master the mechanics of crimping beads for jewelry making. Explore metal grades, sizing charts, tool pairing, and failure analysis for secure finishes.

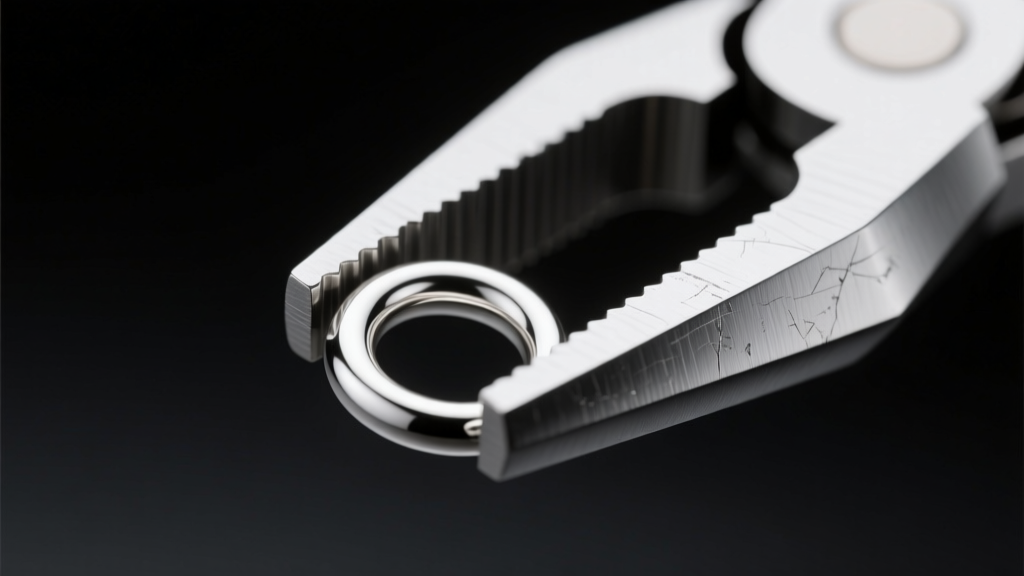
When it comes to the structural integrity of beaded jewelry, the crimp is the unsung hero. While designers spend hours selecting gemstones and wire, the termination point dictates the lifespan of the piece. In 2026, with the rise of multi-strand micro-beading and heavy permanent jewelry components, understanding the metallurgy and mechanics of crimping beads for jewelry making is no longer optional—it is a strict requirement for professional-grade results. This deep dive explores the physics, material science, and precise mathematics required to execute flawless, permanent crimps every time.
The Anatomy of a Secure Crimp: Tubes vs. Rounds
The most common mistake among novice makers is treating crimp beads and crimp tubes as interchangeable. From a mechanical engineering standpoint, they behave entirely differently under compressive force. Crimp rounds are typically cast or stamped with a seam. When subjected to the pressure of crimping pliers, rounds tend to crush irregularly, often creating sharp internal burrs that can sever the nylon or PTFE coating of your beading wire.
Crimp tubes, conversely, are drawn or extruded, resulting in a uniform, seamless cylindrical wall. When compressed in the first notch of a crimping tool, a tube collapses into a clean 'U' shape. This folds the metal over the wire rather than biting into it. The subsequent fold into an 'O' shape creates a multi-layered metal enclosure that relies on friction and geometric locking rather than sheer crushing force. For any wire over .015 inches in diameter, seamless drawn tubes are the only technically sound choice.
Material Grades and Hardness: The Vickers Scale
The success of a crimp relies heavily on the metal's ductility. In metallurgy, we measure this using the Vickers Hardness (HV) scale. A crimp must be 'dead soft' to fold without work-hardening and snapping. If you attempt to crimp a 'half-hard' or 'spring-hard' tube, the metal's crystalline structure will resist the fold, leading to micro-fractures along the crease that will eventually fail under the dynamic tension of a moving necklace.
According to sourcing data from Rio Grande, dead-soft sterling silver sits at approximately 60 HV, making it highly malleable. Gold-filled tubes, which consist of a brass core bonded to a karat gold exterior, require careful handling; the brass core is naturally stiffer, meaning gold-filled crimps require slightly more compressive force but offer superior tensile strength once folded.
| Material Grade | Approx. Hardness (HV) | Best Wire Pairing | Primary Failure Risk |
|---|---|---|---|
| Dead-Soft Sterling | 60 HV | .015" - .024" Coated Steel | Deformation if pliers are misaligned |
| 14k Gold-Filled | 85 HV | .018" - .024" Coated Steel | Core separation if over-compressed |
| Dead-Soft Copper | 50 HV | .012" - .018" Nylon/Silk | Shearing due to extreme softness |
| Half-Hard Base Metal | 110+ HV | Not Recommended | Work-hardening fracture during fold |
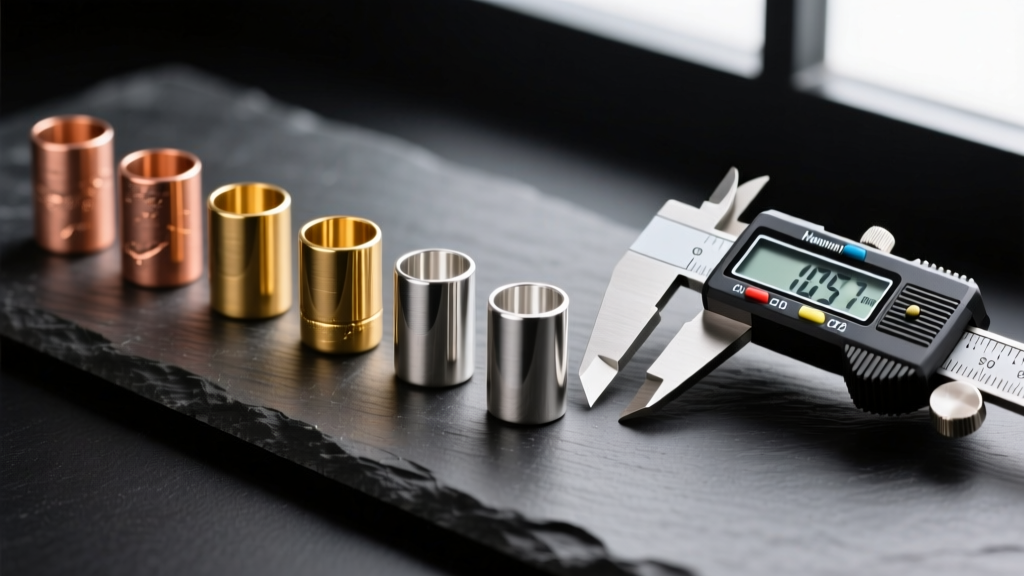
Precision Sizing: Matching Crimp Dimensions to Wire Gauge
Sizing crimping beads for jewelry making is an exercise in applied geometry. The two critical measurements are Outer Diameter (OD) and Inner Diameter (ID). A standard '2x2mm' crimp tube has an OD of 2.0mm, but its ID is typically around 1.3mm. To achieve a secure lock, the wire must fill the ID without exceeding it.
Let us look at the mathematics of a multi-strand pass using Soft Flex .019-inch (0.48mm) beading wire. If you pass the wire through the crimp, loop it through a clasp, and pass it back through the crimp, you now have two strands of 0.48mm wire inside the tube. Two strands equal 0.96mm. This leaves 0.34mm of empty space inside the 1.3mm ID, which is the exact optimal tolerance for the metal to fold inward and grip the wire without causing internal abrasion.
However, if you attempt to pass three strands of .019-inch wire through a 2x2mm tube, you are trying to force 1.44mm of wire into a 1.3mm space. This will jam the tube, prevent the 'U' fold from forming correctly, and create severe friction that strips the nylon coating off the wire. For three or more strands, you must step up to a 2x3mm or 3x3mm crimp tube, or use a dedicated multi-strand clasp end.
Tool Mechanics: Micro-Crimpers vs. Standard Pliers
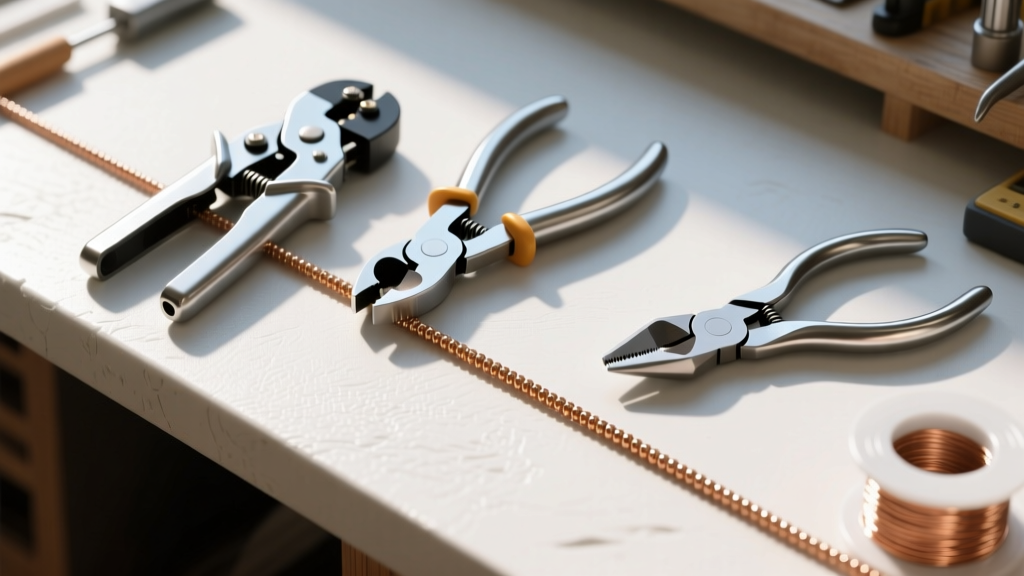
The tool you use dictates the physical deformation of the metal. Standard crimping pliers feature a wider, deeper notch designed for 2x3mm and 3x3mm tubes. If you use standard pliers on a 2x2mm tube, the tool's teeth will bypass the metal, resulting in a weak, partially crushed finish that will slip under tension.
For 1x1mm and 2x2mm tubes, a Micro Crimper is mandatory. As detailed in the tool engineering guides by Beadalon, the Micro Crimper's first notch features a precise central tooth that pushes the center of the tube down between the two wires, creating a tight 'U' with a dedicated channel for each wire strand. The second notch is rounded, designed solely to roll the 'U' into a smooth, circular 'O'. Skipping the first step and attempting to crush the tube directly into a round shape eliminates the internal friction channels, reducing the crimp's holding power by up to 60%.
Failure Mode Analysis: Why Crimps Slip or Cut Wire
When a crimp fails, it is rarely due to the metal itself, but rather a mechanical error during application. Understanding failure modes allows you to troubleshoot your technique.
- Wire Shearing: If the wire snaps right at the edge of the crimp after a few wears, you have likely used a crimp round instead of a tube, creating a sharp internal burr. Alternatively, your flush cutters may have left a sharp wire tail that pierced the nylon coating from the inside out during the folding process.
- Slippage: If the crimp slides down the wire, the ID was too large for the wire gauge, or the metal was half-hard and sprang back slightly after compression (elastic recovery). Always perform a 'tug test' immediately after crimping.
- Flattening: If the crimp looks like a flat pancake rather than a folded tube, you applied excessive pressure in the second (rounding) notch. The tool should gently roll the metal, not smash it.
Expert Protocols for Permanent Finishes
For high-value pieces or heavy pendants, mechanical friction alone may not meet your durability standards. The integration of chemical adhesives into the crimping process bridges the gap between temporary jewelry and permanent wear.
Before executing the final 'O' fold, apply a micro-drop of cyanoacrylate-based flexible adhesive, such as G-S Hypo Cement, directly into the open 'U' channel using a precision needle tip. The adhesive wicks into the microscopic gaps between the wire strands and the interior wall of the sterling silver or gold-filled tube. Once the solvent flashes off and the adhesive cures, the crimp becomes a unified composite structure. This protocol effectively eliminates micro-slippage and provides a secondary failsafe against wire fatigue, ensuring your jewelry making projects withstand the rigors of daily wear for years to come.


