Jewelry Making for Teens: Essential Care & Cleaning Tips
Discover essential care, cleaning, and storage tips to teach in jewelry making for teens. Protect handmade copper, polymer clay, and beaded crafts.

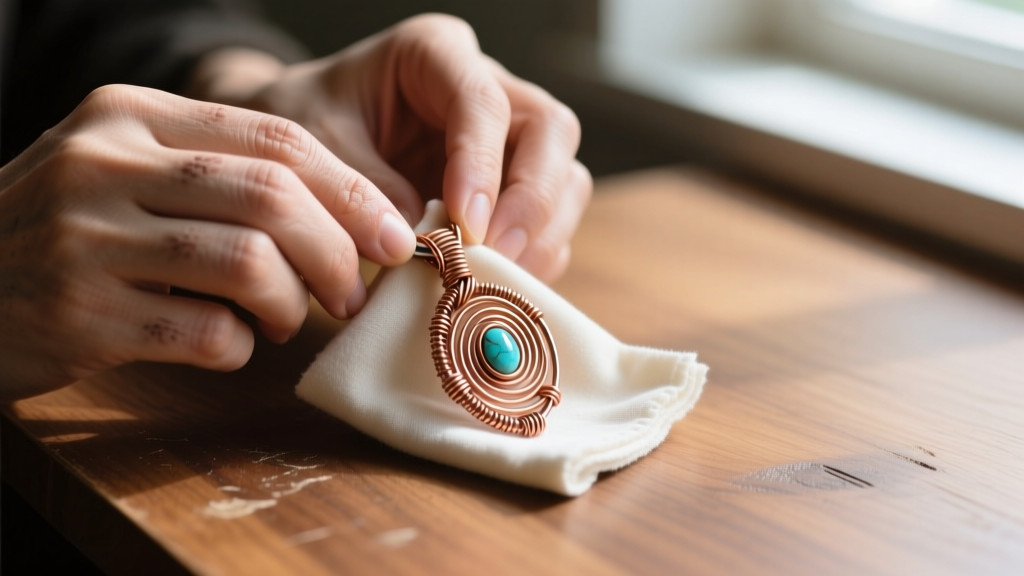
The Hidden Curriculum of Jewelry Making for Teens: Longevity
When parents, educators, or hobbyists introduce jewelry making for teens, the curriculum almost exclusively focuses on creation: how to execute a perfect wire wrap, how to secure a crimp bead, or how to condition polymer clay. However, the true mark of a skilled artisan is understanding the post-creation lifecycle of their work. Handmade jewelry is subjected to skin oils, environmental humidity, UV exposure, and physical friction. Without proper maintenance, a beautifully crafted 20-gauge copper pendant can turn brittle or oxidize into an unwearable green mess within weeks.
Teaching teens how to care for, clean, and store their handmade pieces not only preserves their hard work but also instills a sense of professional pride and material science awareness. This guide dives deep into the specific chemical and physical maintenance required for the most popular DIY mediums used by young crafters today.
Metal Maintenance: Copper, Brass, and Sterling Silver
Raw copper and brass wires (typically ranging from 20 to 24-gauge) are staples in jewelry making for teens due to their affordability and high malleability. However, these base metals react rapidly with oxygen, moisture, and the natural acids in human skin to form copper carbonate—the familiar green patina that can stain the wearer's skin.
To safely remove heavy tarnish without stripping the metal or causing microscopic pitting, avoid harsh commercial dips. Instead, utilize a mild, controlled acid bath:
- The Recipe: Mix 1/2 cup of white vinegar with 1/4 cup of non-iodized table salt.
- The Process: Submerge the copper or brass findings for no more than 3 to 5 minutes. The acetic acid and sodium chloride react to dissolve the copper oxide layer.
- The Neutralization: Immediately rinse the metal under cold running water and buff dry with a microfiber cloth. Leaving the metal wet will cause flash-rusting or water spots.
For teens graduating to sterling silver (925), the cleaning protocol changes entirely. According to the metallurgical experts at Rio Grande, commercial silver dips often contain thiourea, a chemical that leaves a microscopic porous surface, making the silver tarnish even faster in the future. Instead, teach teens the electrochemical aluminum bath.
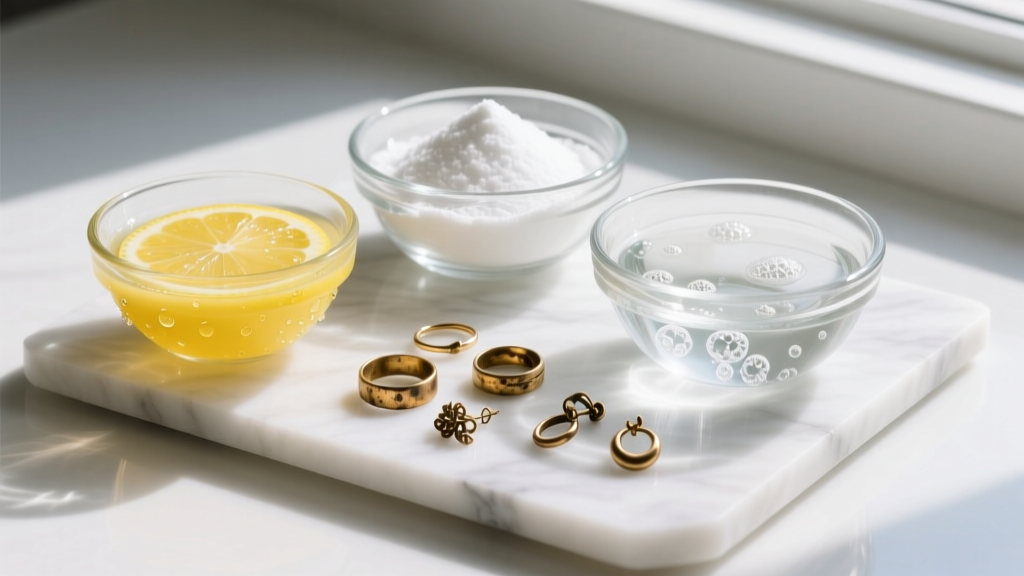
Line a glass bowl with aluminum foil (shiny side up). Add one tablespoon of baking soda and one tablespoon of salt, then pour in boiling water. When the tarnished sterling silver is submerged and touches the foil, a galvanic reaction occurs. The sulfur atoms bonding to the silver (which cause the black tarnish) are physically transferred to the aluminum foil. The silver is instantly restored without losing any of its precious metal mass.
Protecting Alternative Mediums: Polymer Clay and Resin
Polymer clay brands like Sculpey and Fimo have revolutionized jewelry making for teens, allowing for intricate, colorful bead making without the need for a kiln. However, cured polymer clay is essentially polyvinyl chloride (PVC) suspended with plasticizers to maintain flexibility.
Critical Warning: Never use isopropyl alcohol, acetone, or nail polish remover to clean polymer clay or remove surface fingerprints. These solvents extract the plasticizers from the PVC matrix, leaving the clay brittle, chalky, and highly prone to cracking.
As detailed in the Sculpey official care guide, the only safe cleaning agent for polymer clay jewelry is warm water mixed with a drop of mild, lotion-free dish soap. Use a soft-bristled baby toothbrush to gently agitate dirt out of textured crevices, then pat dry. Similarly, UV-cured epoxy resin pieces should never be scrubbed with abrasive baking soda pastes, which will permanently cloud the high-gloss surface with micro-scratches. Stick to a damp microfiber cloth for resin maintenance.
Stringing Material Lifespans and Failure Modes
A beaded bracelet is only as strong as its weakest link: the stringing material. Teens often default to whatever cord is included in a beginner kit, unaware that different materials degrade via entirely different chemical pathways. Understanding these failure modes is crucial for long-term jewelry care.
| Material | Best Use Case | Cleaning Method | Primary Failure Mode |
|---|---|---|---|
| Polyurethane Elastic (Stretch Magic) | Stretch bracelets, lightweight beads | Wipe with a damp cloth; avoid soaking | UV degradation and breakdown from skin oils |
| Bonded Nylon (WildFire) | Heavy gemstones, seed bead weaving | Mild soap and water | Fraying at sharp crimp bead edges |
| 100% Silk Cord | Knotting pearls, lightweight glass | Dry wipe only; never submerge | Hydrolysis (moisture rot) and stretching |
| Stainless Steel Beading Wire (49-strand) | Heavy pendants, structured necklaces | Wipe with rubbing alcohol | Kinking and metal fatigue at the clasp loop |
Educating teens on why their elastic bracelets snap after a few months of daily wear (polyurethane breaks down when exposed to the lactic acid in sweat) empowers them to choose the right material, like coated stainless steel wire with wire guardians, for pieces meant to last.
Gemstone Care: Porous vs. Non-Porous
Many teen crafters source dyed howlite, agate, and glass beads from local craft stores. However, as they advance, they may begin working with genuine porous stones like turquoise, lapis lazuli, malachite, or freshwater pearls. According to the Gemological Institute of America (GIA), porous gemstones act like microscopic sponges.
Submerging turquoise or pearls in water—or worse, an ultrasonic jewelry cleaner—can cause catastrophic damage. The high-frequency vibrations of an ultrasonic cleaner can shatter internal fracture lines, while water can alter the chemical treatments, dyes, or waxes used to stabilize the stones. Teens must be taught to identify porous stones and clean them exclusively with a dry, untreated microfiber cloth, wiping them down immediately after wear to remove skin oils before they can penetrate the stone's surface.
Proper Storage: The Final Step in the Crafting Process
The way a piece of jewelry is stored when not being worn dictates its lifespan. Tossing handmade wire-wrapped rings or beaded necklaces into a communal, open-air jewelry box is a recipe for tangled chains, scratched resin, and rapid oxidation.
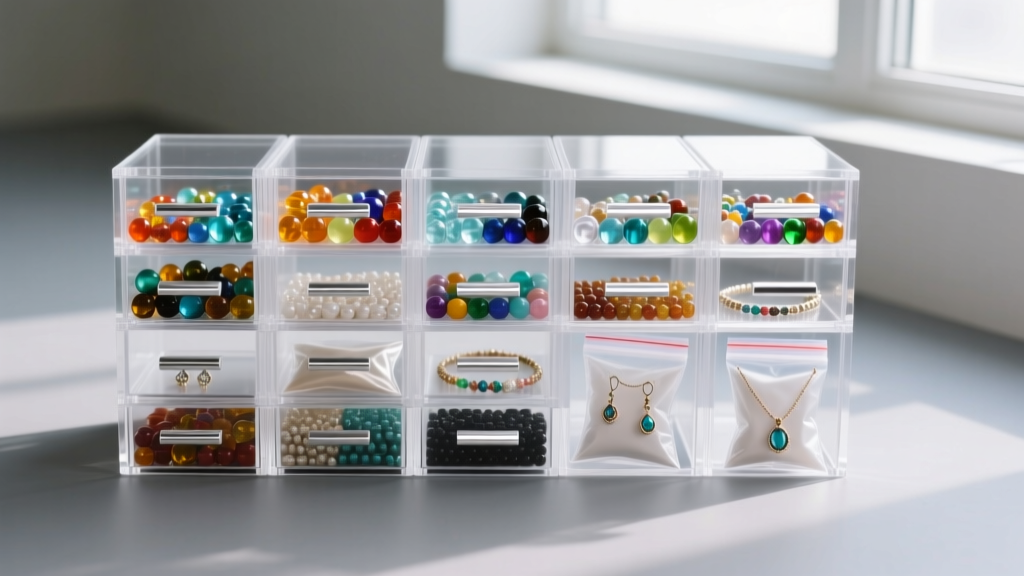
DIY Anti-Tarnish Storage Hacks
For teens selling their work at local craft fairs or giving pieces as gifts, presentation and preservation are key. Incorporate these storage rules into your jewelry making for teens workshop:
- The Micro-Environment: Store individual metal pieces in small, airtight ziplock bags. Squeeze out as much air as possible before sealing to limit the available oxygen for oxidation.
- Anti-Tarnish Strips: Drop a 3M anti-tarnish tab into each bag. These strips contain copper-based compounds that intercept and absorb sulfur gases in the air before they can react with the silver or copper jewelry.
- Moisture Control: Save the silica gel packets that come with shoe boxes or vitamin bottles and place them in the main storage bins to control ambient humidity, protecting silk cords and preventing metal flash-rust.
- The Chalk Trick: If commercial anti-tarnish strips are out of budget, placing a piece of standard blackboard chalk in a jewelry box will absorb excess ambient moisture, slowing down the tarnishing process of base metals.
Conclusion: Building Lifelong Crafting Habits
Integrating care and maintenance into jewelry making for teens transforms a simple afternoon craft into a comprehensive lesson in chemistry, material science, and professional artistry. By teaching young makers how to properly clean copper without pitting it, protect polymer clay plasticizers, and store their pieces to prevent oxidation, we equip them with the knowledge to create heirloom-quality accessories that stand the test of time.


