Troubleshooting Eye Pins for Jewelry Making: Expert Fixes
Master troubleshooting eye pins for jewelry making. Learn expert fixes for bent wires, sloppy loops, and material breakage in this detailed guide.

The Hidden Complexities of Eye Pins
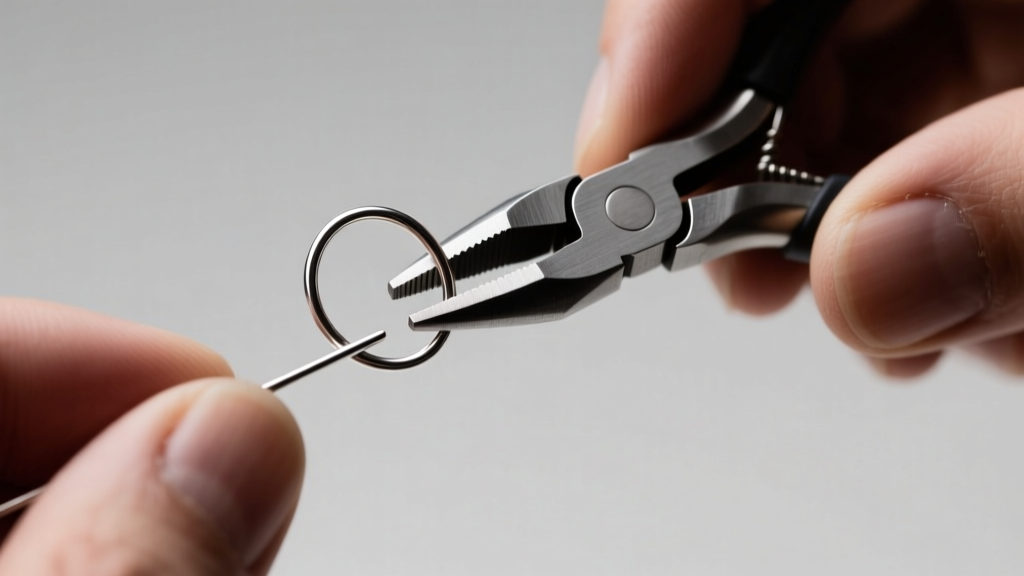
Eye pins are the unsung heroes of dangle earrings, charm bracelets, and articulated necklaces. Yet, for many jewelry makers, they are a source of endless frustration. You might encounter wires that snap mid-bend, loops that refuse to close flush, or finished pieces that scratch the wearer. Troubleshooting eye pins for jewelry making requires more than just brute force; it demands a deep understanding of wire temper, gauge physics, and tool geometry. In this comprehensive guide, we will dissect the most common eye pin failures and provide actionable, expert-level solutions to elevate your wirework from amateur to professional.
Material Grades and Gauge Sizing Disasters
The most frequent mistake beginners make is selecting the wrong gauge or temper for their specific bead weight. Eye pins typically range from 26-gauge (0.40mm) to 18-gauge (1.02mm). Using a 24-gauge dead-soft copper pin to dangle a heavy 40-gram lampwork glass bead is a recipe for structural failure. The wire will stretch, the loop will pull open, and the bead will be lost.
Matching Gauge to Bead Weight
- 24-Gauge (0.51mm): Best for lightweight freshwater pearls, small seed beads, and delicate crystals under 5 grams.
- 22-Gauge (0.64mm): The industry standard for most glass beads, medium-sized gemstones, and standard ceramic beads (5-15 grams).
- 20-Gauge (0.81mm): Required for heavy stone beads, large metal pendants, and high-stress connection points (15-30 grams).
Furthermore, understanding wire temper is critical. According to metallurgical guidelines from Rio Grande, dead-soft wire bends effortlessly but work-hardens rapidly, making it prone to snapping if you make multiple adjustments. Half-hard wire offers superior loop retention and structural integrity but requires more hand strength and precise initial bending to avoid tool marks.
| Wire Temper | Bendability | Loop Retention | Best Application |
|---|---|---|---|
| Dead Soft | Excellent | Poor (pulls open easily) | Wrapped loops, intricate weaving |
| Half-Hard | Moderate | Excellent | Simple loops, heavy bead dangles |
| Full-Hard | Very Difficult | Superior | Ear wires, structural clasps |
Troubleshooting Sloppy, Off-Center, and Jagged Loops
A sloppy loop not only looks unprofessional but also creates a weak point where the wire can catch on clothing and pull open. If your loops look like teardrops or are tilted off-center, your pliers technique needs adjustment.
The Flush Cutter Orientation Rule
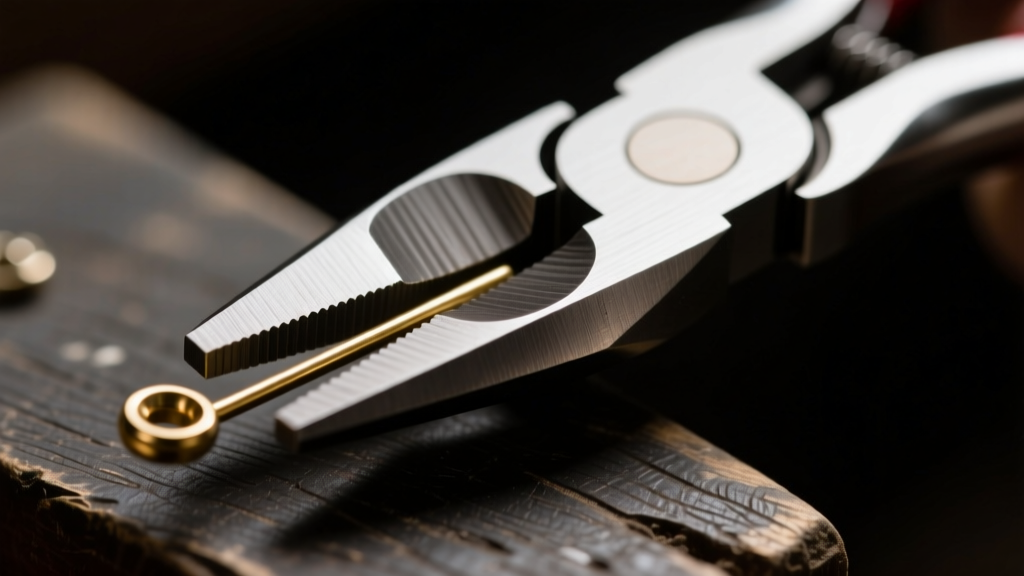
Jagged loop ends happen when the wire is pinched rather than sheared. When using tools like The Beadsmith flush cutters, the blade has a flat side and a beveled side. The flat side must always face the work (the part of the wire you are keeping). If you reverse this, you will leave a sharp, protruding 'pinch' that is nearly impossible to file down cleanly and will inevitably snag silk thread or scratch skin.
Step-by-Step Loop Correction Framework
To achieve perfectly centered, uniform loops, abandon the practice of using the very tip of your round-nose pliers. The tips create tiny, tight loops that look disproportionate on larger beads. Instead, use stepped round-nose pliers or mark your standard pliers with a permanent marker at the 1.5mm and 2.5mm diameters.
- Grip the wire exactly at your marker line.
- Roll the pliers away from you to form a 'P' shape.
- Reposition the pliers to close the loop, ensuring the tail meets the shaft perfectly flush.
- If the loop is off-center, gently grip the loop in the jaws of your chain-nose pliers and twist the shaft, not the loop itself, to align it.
Why Your Eye Pins Keep Snapping Mid-Bend
There is nothing more aggravating than hearing the sharp 'ping' of a snapping eye pin, especially after you have already threaded an expensive gemstone onto it. Snapping is almost always a symptom of work hardening and material fatigue.
Work Hardening vs. Material Fatigue
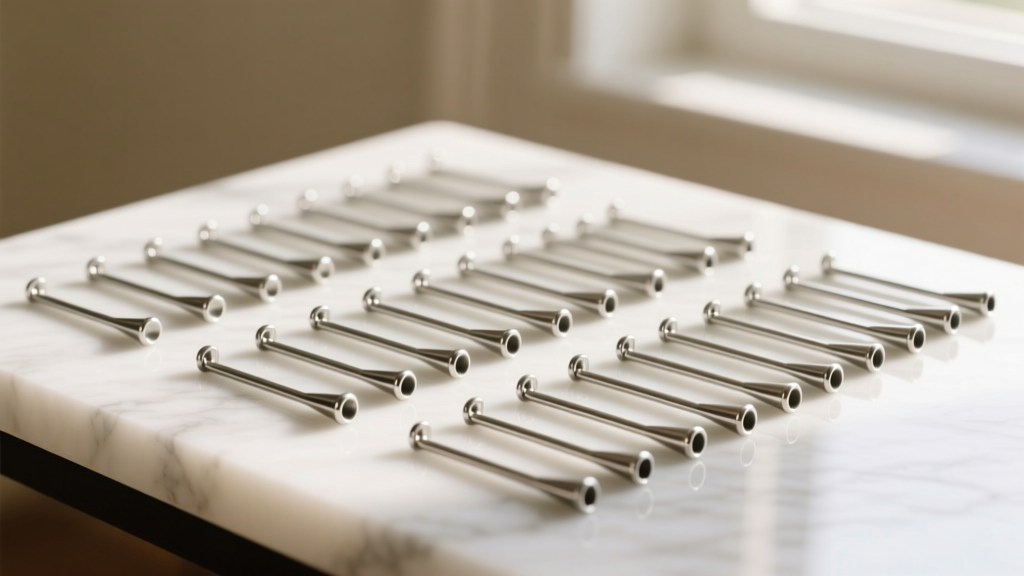
When you bend non-ferrous metals like copper, brass, or sterling silver, the crystal lattice structure of the metal compresses and hardens. This is known as work hardening. If you bend the wire, realize the loop is too large, open it back up, and try to bend it again, the metal has become brittle. By the third adjustment, a 22-gauge sterling silver pin will snap cleanly.
Pro Tip: Never try to 'un-bend' a work-hardened simple loop. If you make a mistake, cut the loop off, re-file the end, and start fresh. If you are working with high-carat gold or fine silver, you can anneal the wire with a micro-torch to soften it, but for base metals and standard sterling, replacement is the only safe option.
Stainless steel and titanium eye pins present a different challenge. They do not work-harden in the same way, but they possess immense tensile strength and low malleability. Attempting to bend a 20-gauge stainless steel pin with standard jewelry pliers will often result in the pliers slipping, marring the wire, or the tool's pivot joint breaking. Always use heavy-duty, hardened-steel pliers for titanium and stainless steel wirework.
Filing and Finishing: Preventing Snags and Scratches
Even with perfect flush cuts, the end of an eye pin will have a microscopic burr or sharp edge. If left untreated, this edge will act like a tiny saw blade against jump rings, chain links, or the wearer's skin. Troubleshooting this final step separates hobbyists from master jewelers.
Using a Cup Bur for Flawless Ends
Do not rely on flat metal files for rounding off wire ends; they leave flat, angled facets. Instead, use a cup bur (also known as a burr cup) mounted in a pin vise or a flexible shaft rotary tool.
- Insert the cut end of the eye pin into the cup bur.
- Apply a tiny drop of bur life or cutting oil to prevent the bur from clogging with metal dust.
- Rotate the pin gently in a circular motion for 2-3 seconds.
- Inspect the end under a jeweler's loupe. It should be perfectly domed and smooth to the touch.
This 5-second extra step ensures that when you open and close the loop with your chain-nose pliers, the wire glides smoothly against connecting components without causing abrasive wear over time.
Final Thoughts on Perfecting Your Wirework
Troubleshooting eye pins for jewelry making is an exercise in precision and material science. By respecting the physical limitations of your wire gauge, mastering the geometry of your pliers, and committing to proper finishing techniques, you will eliminate the vast majority of wirework failures. Invest in high-quality, stepped pliers, keep your flush cutters sharp, and always prioritize the structural integrity of your loops. Your finished jewelry will not only look significantly more professional but will also stand the test of time, providing lasting value and beauty to the wearer.


