How to Clean & Maintain a Permanent Jewelry Welding Kit
Learn expert care, cleaning, and maintenance tips for your permanent jewelry welding kit to ensure flawless pulse arcs and longevity.

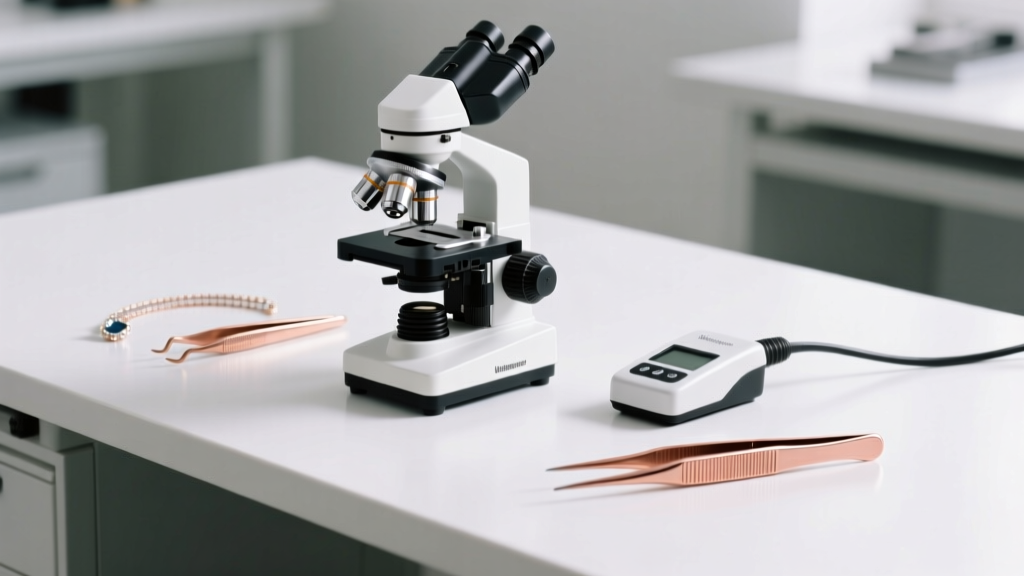
As the permanent jewelry market matures in 2026, the difference between a thriving studio and a struggling one often comes down to equipment reliability. Your permanent jewelry welding kit is the undisputed workhorse of your business, responsible for fusing thousands of delicate 14k gold, sterling silver, and stainless steel chains. However, the intense electrical discharge of pulse arc welding generates microscopic metal vapor, dust, and heat that can severely degrade your machine over time. Neglecting routine maintenance leads to weak welds, erratic arcs, and costly electrode replacements.
This comprehensive guide dives deep into the exact care, cleaning, and maintenance protocols required to keep your welder operating at peak performance, ensuring every jump ring closure is seamless and secure.
The Science of the Arc: Why Cleanliness Matters
Pulse arc welders operate by releasing a highly controlled burst of electrical energy through a tungsten electrode, creating a plasma arc that melts the metal in milliseconds. This process requires absolute precision. When metal vapor and ambient dust settle on the internal circuitry or the optical microscope, they create resistance and visual distortion.
According to equipment specialists at Sunstone Welders, even a microscopic layer of oxidation on the tungsten tip can cause the electrical arc to wander, resulting in a weak weld that snaps under tension. Furthermore, dust accumulation on the machine's cooling vents can cause the internal capacitors to overheat, drastically shortening the lifespan of your investment. Understanding the delicate balance of voltage, amperage, and environmental cleanliness is the first step toward mastering your equipment.
Optical Clarity: Caring for the Microscope Lens
The stereo microscope integrated into most high-end permanent jewelry welding kits is your primary window into the weld zone. Over a busy weekend of pop-up events, the lens will inevitably collect fingerprints, airborne dust, and stray metal particulates.
Daily Lens Cleaning Protocol
- Air Blower First: Never wipe a dry lens. Use a manual silicone air blower to dislodge loose dust and metal shavings. Wiping dry dust can cause micro-scratches on the optical coating.
- Optical Wipes Only: Use lint-free optical wipes paired with a specialized lens cleaning solution. Avoid standard paper towels or tissues, which contain wood fibers that scratch glass.
- Circular Motion: Wipe gently from the center of the lens outward in a circular motion to push debris off the edge rather than grinding it into the glass.
Pro Tip: Adjust the diopter settings on your microscope eyepieces once a month. Eye fatigue from welding can subtly shift your focal preferences, and recalibrating ensures you are always viewing the jump ring gap in razor-sharp focus.
The Tungsten Electrode: Sharpening and Replacement
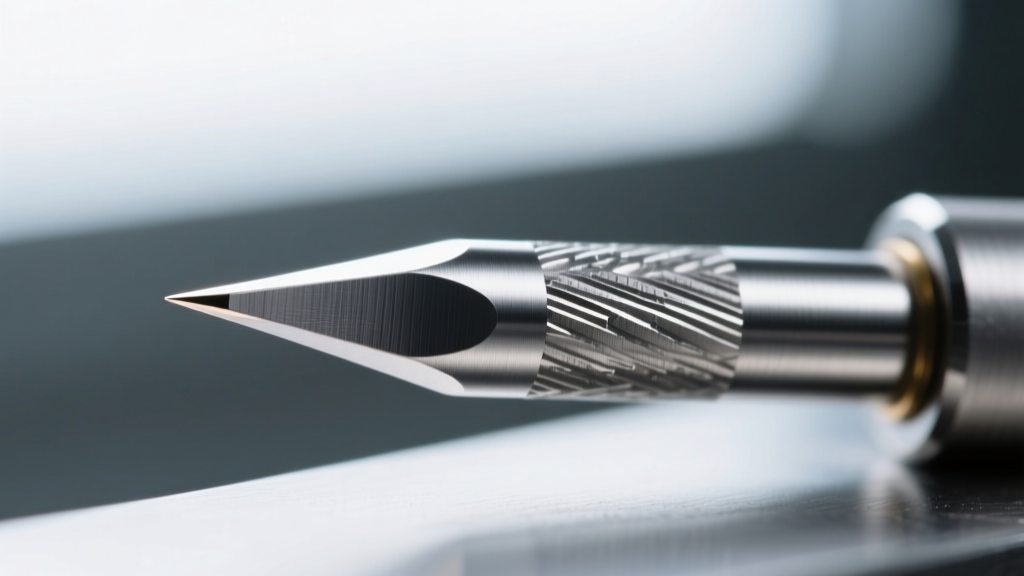
The tungsten needle is the heart of your permanent jewelry welding kit. For permanent jewelry, technicians typically use 0.5mm or 1.0mm tungsten electrodes. Because the arc melts the metal, it also slowly degrades the tip of the tungsten, causing it to ball up or become asymmetrical.
Grinding Angles and Techniques
To maintain a stable, concentrated arc, the tungsten must be sharpened to a precise point. Industry standards recommend a grind angle between 15 and 30 degrees. You must use a dedicated diamond grinding wheel meant exclusively for tungsten; using a bench grinder that has been used on steel will cross-contaminate the tungsten, causing the arc to sputter violently.
Always grind longitudinally (parallel to the length of the electrode), never circumferentially. Longitudinal grinding creates microscopic channels that guide the electrical current smoothly to the tip, whereas circumferential grinding creates ridges that scatter the arc.
When to Replace the Electrode
Even with meticulous sharpening, tungsten degrades. If your 0.5mm electrode has been ground down so many times that the tip is thicker than the shaft, or if the metal appears deeply pitted and blue-black (indicating severe oxidation), it is time to replace it. Sourcing high-quality, 99.99% pure tungsten from reputable suppliers like Rio Grande ensures consistent conductivity and cleaner welds on precious metals.
Troubleshooting Common Welding Kit Failures
When your machine starts acting up, it is rarely a catastrophic internal failure. Most issues can be traced back to poor maintenance of the external connections and consumables. Use this diagnostic table to troubleshoot your kit before calling for expensive repairs.
| Symptom | Probable Cause | Maintenance Fix |
|---|---|---|
| Arc wanders or misses the jump ring | Oxidized or blunt tungsten tip | Re-grind longitudinally to a 20-degree angle or replace the electrode. |
| Weak weld that breaks easily | Dirty workpiece or loose ground | Clean chain with pumice powder; ensure copper tweezers are gripping bare metal. |
| Machine fails to trigger via foot pedal | Dust in pedal potentiometer | Blow out the foot pedal housing with compressed air; check cable for frays. |
| Loud snapping sound, excessive splash | Voltage set too high for gauge | Lower pulse energy; verify you are welding 16ga-20ga wire with appropriate settings. |
Chassis, Cables, and Argon Gas Maintenance
The exterior of your welder and its peripheral connections require weekly attention to prevent electrical resistance and gas leaks.
Weekly Chassis and Connection Deep Clean
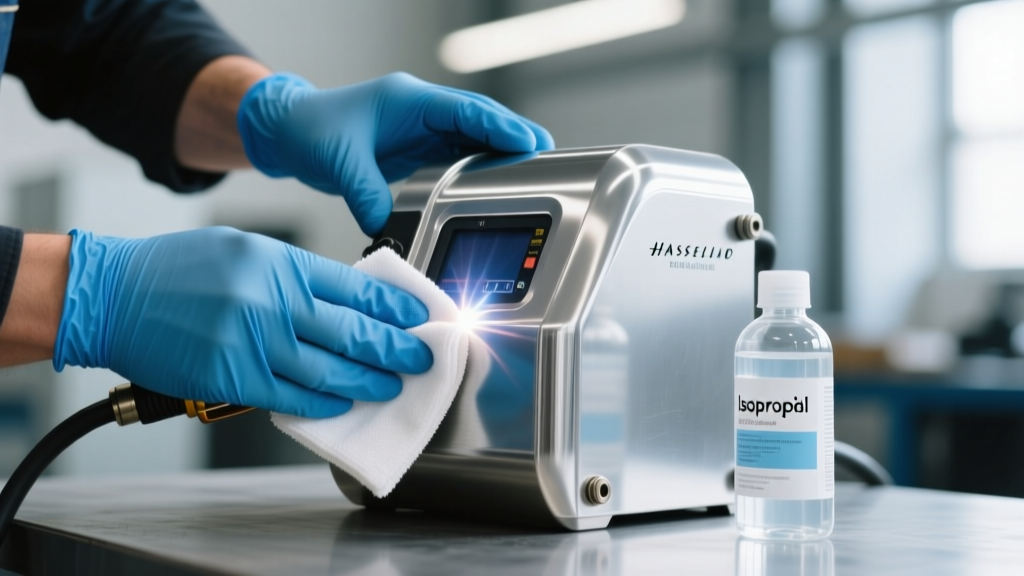
Power down and unplug the machine completely. Using a microfiber cloth lightly dampened with 99% Isopropyl Alcohol (IPA), wipe down the exterior chassis, the microscope arm, and the work surface. IPA evaporates quickly and leaves no residue, making it safe for use around electronic housings. Pay special attention to the alligator clips and copper welding tweezers. Over time, these tools build up a layer of copper oxide and burnt flux, which acts as an insulator. Use a brass wire brush to gently scrub the contact points of your tweezers, ensuring maximum electrical transfer to the jewelry chain.
Argon Gas System Checks
If your permanent jewelry welding kit utilizes an argon gas shielding system to prevent oxidation on sterling silver and titanium, the gas delivery system must be leak-free. Once a month, inspect the rubber hoses for dry rot or cracking. Check the regulator flowmeter to ensure the argon is flowing at the optimal rate—typically 3 to 5 Cubic Feet per Hour (CFH) for delicate jewelry work. A flow rate that is too high will create turbulence, pulling oxygen into the weld zone and defeating the purpose of the shielding gas.
Safe Storage and Environmental Controls
How you store your equipment at the end of the day is just as important as how you use it. Pulse arc welders are highly sensitive to humidity and airborne particulates. If you operate a mobile permanent jewelry business, transporting your kit in a padded, hard-shell case is non-negotiable to protect the delicate optical alignments and internal capacitors from shock damage.
For fixed studio locations, always cover the microscope lenses and the main welder chassis with a fitted dust cover overnight. If your studio is located in a high-humidity environment, consider running a dehumidifier to keep the ambient moisture below 50%. Excess moisture in the air can cause internal corrosion on the circuit boards and lead to inconsistent arc ignition. By treating your permanent jewelry welding kit with the respect and meticulous care it demands, you guarantee flawless welds, happier clients, and a significantly longer lifespan for your most valuable business asset.


