How to Make Chainmail Jewelry for Beginners: Troubleshooting Guide
Learn how to make chainmail jewelry for beginners by fixing common mistakes. Troubleshoot aspect ratios, tool marks, and weave tension.

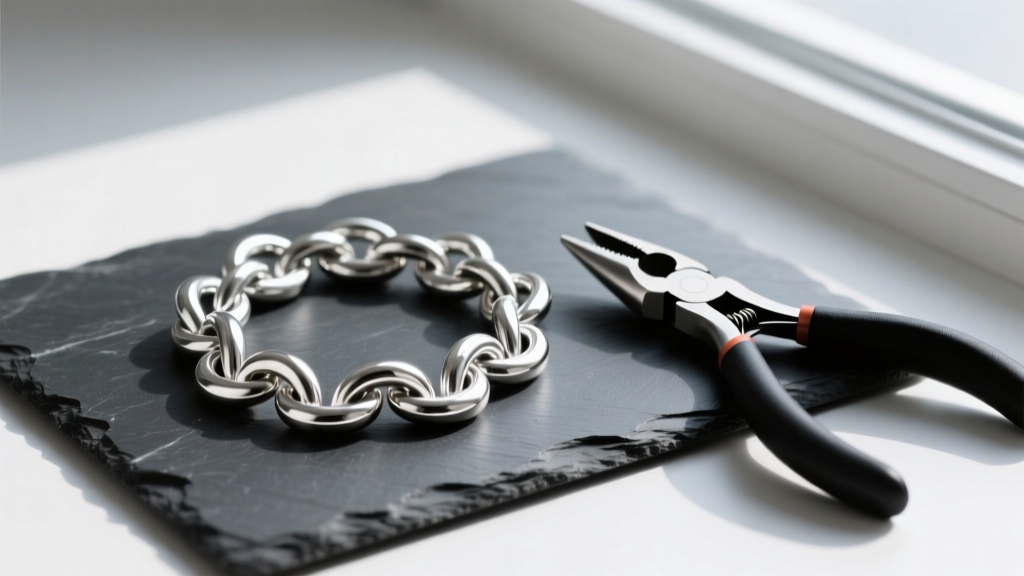
The Hidden Math of Chainmail: Why Your Weave is Failing
When you first search for how to make chainmail jewelry for beginners, most tutorials present a flawless, shimmering sheet of European 4-in-1 or a perfectly draped Byzantine necklace. What they rarely show you is the frustrating reality of rings that refuse to sit flat, weaves that look stiff and board-like, or delicate wires that warp under the pressure of your pliers. Chainmail (or maille) is as much an exercise in applied mathematics and metallurgy as it is an art form. If your beginner chainmail projects are failing, the issue almost always traces back to three core problems: incorrect Aspect Ratio (AR), improper tool handling, or a mismatch in material hardness.
Before you throw away a tangled mess of jump rings, you need to understand the golden rule of maille: Aspect Ratio. AR is the relationship between the inner diameter (ID) of your jump ring and the wire diameter (WD) used to make it. The formula is simple: AR = ID / WD. If your AR is too low, the rings will bind, and the weave will be impossibly stiff. If your AR is too high, the weave will look sloppy, loose, and structurally unsound.
Reference Chart: Ideal Aspect Ratios for Beginner Weaves
| Weave Pattern | Ideal Aspect Ratio (AR) | 18g (1.02mm) Wire ID Needed | 16g (1.29mm) Wire ID Needed |
|---|---|---|---|
| European 4-in-1 | 3.5 to 4.0 | 3.5mm to 4.0mm | 4.5mm to 5.0mm |
| Byzantine | 3.5 (pairs) & 5.5 (links) | 3.5mm & 5.5mm | 4.5mm & 7.0mm |
| Helm Chain | 3.7 to 4.2 | 3.8mm | 4.8mm |
| Full Persian | 5.0 to 5.3 | 5.1mm | 6.5mm |
According to the extensive archives at the Maille Artisans International League (MAIL), even a 0.5mm deviation in your jump ring's inner diameter can completely break the geometry of a Full Persian weave. Always measure your rings with digital calipers before starting a large project.
Troubleshooting Ring Deformation and Tool Scarring
Nothing ruins the professional look of a chainmail bracelet faster than gouged, scarred, or misshapen jump rings. Beginners often use standard hardware store pliers with sharp, serrated teeth that chew through soft metals like anodized aluminum and enameled copper.
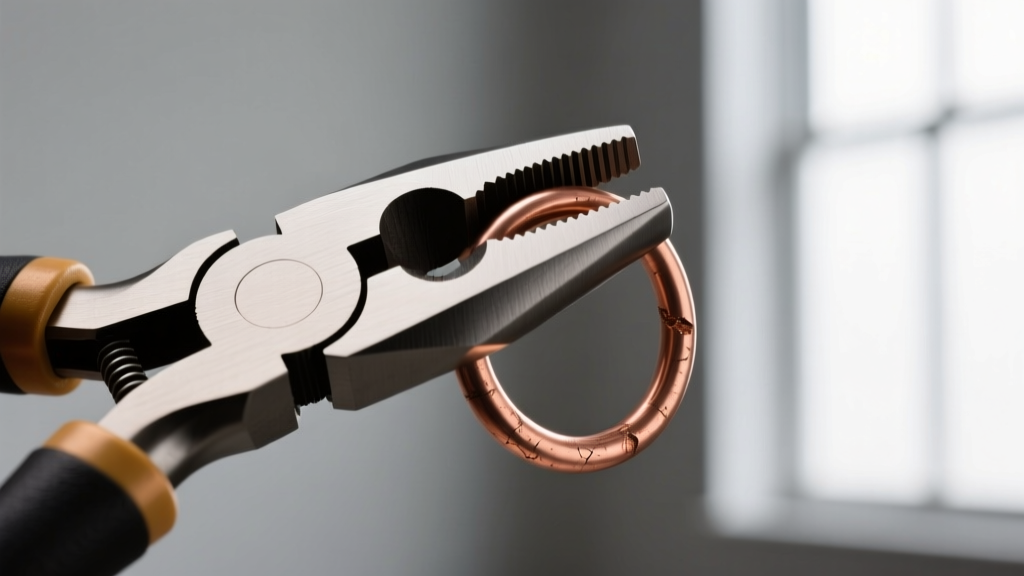
The Plier Grip Problem
If your rings are coming out of the weave looking like ovals instead of perfect circles, you are applying torque incorrectly. When opening a jump ring, you must never pull the ends apart laterally (outward). This stretches the ring and permanently increases its inner diameter, altering your carefully calculated AR. Instead, use a twisting motion: push one side of the ring away from you while pulling the other side toward you.
- Tool Scarring Fix: Switch to nylon-jaw pliers (such as those made by Wubbers) for the final closure of your rings. The nylon grips the metal securely without leaving bite marks.
- Work Hardening Scars: If you are using raw copper or sterling silver and have already marred the surface, you can burnish the metal by tumbling the finished piece in a rotary tumbler with stainless steel shot and a drop of dish soap for 2 to 4 hours. This compresses the surface layer and hides minor tool marks.
Fixing Tension Issues and 'Springback'
Have you ever closed a stainless steel jump ring perfectly, only to find it gaping open a few minutes later? This is a metallurgical phenomenon known as 'springback.' Different metals have different yield strengths and memory. When you bend a wire into a coil on a mandrel, the metal wants to return to its original straight state.
"Understanding the temper of your wire is just as critical as the gauge. Dead soft wire will hold its shape when bent by hand but will deform easily in wear, while half-hard wire requires more force to close but will maintain a perfect circle under the tension of a heavy pendant."
Material Selection and Hardness Troubleshooting
When sourcing materials from suppliers like Blue Buddha Boutique or local wire vendors, pay close attention to the temper (hardness) of the wire used to make the rings.
- Anodized Aluminum (Dead Soft): Extremely easy for beginners to manipulate. It requires minimal hand strength, making it ideal for learning complex weaves like Dragonscale. However, it can pull apart if used for heavy clasps or load-bearing jewelry.
- Enameled Copper (Dead Soft to Half-Hard): Beautiful for colorwork, but the enamel coating can chip if you use steel pliers. Always use coated or nylon tools. If the copper core is too soft, the rings will stretch over time.
- Stainless Steel (Half-Hard to Hard): Not recommended for absolute beginners due to the hand fatigue it causes and the severe springback effect. If you must use steel, over-close the ring slightly past the center line, then bring it back to center to counteract the memory of the metal.
Step-by-Step Recovery: Unweaving Without Ruining Rings
A common mistake when learning how to make chainmail jewelry for beginners is panicking when a weave goes wrong three inches down the line. Do not yank the rings apart. Forcing a ring through a tight weave will strip the anodized coating or permanently warp the wire.
- Isolate the Error: Lay the piece flat on a high-contrast beading mat. Identify exactly which ring was placed in the wrong orientation (e.g., passing through the eye in the wrong direction in a Byzantine chain).
- Reverse the Path: Using two pairs of flat-nose pliers (such as Lindstrom RX series for precision), gently twist the offending ring open. Do not pull it through the weave. Instead, trace its exact path backward, unhooking it from the surrounding rings one by one.
- Check the AR Post-Removal: Once the ring is free, lay it flat on a digital caliper. If the inner diameter has stretched by more than 0.2mm, discard that specific ring and use a fresh one. Reusing a stretched ring will create a visible 'pucker' in the final fabric.
Advanced Troubleshooting: The 5-Minute Tension Test
Before committing to weaving 500 rings for a chainmail shirt or a heavy collar necklace, perform a 5-minute tension test. Weave a small 2x2 inch swatch of your chosen pattern. Hold the swatch by the top corners and let it drape.
- If it drapes like stiff cardboard: Your AR is too low. The rings are too small for the wire thickness. You must either switch to a thinner wire (e.g., move from 16g to 18g) or use rings with a larger inner diameter.
- If it looks sloppy and the rings overlap chaotically: Your AR is too high. The rings are too large, and the weave lacks the friction required to hold its geometric shape. Move to a smaller inner diameter.
- If it drapes like heavy fabric: Your AR is perfect. You are ready to scale up the project.
For deeper insights into metal behavior and structural integrity in jewelry fabrication, the Ganoksin Project offers extensive metallurgical data that can help you understand why certain alloys behave the way they do under stress.
Final Thoughts on Mastering the Maille
Troubleshooting chainmail is a rite of passage. Every experienced maille artist has a jar of warped, scarred, and misshapen rings sitting on their workbench—a testament to the learning curve. By shifting your focus from simply following a visual tutorial to understanding the underlying mathematics of Aspect Ratio, respecting the temper of your chosen metals, and refining your tool handling, you will bridge the gap between a frustrating hobby and a masterful craft. Keep your digital calipers close, your pliers smooth, and your patience steady.


