Fixing Common Wire Failures When Making Your Own Jewelry
Discover expert troubleshooting tips for making your own jewelry. Fix loose stones, snapping wire, and messy wraps with our structural wire-wrap guide.

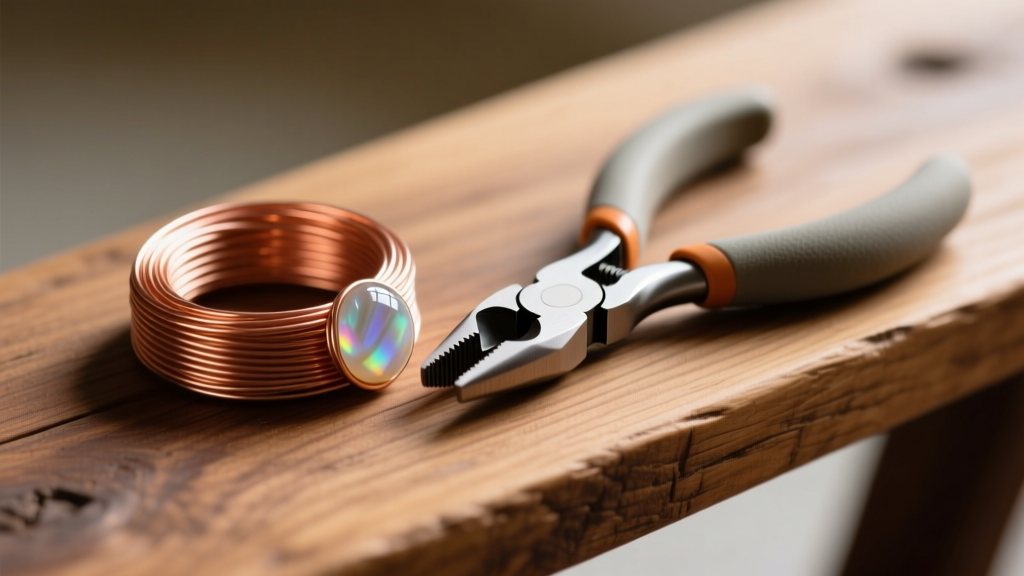
The Hidden Metallurgy Behind Wire Wrap Failures
When making your own jewelry, few things are more frustrating than spending hours on an intricate wire-wrapped pendant only to have the bail snap or the cabochon slip out of the bezel. As the DIY jewelry community continues to evolve in 2026, with a heavy emphasis on structural integrity and cold-connection techniques, understanding the metallurgy of your materials is no longer optional—it is essential. Wire wrapping is not just about bending metal; it is about manipulating the crystalline lattice of the alloy. When you fail to account for metal fatigue, tensile mismatch, and work hardening, your designs will inevitably fall apart.
This guide moves beyond basic tutorials to troubleshoot the specific structural failure modes that plague intermediate wire artists. We will dissect why your wire snaps, why your stones refuse to stay seated, and how to achieve flawless, professional-grade tension without scarring your metal.
The Anatomy of a Wire Wrap Failure: Understanding Temper
The most common reason for structural failure in wire jewelry is using the wrong temper for the specific mechanical job. Wire temper refers to the hardness of the metal, which dictates how easily it bends and how well it holds its shape under stress. According to Ganoksin's Guide to Metal Temper, manipulating wire causes 'work hardening'—the compression of the metal's crystal structure, making it stiffer but more brittle.
| Wire Temper | Best Application | Common Failure Mode if Misused | Recommended Gauge |
|---|---|---|---|
| Dead Soft | Micro-coiling, weaving, flush bezel wrapping | Pulls apart under tension; loses bail shape | 26g - 28g |
| Half-Hard | Main frames, structural loops, clasp hooks | Snaps if bent at a sharp 90-degree angle repeatedly | 20g - 22g |
| Full-Hard | Ear wires, heavy-duty clasps, prong tips | Brittle fracture; impossible to weave or coil | 18g - 20g |
Expert Fix: Never use dead soft wire for a structural bail or a clasp hook. The moment the jewelry is worn, the friction and weight will pull the dead soft wire open. Always use half-hard 20-gauge or 18-gauge wire for load-bearing components.
Troubleshooting Loose Cabochons and Stones
A cabochon slipping out of a woven bezel is a hallmark of incorrect wire tension and poor geometric planning. This usually happens when the weaver relies solely on the friction of round wire to hold a stone with a shallow dome.
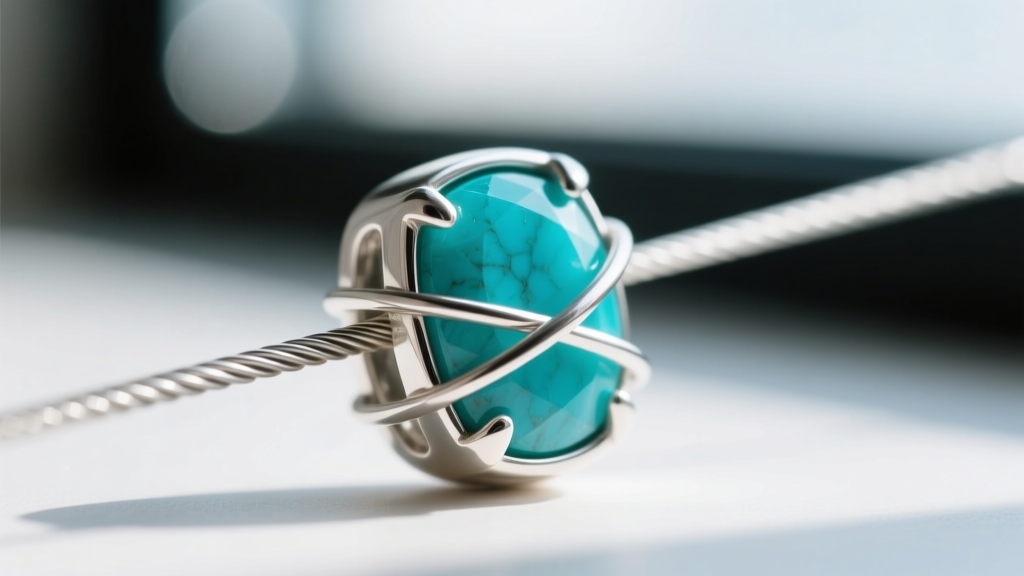
The 'Double-Bridge' Locking Technique
To secure stones with low domes or irregular edges, abandon standard round-wire weaving for the bezel lock. Instead, use 26-gauge half-hard square wire. Square wire has flat edges that bite into the frame wire, preventing the weave from sliding up and down the cabochon.
- Step 1: Create a standard 20-gauge base frame around the stone.
- Step 2: Use your 26g square wire to weave over and under the frame, but on the third pass, cross over the top of the previous weave, creating a 'bridge'.
- Step 3: Use a bezel pusher or a nylon-tipped tool to aggressively seat the bridged wire against the slope of the cabochon.
"Square wire acts like a gear against round wire. When you lock a weave with half-hard square wire, the flat planes grip the round core, virtually eliminating the vertical slippage that causes stones to pop out." — Master Wire Artist Consensus via Interweave Jewelry.
Fixing Snapping and Brittle Wire Joints
If your wire is snapping cleanly at the point where you bend a loop or attach a clasp, you are experiencing brittle fracture due to over-manipulation. Every time you adjust a bend with your pliers, you work-harden that specific microscopic section of the wire. By the third or fourth adjustment, the metal's crystalline structure can no longer flex, and it snaps.
The Art of Annealing for DIY Jewelers
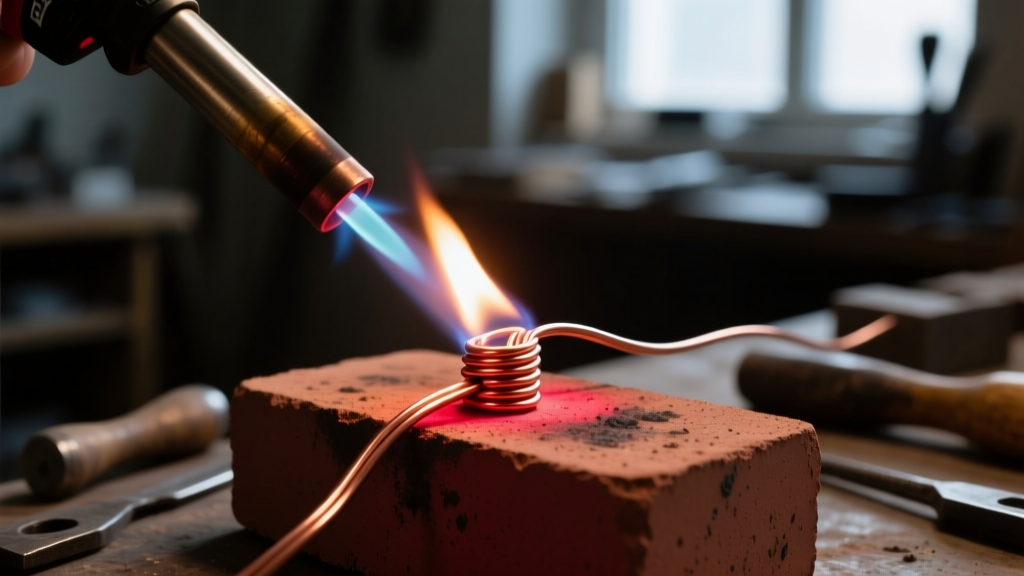
To fix this, you must anneal the wire to reset its crystalline structure. While many DIYers avoid torch work, learning to anneal is critical for advanced wire wrapping.
- Preparation: Bind the wire or joint with iron binding wire to hold its shape.
- Heating: Use a butane torch. Heat the copper or silver until it reaches a dull cherry red (approximately 1200°F / 650°C for sterling silver, and much lower for copper).
- Quenching: Immediately drop the metal into a pickle pot or room-temperature water to halt the crystalline growth.
Note on Modern Alloys: If you are using Argentium silver, a popular choice in 2026 for its anti-tarnish properties, be careful not to overheat. The germanium in the alloy can melt at lower temperatures than traditional sterling, ruining the surface layer. Always source high-quality stock from reputable suppliers like Rio Grande to ensure accurate alloy compositions.
The 'Messy Wrap' Syndrome: Tension and Tool Marks
Nothing devalues a piece of handmade jewelry faster than deep gouges and scratches left by steel pliers. Furthermore, uneven tension in your weaves makes the piece look amateurish and compromises the structural grip on the focal stone.
Eliminating Tool Marring
The primary culprit for tool marks is using standard steel-jawed pliers for pulling and tightening. To solve this:
- Upgrade to Nylon Jaws: Invest in a dedicated pair of nylon-jaw pliers (brands like Tronex or Lindstrom offer precision-machined nylon jaws that won't warp). Use these exclusively for pulling wire tight against a frame.
- The Tape Hack: If you cannot afford new tools, wrap the jaws of your chain-nose pliers in 3M blue painter's tape. Replace the tape every 3-4 hours of work, as embedded metal dust in the tape will act like sandpaper on your silver or copper.
Mastering the 'Pull-and-Seat' Method
Uneven tension occurs when artists push the wire instead of pulling it. To achieve machine-like consistency in your weaves, adopt the 'pull-and-seat' method:
- Thread the weaving wire through the gap.
- Grab the tail end of the wire with your nylon-jaw pliers, not the spool side.
- Pull the wire firmly away from the piece until it is taut.
- Use a wooden clothespin or a specialized wire pusher to 'seat' the taut wire down against the previous row. Never use steel tools to push soft weaving wire.
Sourcing and Testing Your Wire Stock
A major, often overlooked troubleshooting step happens before you even pick up your pliers. Many beginner wire artists buy bulk wire from unverified online marketplaces, only to find that the 'half-hard' wire they ordered is actually dead soft, or worse, a copper alloy plated to look like silver that snaps unpredictably.
The Bend-Back Verification Test
Before committing to a complex weave with a new batch of wire, perform the bend-back test. Take a 3-inch scrap of your 20-gauge wire. Bend it in half using your fingers. Then, using flat-nose pliers, bend it back the other way, and then back again.
What to look for:
- Dead Soft: Will bend back and forth 5+ times without breaking, feeling very mushy.
- Half-Hard: Will offer distinct spring-back resistance and should snap cleanly after 2 to 3 sharp bends.
- Full-Hard: Will snap almost immediately upon the first sharp reverse bend.
If your wire does not behave according to its labeled temper, your structural calculations will fail. Always test your stock and calibrate your tension expectations accordingly.
Final Thoughts on Structural Integrity
Making your own jewelry is a continuous dialogue with the materials in your hands. By shifting your mindset from simply 'wrapping' to actively managing metal temper, tension, and crystalline stress, you eliminate the root causes of structural failure. Equip your bench with nylon-jaw pliers, understand the annealing points of your chosen alloys, and always test your wire stock. The result will be heirloom-quality, cold-connected jewelry that is as durable as it is beautiful.


