How to Make Jewelry for Beginners: Troubleshooting Top Mistakes
Master how to make jewelry for beginners by troubleshooting common mistakes. Fix wire snapping, crimp failures, and tool marks with expert solutions.

The Reality of the Beginner Bench
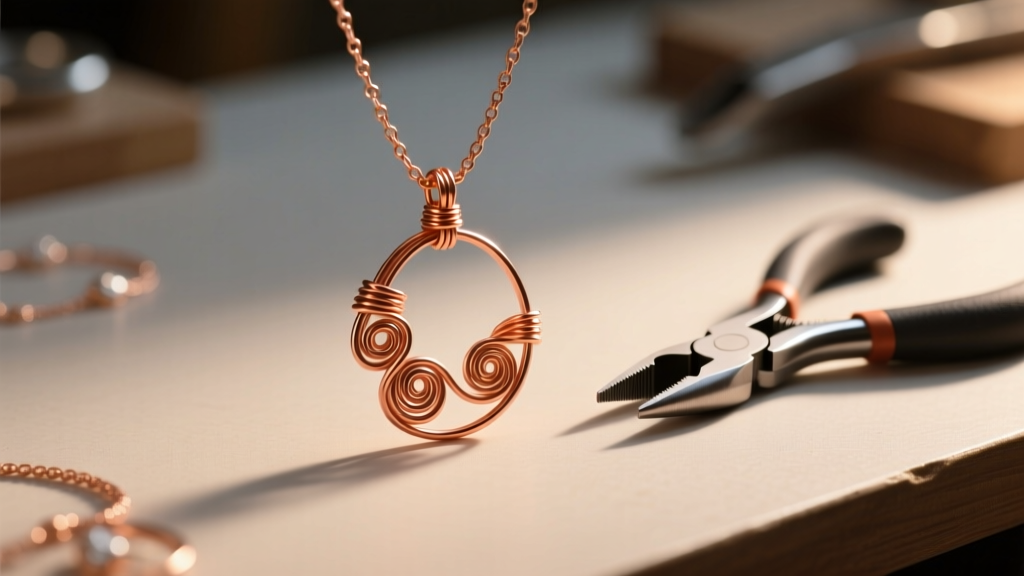
Learning how to make jewelry for beginners is an exciting journey, but it is rarely a smooth one. The gap between a professional-looking piece and a frustrating failure often comes down to a few millimeters of wire, the wrong temper, or a misunderstood crimp. When you first start bending metal and stringing stones, you are bound to encounter structural failures: ear wires that snap, necklaces that break at the clasp, and precious metals scarred by steel tools. This guide moves beyond basic tutorials to tackle the mechanical and metallurgical reasons your beginner projects are failing, providing exact specifications and actionable troubleshooting steps to elevate your craft.
1. Wire Snapping: The Work-Hardening Trap
The most common failure point in wire wrapping and wire-formed jewelry is the sudden, sharp snap of metal right where you made a loop or bend. Beginners often blame the quality of the wire, but the real culprit is a metallurgical process called work-hardening. When you bend metal, you disrupt its crystalline structure. The dislocations in the crystal lattice tangle, making the metal harder and more brittle. If you continue to manipulate work-hardened wire, it will inevitably snap.
The Fix: Understanding Wire Temper and Annealing
Most beginners buy dead-soft wire because it is effortless to bend with bare hands. However, dead-soft wire work-hardens very quickly. If you are making structural components that require spring-back and durability—such as ear wires, clasps, or prongs—you must use half-hard wire. According to the metallurgical guides from Rio Grande, half-hard wire has already been partially work-hardened at the mill, giving it the tensile strength to hold its shape without becoming brittle during basic manipulation.
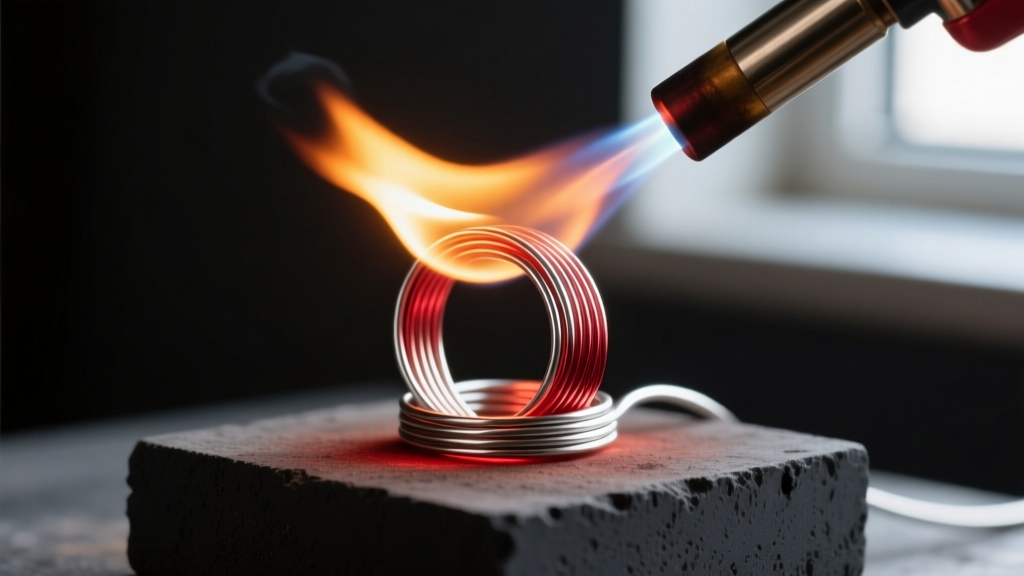
If you must use dead-soft wire for a complex weave and it begins to stiffen, you need to anneal it. Annealing involves heating the metal with a butane torch until it glows a dull cherry red (approximately 1200°F for sterling silver), then immediately quenching it in water. This resets the crystalline structure, returning the wire to a dead-soft state so you can continue working without fear of it snapping.
2. Bead Stringing Disasters: Tension and Crimp Failures
There is nothing more disheartening than spending hours designing a beaded necklace, only for it to snap at the clasp a week later. This failure is almost always due to using the wrong stringing material or improperly securing the crimp bead. Cheap craft-store nylon thread kinks and degrades, while single-strand steel wire suffers from metal fatigue and memory kinking.
The Fix: 49-Strand Micro-Wire and Precision Crimping
For durable bead stringing, upgrade to a 49-strand micro-wire, such as those produced by Soft Flex Company. The 49 tiny strands of stainless steel are braided and coated in nylon, providing the drape of silk with the tensile strength of steel. For most gemstone and glass beads, a .019-inch diameter is the perfect middle ground, offering enough strength to hold heavy stones while remaining flexible enough to drape beautifully.
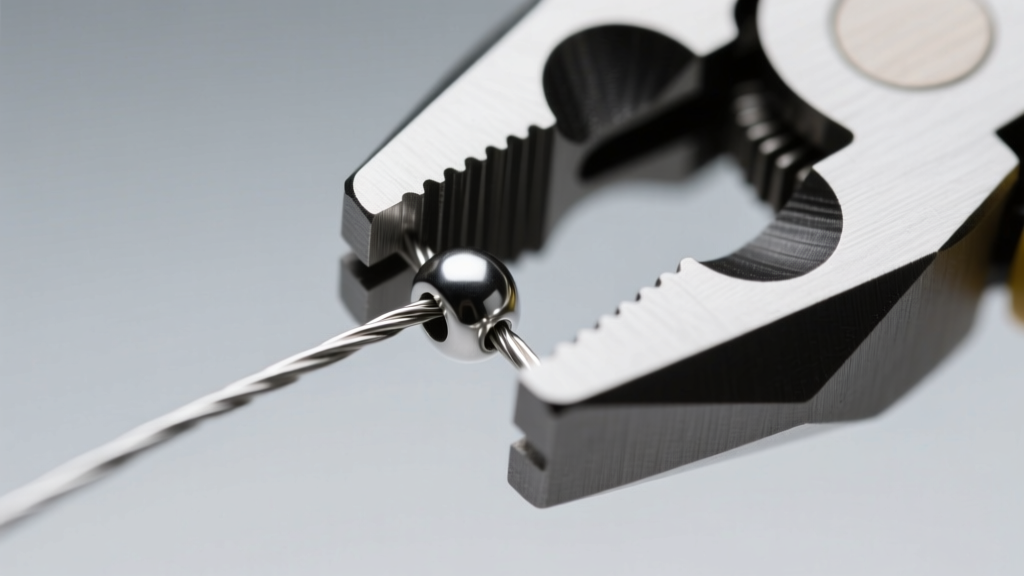
The second point of failure is the crimp. Beginners often use flat-nose pliers to simply smash a crimp bead flat. This creates razor-sharp metal edges that act like a guillotine, slowly cutting through the nylon coating of your beading wire until it snaps. Instead, use a micro-crimping tool. The tool's specialized notches separate the wire channels, fold the metal into a smooth U-shape, and then round it into a clean bead-like cylinder. This encapsulates the wire safely without introducing sharp stress points.
3. Jump Ring Gaps: The Clasp Failure Culprit
If your pendants are falling off necklaces or your chainmaille links are pulling apart, you are likely opening your jump rings incorrectly. Pulling the ends of a jump ring outward (laterally away from each other) distorts the perfect circle into an oval, weakens the metal at the stress point, and makes it nearly impossible to close the gap perfectly flush. A gap of even a fraction of a millimeter will catch on clothing and eventually pull open.
Expert Rule: Never pull a jump ring apart. Always grip both sides of the split with two pairs of pliers (chain-nose or flat-nose) and twist one hand toward you and the other away from you. This lateral twisting motion preserves the circular geometry and allows the ends to snap back together with a satisfying, flush click.
For heavy pendants, abandon 20-gauge or 22-gauge jump rings. Step up to 18-gauge (1.02mm thick) jump rings with a 5mm or 6mm outer diameter. The thicker wire provides the necessary shear strength to support the weight of the pendant without slowly pulling open over time.
Troubleshooting Matrix: Quick Fixes for Common Issues
Use this diagnostic table to quickly identify and resolve the mechanical failures plaguing your beginner projects.
| Symptom | Root Cause | Technical Fix | Recommended Spec |
|---|---|---|---|
| Wire snaps at loop | Work-hardening / Metal fatigue | Anneal with torch or switch temper | 20ga Half-Hard Sterling |
| Bead stringing snaps | Kinking / Sharp crimp edges | Use 49-strand wire & micro-crimper | .019" 49-Strand Soft Flex |
| Clasp detaches | Jump ring pulled open | Twist laterally to open/close | 18ga 5mm OD Jump Ring |
| Gouges on soft wire | Serrated steel plier jaws | Apply tool dip or use nylon jaws | Tronex Nylon Jaw Pliers |
4. Tool Scarring: Protecting Your Precious Metals
When learning how to make jewelry for beginners, most starter tool kits include carbon steel pliers with serrated (toothed) jaws for extra grip. While great for heavy-duty wire bending, these teeth will severely gouge and scar soft metals like fine silver, 24k gold, gold-filled wire, and even dead-soft sterling silver. These gouges are not just cosmetic flaws; they act as stress risers. A microscopic gouge concentrates mechanical stress, meaning the wire will eventually snap exactly at that mark when subjected to the tension of daily wear.
The Fix: Jaw Protection and Tool Upgrades
You do not need to buy entirely new pliers to solve this. The most cost-effective solution is a liquid rubber coating like Tool Magic. You simply dip the jaws of your steel pliers into the liquid, let them dry for four hours, and apply a second coat. This creates a thick, grippy, non-marring rubber surface that protects your metal while maintaining control. Alternatively, invest in a dedicated pair of nylon jaw pliers (such as those from Tronex or Lindstrom) specifically for the final shaping and closing of loops on precious metals. Keep your serrated steel pliers strictly for cutting and heavy structural bending of cheap practice copper.
Final Thoughts on Building Muscle Memory
Troubleshooting jewelry making is less about natural artistic talent and more about understanding the physical properties of your materials. Metal has memory, wire has a breaking point, and tension must be managed at every connection point. By upgrading your stringing materials to 49-strand micro-wire, respecting the temper of your wire, twisting your jump rings, and protecting your metals from tool scarring, you will instantly bridge the gap between amateur crafts and professional-grade jewelry. Keep your bench organized, test your structural loops by pulling them firmly before attaching them to a final piece, and let the metallurgy guide your hands.


