What's Permanent Jewelry? Step-by-Step DIY Welding Guide
Learn what's permanent jewelry and how to make it. This step-by-step DIY micro-welding guide covers tools, metals, and flash welding techniques.

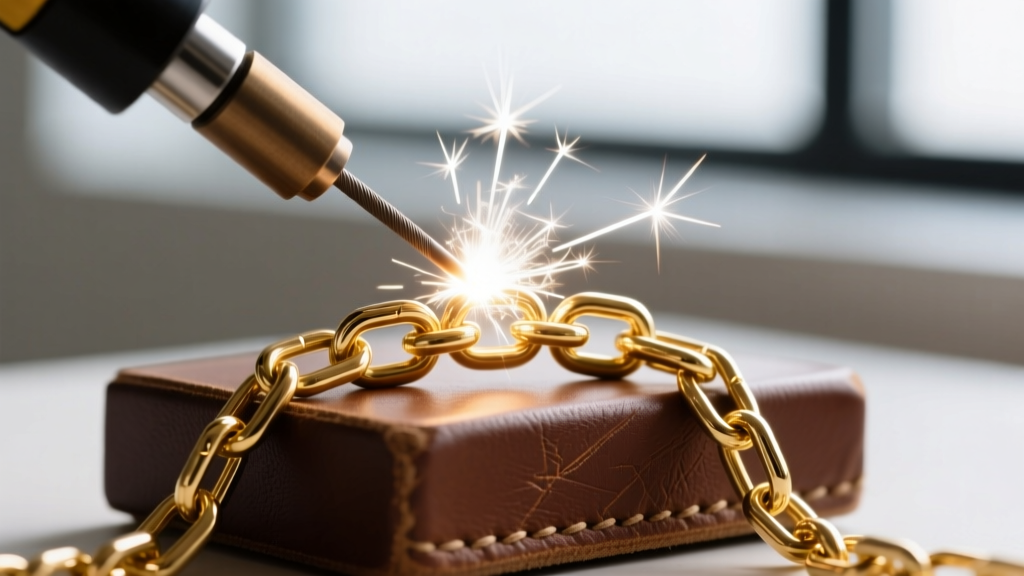
If you have been scrolling through social media, visiting local craft markets, or exploring modern jewelry trends, you have likely asked yourself, "what's permanent jewelry?" At its core, permanent jewelry refers to claspless bracelets, anklets, or necklaces that are custom-fitted to the wearer's exact measurements and seamlessly sealed using a micro-welder. While the name implies a lifelong commitment, the reality is much more practical: it is a durable, continuous loop of chain that can easily be snipped off with a pair of scissors or flush cutters whenever the wearer chooses.
For DIY jewelry makers and aspiring studio owners, mastering the art of micro-welding opens up a highly lucrative and creative avenue. This comprehensive guide will walk you through the metallurgy, equipment, and step-by-step flash welding techniques required to create flawless permanent jewelry at home or in a small studio.
The Core Mechanics: What's Permanent Jewelry Really?
To understand the craft, we must look at the science. Permanent jewelry is not soldered in the traditional sense using a torch and solder paste. Instead, it relies on flash welding (or micro-welding). This process uses a high-frequency, low-voltage electrical arc to instantly melt and fuse the metal of a jump ring to the adjoining chain links. Because the heat is highly localized and lasts only a fraction of a second, the metal fuses without oxidizing or damaging the delicate surrounding links.
However, not all metals respond well to flash welding. According to material guidelines from Rio Grande, a leading jewelry supply authority, the metal must be homogeneous. Plated metals, gold-filled chains with brass cores, or base metals with high zinc content will vaporize under the electrical arc, resulting in porous, brittle welds that snap under minimal tension.
Approved Metals for Flash Welding
- Solid 14k and 18k Gold: The industry standard. The alloy composition (usually mixed with copper and silver) provides an excellent, clean weld.
- 316L Stainless Steel: A budget-friendly, highly durable alternative that welds beautifully, though it requires slightly higher pulse energy.
- Sterling Silver (.925): Welds well but is prone to tarnish and oxidation if argon gas shielding is not properly utilized.
Essential Equipment for DIY Permanent Jewelry
Before you can start welding, you need to assemble a specialized toolkit. Entry-level micro-welders like the Orion mPulse or Sunstone welders typically range from $1,500 to $2,500. While this is a significant upfront investment, the profit margins on permanent jewelry (often 70-85%) allow for a rapid return on investment.
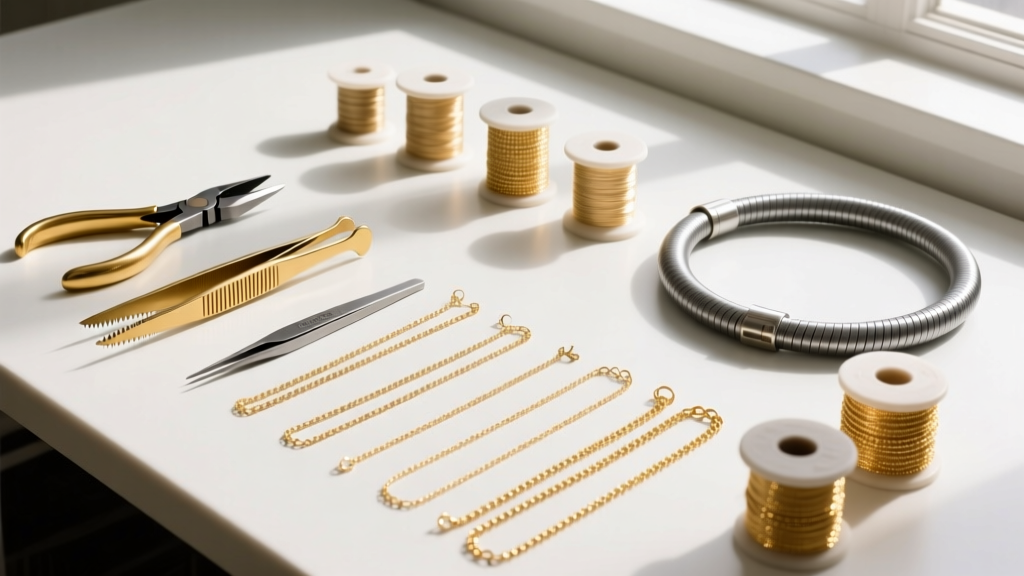
| Equipment | Specification / Grade | Estimated Price Range |
|---|---|---|
| Micro-Welder | Capacitive discharge or arc welder (e.g., Sunstone) | $1,500 - $2,800 |
| Argon Gas Tank | 99.999% pure argon with a precision flow regulator | $150 - $300 |
| Flush Cutters | Tronex or Lindstrom (for perfectly flat chain cuts) | $60 - $90 |
| Tweezers | Non-magnetic brass or titanium (prevents arc jumping) | $15 - $35 |
| Jump Rings | 3mm or 4mm OD, matching the chain wire gauge (e.g., 20g) | $20 - $50 / pack |
Step-by-Step Guide: Welding Your First Bracelet
Now that your bench is equipped, it is time to execute the weld. Precision and preparation are the most critical factors in achieving a seamless, durable joint.
Step 1: Chain Sizing and Preparation
Wrap the chain around the client's wrist (or your own wrist for practice). The chain should be snug enough not to catch on clothing, but loose enough to slide a pinky finger underneath. Add exactly one inch to the measured length to account for the jump ring and welding shrinkage. Using high-quality flush cutters, snip the chain. Ensure the cut is perfectly flat; angled cuts will leave gaps that the micro-welder cannot bridge without creating a weak, bulbous weld.
Step 2: Setting Up the Argon Shielding
Argon gas is an inert shielding gas that displaces oxygen around the weld zone. Without it, sterling silver and karat gold will oxidize, turning black and brittle. Set your argon regulator to a flow rate of 3 to 5 Cubic Feet per Hour (CFH). Position the argon nozzle roughly half an inch away from the welding point, angled slightly downward to blanket the jump ring in gas.
Step 3: Alignment and The Flash Weld
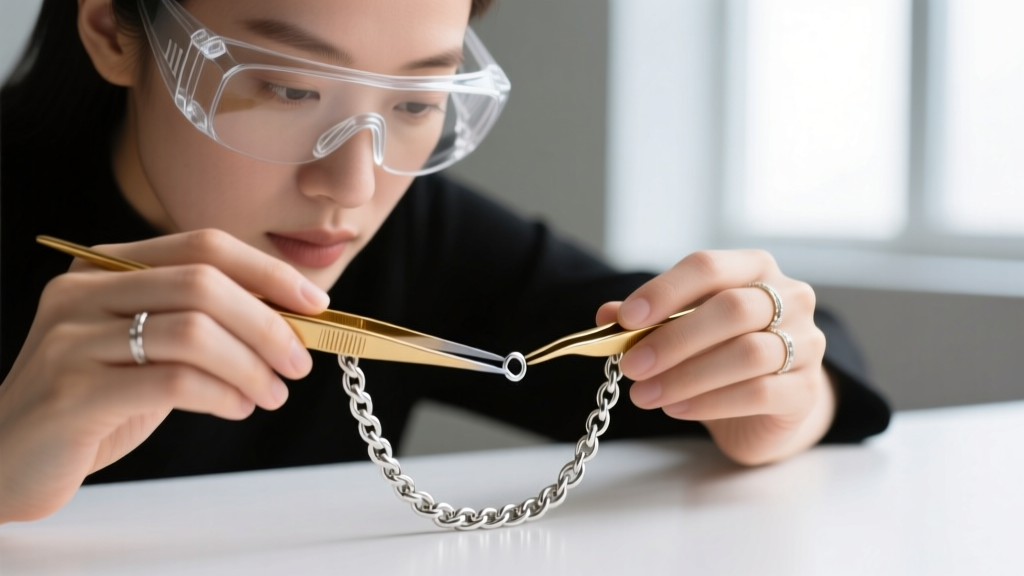
Thread a 3mm or 4mm jump ring (depending on your chain's wire thickness) through both ends of the chain. Using your brass tweezers, pinch the jump ring tightly so that the two cut ends of the chain are touching the jump ring with zero gaps.
Bring the tungsten electrode of your micro-welder down to hover exactly 1mm above the joint. Press the foot pedal. The machine will release a micro-second pulse of electricity, creating a brilliant flash of light. The metal will instantly fuse. Release the tweezers, inspect the weld under a jeweler's loupe, and gently tug the chain to test the tensile strength.
Troubleshooting Common Welding Flaws
Even experienced jewelers encounter issues when dialing in their pulse settings. According to technical resources from Sunstone Welders, adjusting the energy output is usually the cure for the following common defects:
- Brittle or Cracked Welds: This usually indicates oxidation. Increase your argon gas flow rate, or ensure your chain is not plated. If the base metal contains zinc, it will crack upon cooling.
- Porosity (Tiny Holes in the Weld): Caused by gaps between the chain ends and the jump ring. You must squeeze the tweezers tighter to ensure flush metal-to-metal contact before firing the pulse.
- Bulbous or Melted Links: The pulse energy is too high. Dial back the voltage by 5-10% to prevent the surrounding delicate links from melting into the joint.
- Weak Welds that Pull Apart: The pulse energy is too low, resulting in a surface-level tack rather than a deep penetration weld. Increase the energy incrementally until the joint holds firm under tension.
Safety and Studio Ventilation
While micro-welding is vastly safer than traditional torch soldering, it still produces a high-intensity UV flash and minor metallic particulates. Always wear specialized welding safety glasses with an appropriate shade rating (usually Shade 5 or higher for micro-welding) to protect your retinas from the arc flash. Furthermore, ensure your workspace is well-ventilated or equip your bench with a localized fume extractor to pull away any microscopic metal vapor created during the flash.
Conclusion
So, what's permanent jewelry? It is the perfect intersection of modern minimalism, custom fit, and accessible metallurgy. By investing in the right micro-welding equipment, sourcing solid homogeneous metals, and mastering the flash weld technique, you can elevate your DIY jewelry making from simple beading and wire wrapping into a professional-grade studio service. Practice on scraps of 14k gold fill and stainless steel to dial in your machine's pulse settings, and soon you will be welding flawless, permanent loops with confidence.


