How to Use a Pulse Arc Welder for Permanent Jewelry
Learn how to use a pulse arc welder for permanent jewelry with our step-by-step guide covering argon setup, joule settings, and tungsten prep.

The Rise of Micro-TIG in Permanent Jewelry
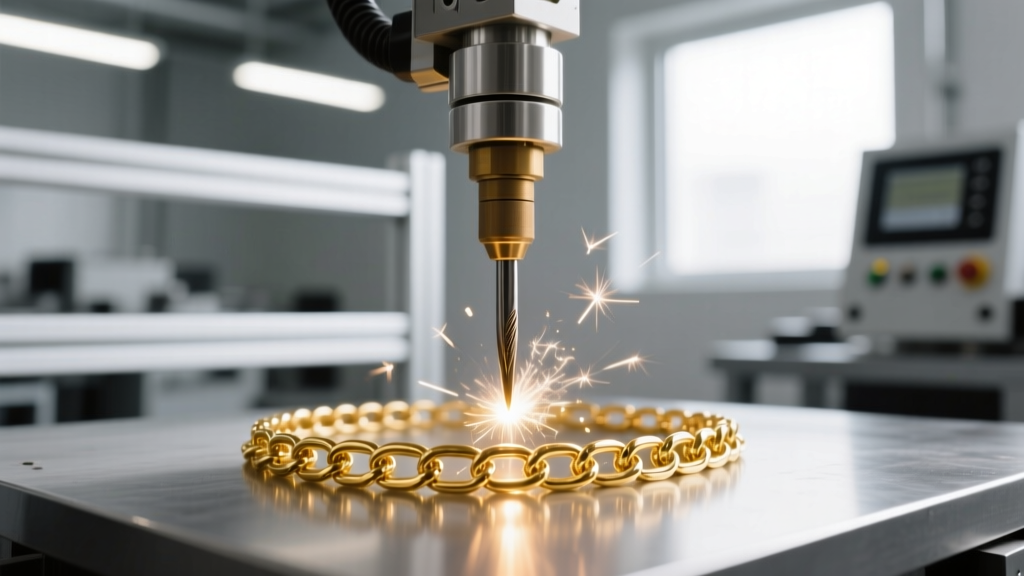
The permanent jewelry industry has evolved rapidly, moving away from traditional soldering and laser welding toward the pulse arc welder. Often referred to as a micro-TIG (Tungsten Inert Gas) welder, this machine uses a high-frequency electrical arc to fuse metal links without the need for flux, solder, or filler wire. For DIY jewelry makers and professional welders alike, mastering the pulse arc welder for permanent jewelry is the key to creating seamless, durable, and clean welds on delicate chains. Unlike soldering, which can leave visible seams or weaken adjacent links with heat spread, pulse arc welding concentrates intense heat into a microscopic pool, fusing the base metals instantly. This guide will walk you through the exact metallurgical setups, gas flow rates, and energy parameters required to achieve flawless welds on 14k gold, sterling silver, and stainless steel chains.
The Anatomy of a Permanent Jewelry Welding Setup
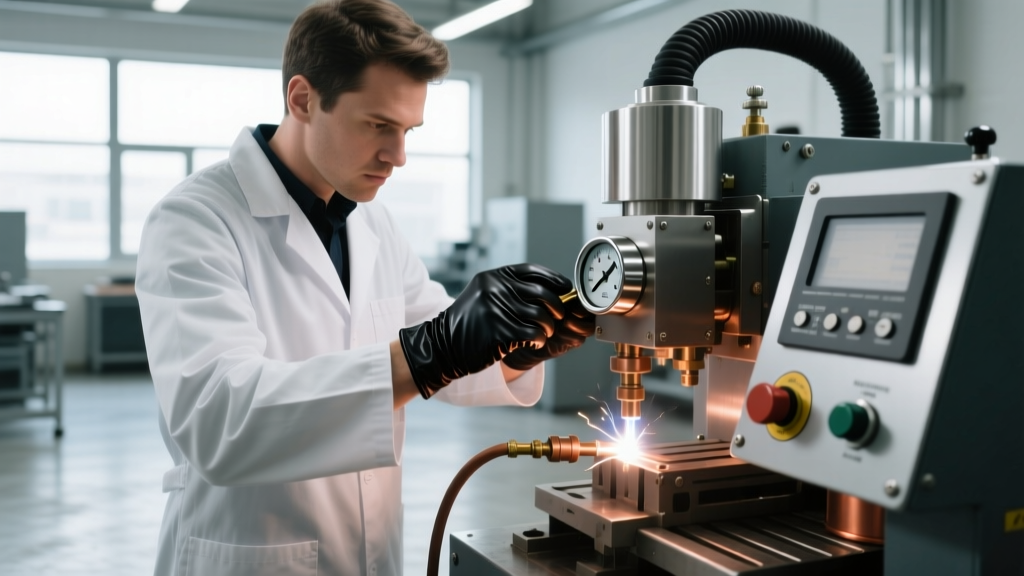
Before firing your first arc, you must understand the core components of your workstation. A professional pulse arc welding setup consists of four main elements: the power supply, the welding handpiece, the foot pedal, and the shielding gas system. Leading brands like Sunstone Welders and the Orion series have engineered power supplies specifically calibrated for the low-mass requirements of jewelry chains. The handpiece holds the tungsten electrode and delivers the arc, while the foot pedal allows you to keep both hands free to manipulate the chain and protect the client. The most critical, yet often misunderstood, component is the argon gas system. Without properly regulated argon, your welds will oxidize instantly, resulting in weak joints and unsightly black soot.
Step 1: Prepping Your Tungsten Electrode and Argon Gas
The tungsten electrode is the needle that delivers the electrical arc. For permanent jewelry, you should exclusively use 2% Lanthanated tungsten (identified by a blue tip) or 1.5% Lanthanated (gold tip). These alloys provide a stable arc at low amperages and resist contamination better than pure tungsten. You will need a 1.0mm diameter electrode for most standard permanent bracelet chains ranging from 1.2mm to 2.5mm in width.
Sharpening the Electrode
A blunt electrode will scatter the arc, causing blowouts. You must sharpen your tungsten using a diamond grinding wheel. Crucially, always grind the tungsten longitudinally (parallel to the length of the electrode), never circumferentially. Circumferential grooves will cause the electrical current to spiral, destabilizing the arc. The tip should be honed to a fine point, but slightly blunted at the very apex to prevent the tungsten from melting into the weld pool.
Setting the Argon Flow
Argon is an inert gas that shields the molten metal pool from atmospheric oxygen and nitrogen. You must use 100% pure welding-grade argon. Set your regulator flow meter to between 3 and 5 Cubic Feet per Hour (CFH). If the flow is too low, the weld will oxidize and turn black. If the flow is too high, the turbulence will actually pull ambient air into the shielding envelope, causing the exact oxidation you are trying to prevent. According to jewelry fabrication experts at Rio Grande, maintaining a consistent, draft-free environment is just as important as the flow rate, as ceiling fans or AC vents can easily blow your argon shield off the weld zone.
Step 2: Dialing in the Joules (Energy Settings Chart)
The energy output on a pulse arc welder is measured in Joules (or Watt-seconds). Dialing in the correct Joule setting is entirely dependent on the metal's thermal conductivity and the mass of the chain link. For instance, sterling silver has a thermal conductivity of roughly 429 W/(m·K), meaning it dissipates heat incredibly fast. 14k gold, by contrast, is much more resistant to heat flow. Therefore, silver requires significantly higher Joule settings than gold to achieve the same melt pool. Below is a baseline data table for standard permanent jewelry chains.
| Metal Type | Wire Diameter / Gauge | Recommended Joules | Argon Flow (CFH) |
|---|---|---|---|
| 14k Yellow Gold | 1.0mm - 1.2mm (18-16 ga) | 15 - 22 J | 3 - 4 CFH |
| 18k Yellow Gold | 1.0mm - 1.2mm (18-16 ga) | 18 - 25 J | 3 - 4 CFH |
| Sterling Silver | 1.0mm - 1.2mm (18-16 ga) | 28 - 38 J | 4 - 5 CFH |
| Stainless Steel | 1.0mm - 1.2mm (18-16 ga) | 12 - 18 J | 3 - 4 CFH |
Pro Tip: Always test your weld on a scrap piece of the exact same chain before welding on a client. Adjust the Joules up or down by increments of 2 until the weld flows smoothly without splattering.
Step 3: The Welding Technique (Positioning and Firing)
There are two primary methods for closing a permanent bracelet: the jump ring method and the crossover weld. The crossover weld is generally preferred for its seamless look and superior strength. To perform a crossover weld, overlap the two end links of the chain so they form a tight 'X'. Use a piece of copper tape or a specialized ceramic welding block underneath the joint to protect the client's skin and provide a heat sink.
Electrode Positioning
Position your tungsten electrode exactly 1.0mm to 1.5mm away from the metal intersection. The angle of the handpiece should be roughly 45 to 60 degrees relative to the chain. If you hold the electrode too far away, the arc will struggle to bridge the gap, resulting in a weak, porous weld. If you touch the metal, the tungsten will contaminate, and the machine will short out. Keep your hand braced firmly against the workbench to eliminate micro-tremors.
Firing the Arc
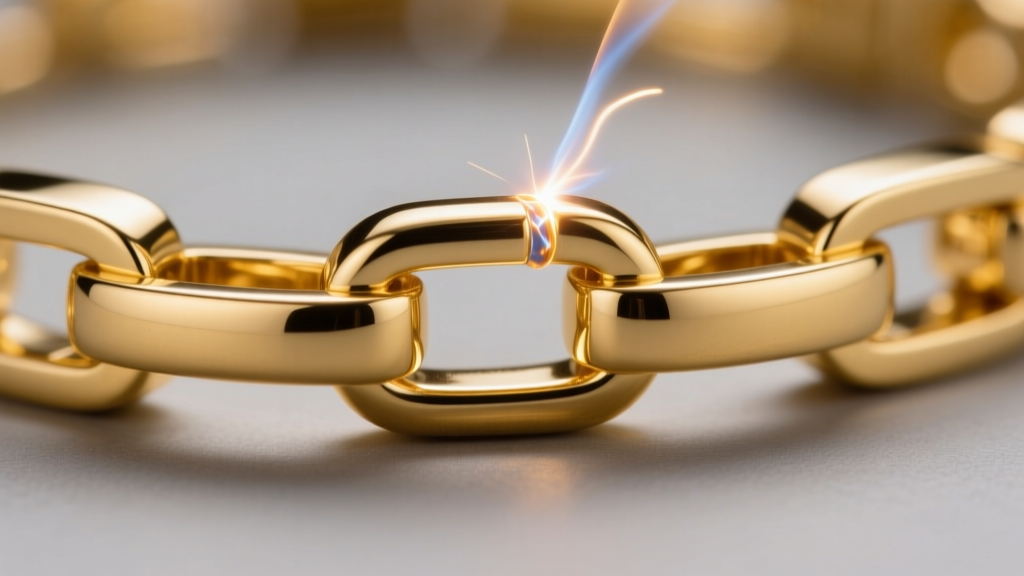
Press the foot pedal smoothly. You will hear a sharp, crisp 'snap' and see a brilliant flash of light. The arc should last only a fraction of a second. Upon releasing the pedal, keep the handpiece perfectly still for one full second. This allows the argon post-flow to cover the cooling metal pool, preventing oxidation as the metal solidifies. A successful crossover weld will look like a tiny, smooth metallic bead fusing the overlapping links together.
Troubleshooting Common Welding Flaws
Even experienced welders encounter issues when environmental factors or material inconsistencies arise. Here is how to diagnose and fix the most common pulse arc welding flaws:
- Black Soot (Oxidation): This means oxygen reached the molten metal. Check your argon tank level, ensure your flow meter is set to at least 4 CFH, and turn off any overhead fans. Also, verify that your post-flow delay on the machine is set to at least 1.5 seconds.
- Blowouts (Holes in the Chain): You are using too much energy. Drop your Joule setting by 3 to 5 points. Blowouts can also occur if the chain links are not sitting perfectly flush against one another, causing the arc to concentrate on a single high point.
- Weak or Brittle Welds: The weld may look fine but snap under slight tension. This happens when the Joules are too low, resulting in a 'cold weld' where the metals stick together but do not fully penetrate. Increase the energy and ensure the metal surfaces are completely free of oils and lotions by wiping them with an alcohol pad before welding.
- Tungsten Contamination: If the arc starts wandering or spitting, your tungsten tip has likely touched the metal or picked up impurities. Break off the contaminated tip with pliers and re-sharpen it on your diamond wheel.
Safety Protocols for Pulse Arc Welding
Working with high-current electrical arcs and pressurized gases requires strict adherence to safety protocols. First and foremost, you must wear an auto-darkening welding helmet rated for micro-TIG applications, typically featuring a shade range of 8 to 12. Standard sunglasses are entirely insufficient and will result in severe retinal damage from the intense UV radiation emitted by the arc. Second, because argon gas is heavier than air and displaces oxygen, ensure your workspace is well-ventilated to prevent asphyxiation risks in confined rooms. Finally, never weld directly over a client's bare skin without a protective barrier. While the heat-affected zone is microscopic, accidental arcs or hot metal splatter can cause pinpoint burns. Always utilize copper shielding tape or a ceramic anvil block to isolate the welding zone from the wearer.


