How to Fine Fix Jewelry: A Beginner's Guide to Basic Repairs
Learn how to fine fix jewelry at home with our beginner-friendly guide. Discover essential tools, step-by-step repairs, and when to call a pro.

When a cherished necklace breaks or a favorite ring loses its sparkle, the immediate instinct is often to panic. However, learning how to fine fix jewelry at home can save you hundreds of dollars in bench fees and keep your most worn pieces in rotation. While complex restorations like laser welding or retipping worn prongs require a certified bench jeweler, a surprising number of everyday jewelry issues can be resolved on your kitchen table. This beginner-friendly explainer will walk you through the metallurgy of basic repairs, the exact tools you need, and the critical boundaries between a DIY fix and a professional restoration.
What Does It Mean to Fine Fix Jewelry?
The term 'fine jewelry' specifically refers to pieces crafted from precious metals (gold, platinum, palladium, sterling silver) and genuine gemstones. When we talk about how to fine fix jewelry, we are addressing the unique physical properties of these materials. Unlike base-metal costume jewelry, which is often glued or plated, fine jewelry is constructed using mechanical joints (jump rings, clasps) and metallurgical bonds (solder).
Understanding the karat of your gold is the first step in any repair. According to the Federal Trade Commission's Jewelry Guides, 14k gold contains 58.3% pure gold, making it an alloy that is relatively hard and forgiving for beginners to manipulate. In contrast, 18k gold (75% pure) and 22k gold (91.6% pure) are significantly softer. Applying too much pressure with pliers to an 18k gold prong can easily warp the metal or crack the gemstone it holds. Therefore, a successful DIY fine fix requires a gentle touch and an understanding of material hardness.
The Essential Toolkit for Beginner Jewelry Repair
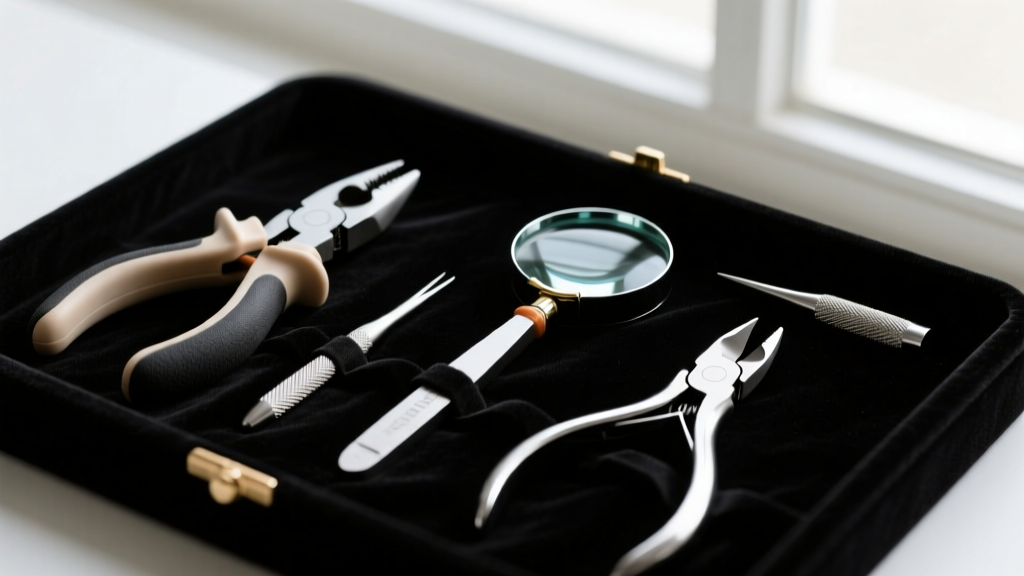
You cannot perform a proper fine fix with standard household tools. Hardware store pliers have serrated teeth that will permanently mar precious metals. To begin, invest in a specialized jewelry bench kit. Here are the non-negotiable tools for your arsenal:
- Nylon-Jaw Flat-Nose Pliers: The nylon coating prevents scratching 14k and 18k gold while providing the flat surface needed to grip jump rings and clasps.
- Flush Cutters (Micro-Shears): Unlike bevel cutters, flush cutters slice wire completely flat. This is vital when trimming headpins or replacing jump rings, ensuring the joint closes seamlessly without a gap.
- 10x Triplet Jeweler's Loupe: A triplet lens corrects color and spherical distortion. You need this to inspect prong wear, check for microscopic fractures in gemstones, and verify hallmark stamps.
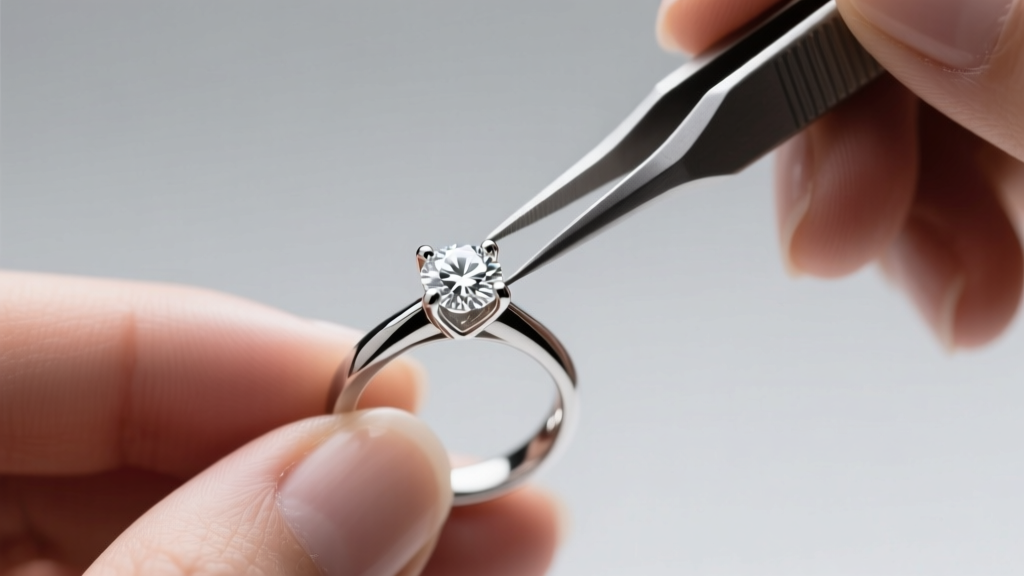
- Brass Tweezers: Steel tweezers can scratch softer metals and gemstones. Brass is soft enough to handle loose diamonds or sapphires without damaging their girdles.
- Mandrel and Rawhide Mallet: Used for gently rounding out slightly bent sterling silver or gold bands without stretching the metal.
Step-by-Step: How to Fine Fix Common Jewelry Issues
With your toolkit assembled, you can tackle the two most frequent issues that plague fine jewelry collections: detached chains and loose stones.
Reattaching a Jump Ring on a Delicate Chain
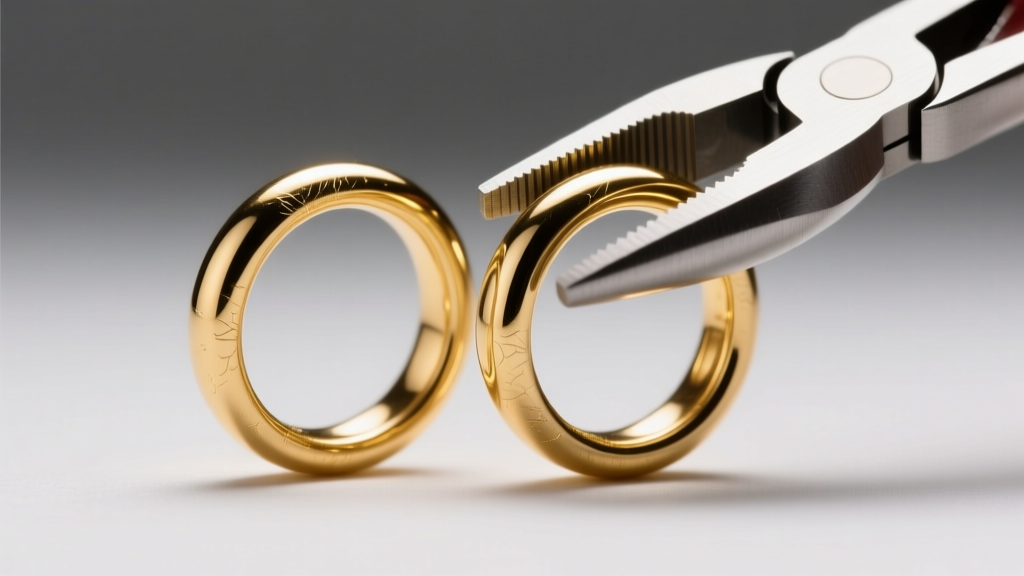
A broken jump ring is the most common failure point on fine necklaces and charm bracelets. The mistake most beginners make is pulling the jump ring apart horizontally (like an 'O' becoming a 'C'). This weakens the metal through work-hardening and distorts the circle.
- Secure the jump ring with two pairs of flat-nose pliers, gripping it at the 3 o'clock and 9 o'clock positions.
- Gently twist one hand toward you and the other away, opening the ring vertically along the Z-axis.
- Hook the open ring through the chain link and the clasp.
- Reverse the twisting motion to close the ring. You should feel a slight 'snap' or friction as the two flush-cut ends meet perfectly.
- If the ring is heavily distorted or the metal is fatigued (showing micro-cracks under your 10x loupe), discard it. Replace it with a new 20-gauge or 22-gauge jump ring matching the metal color.
Tightening a Loose Prong on a Gemstone Ring
If a diamond or sapphire rattles in its setting, the prongs have likely worn down or caught on fabric and lifted. Warning: Only attempt this on bezel or sturdy 4-prong/6-prong settings in 14k gold or platinum. Do not attempt this on antique pieces, cluster settings, or soft stones like emeralds or opals.
- Clean the ring thoroughly in an ultrasonic cleaner or with warm soapy water and a soft brush. Dirt trapped under the prong can cause the stone to crack when pressure is applied.
- Examine the prongs with your 10x loupe. If the metal is visibly thin or grooved where it meets the gemstone's girdle, stop. The prong needs professional 'retipping' via laser welder.
- If the prong is simply lifted, use a brass prong pusher. Place the flat tip of the pusher against the side of the prong, just above the stone.
- Apply slow, steady, downward pressure to push the metal back over the crown of the stone. Never push directly on the gemstone itself.
DIY vs. Professional Restoration: A Decision Matrix
Knowing when to stop is the hallmark of a smart jewelry owner. Use this matrix to decide if your fine fix should stay on your desk or go to the jeweler's bench.
| Issue | DIY Feasibility | Estimated Pro Cost (2026) | Risk Factor |
|---|---|---|---|
| Opening/Closing Jump Rings | High | $25 - $45 | Low (if using correct tools) |
| Straightening a Bent Band | Medium | $35 - $60 | Medium (risk of snapping if metal is brittle) |
| Tightening a Loose Prong | Low to Medium | $40 - $85 | High (risk of chipping the gemstone) |
| Soldering a Broken Chain | None | $45 - $120 | Extreme (requires torch/laser and flux) |
| Replacing a Spring Ring Clasp | High | $30 - $55 | Low |
When to Absolutely Avoid a DIY Fine Fix
While learning how to fine fix jewelry is empowering, certain materials and settings demand professional intervention. The Gemological Institute of America (GIA) frequently highlights the fragility of specific gemstones that can shatter under minor bench pressure. Avoid DIY repairs if your piece involves:
- Organic Gems: Pearls, coral, and amber are highly sensitive to heat, chemicals, and pressure. Even the friction from a polishing cloth can degrade a pearl's nacre.
- Tension Settings: Rings that hold a diamond via the sheer compressive force of the metal band are engineering marvels. Adjusting the band size or pushing a prong will instantly release the stone.
- Platinum Soldering: Platinum has a melting point of roughly 3,215°F (1,768°C). Unlike gold, which can be soldered with a standard butane micro-torch, platinum requires specialized laser welding or high-temperature oxy-hydrogen torches to avoid melting the surrounding details.
- Hollow or Electroformed Jewelry: These pieces are incredibly lightweight but structurally fragile. Applying pliers to a hollow gold tube will crush it instantly.
Maintenance: Preventing the Need for Future Fixes
The best repair is the one you never have to make. To extend the life of your fine jewelry and minimize mechanical failures, adopt a strict maintenance routine. Remove your rings before lifting weights, gardening, or washing dishes. Chlorine in swimming pools and hot tubs is particularly destructive; it attacks the alloys in 14k and 18k gold, causing a phenomenon known as 'stress corrosion cracking,' which can cause a ring's shank to snap cleanly in half without warning.
Furthermore, schedule an annual inspection with a Jewelers of America certified professional. They will use high-magnification microscopes to check for internal stress fractures and prong wear that are invisible to the naked eye. By combining your newfound DIY skills for minor adjustments with professional oversight for structural integrity, you ensure your fine jewelry remains flawless for generations.


