How to Repair Jewelry Chains: Troubleshooting Broken Clasps & Links
Learn how to repair jewelry chains with our expert troubleshooting guide. Discover fixes for broken clasps, snapped jump rings, and stretched links.

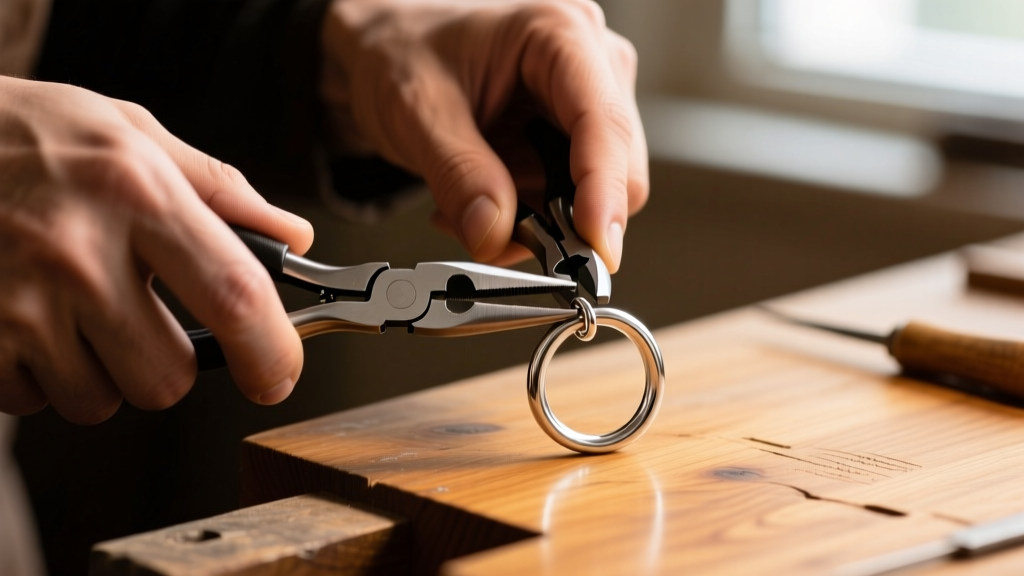
There are few things more frustrating than reaching for your favorite necklace or bracelet, only to find the chain snapped or the clasp rendered useless. While taking your pieces to a professional is always a safe bet, understanding how to repair jewelry chains at home can save you significant time and money. Whether you are dealing with a stubborn lobster clasp, a work-hardened jump ring that has snapped, or a stretched box chain link, troubleshooting the exact point of failure is the first step toward a lasting fix.
In this comprehensive guide, we will break down the metallurgical reasons behind chain failures, the exact tools required for DIY troubleshooting, and the precise threshold where you must hand the piece over to a professional bench jeweler for laser welding or torch soldering.
Diagnosing the Break: Why Jewelry Chains Fail
Before attempting any repair, you must identify the failure mode. Jewelry chains typically break due to three primary mechanical or metallurgical issues:
- Metal Fatigue and Work Hardening: Sterling silver (925) and karat gold alloys work-harden when bent repeatedly. If a jump ring is opened and closed multiple times without being annealed (heated to soften the crystalline structure), it becomes brittle and will eventually snap under minimal tension.
- Clasp Spring Failure: Lobster and spring-ring clasps rely on a tiny internal steel spring. Over time, moisture, lotions, and sweat cause this steel component to corrode or lose its tension, resulting in a lever that refuses to snap back into place.
- Link Distortion: Delicate chains, particularly serpentine, herringbone, and fine box chains, are prone to stretching. When a single link stretches beyond its yield strength, it creates a weak point that will inevitably pull apart.
Essential Tools for Chain and Clasp Troubleshooting
Attempting to fix fine jewelry with standard household pliers is a guaranteed way to mar the metal and ruin the piece. According to the industrial standards outlined by Rio Grande, a leading jewelry supply authority, you must use precision tools designed specifically for precious metals.
| Tool | Specification | Primary Use Case |
|---|---|---|
| Chain-Nose Pliers | Smooth jaws, no serrations | Gripping jump rings and clasp levers without scratching the metal. |
| Flat-Nose Pliers | Wide, smooth flat jaws | Applying even torque when twisting open heavy gauge (16g-18g) jump rings. |
| Flush Cutters | Micro-shear blades | Cleaning up the ends of 20g to 24g wire or trimming damaged links. |
| Jeweler's Loupe | 10x magnification, triplet | Inspecting microscopic stress fractures in delicate chain links. |
Step-by-Step: How to Repair Jewelry Jump Rings and Clasps
The Cold Connection Fix: Replacing Jump Rings
The most common point of failure on any chain is the jump ring connecting the chain to the clasp. If the ring has snapped, you must replace it using a "cold connection" (mechanical closure without heat).
The Golden Rule: Never pull a jump ring apart laterally (outward into an oval). This permanently distorts the circle and weakens the metal. Instead, grip the ring with two pairs of pliers on either side of the split and twist one hand toward you and the other away. To close it, twist it back, pushing the ends slightly past each other to create tension, then align them perfectly. You should hear a faint "click" or "snap" when the ends seat perfectly flush.
Fixing a Stuck or Broken Lobster Clasp
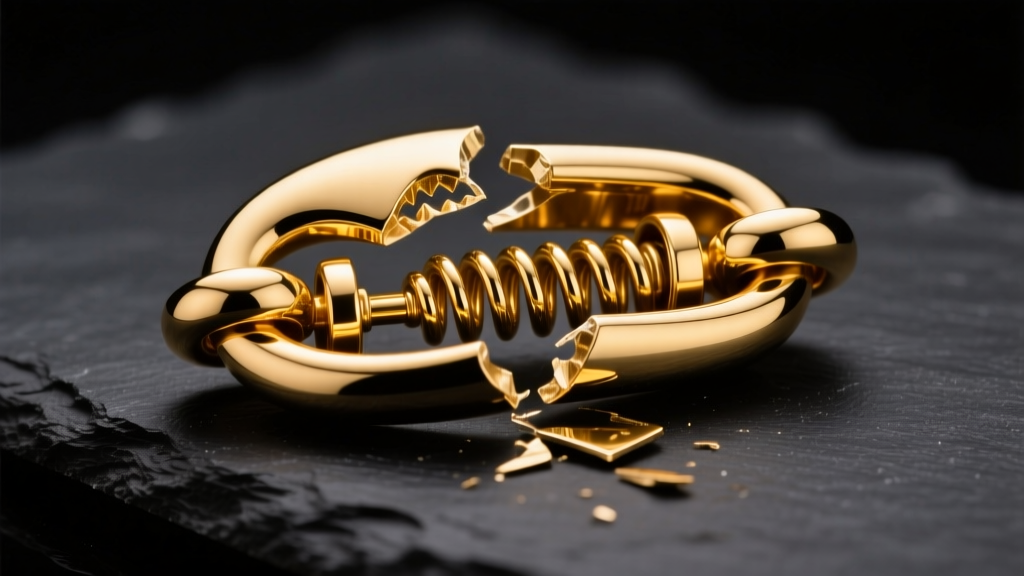
If your lobster clasp is stiff, do not force it. Apply a microscopic drop of synthetic watch oil to the hinge mechanism using a pin. Work the lever back and forth gently.
However, if the lever is completely loose and offers no resistance, the internal spring has failed. You cannot repair the internal spring of a cast lobster clasp at home. The troubleshooting protocol here is to cut off the broken clasp using flush cutters and attach a new one. If you are doing this at home, use a split ring or a heavy-gauge (18g) jump ring to attach the new clasp, as you likely do not have the equipment to solder the new clasp directly to the chain end.
When to Skip DIY and Seek Professional Soldering
While learning how to repair jewelry at home is empowering, certain structural failures require a professional bench jeweler. If the actual links of the chain are broken, or if a heavy pendant bail has torn through the metal, mechanical cold connections will not hold the weight. You need soldering.
According to the Gemological Institute of America (GIA), the method of soldering depends heavily on the chain style and metal type. Here is a breakdown of professional repair methods and their estimated 2026 market costs:
| Repair Method | Best For | Estimated Cost | Pros & Cons |
|---|---|---|---|
| Torch Soldering | Heavy rope chains, thick cable links, solid 14k/18k gold | $35 - $65 | Strongest bond, but high heat can melt delicate links or damage nearby gemstones. |
| Laser Welding | Delicate box chains, serpentine chains, gold-filled metals, platinum | $75 - $150+ | Pinpoint accuracy with zero heat spread. Essential for chains that melt easily under a torch. |
| Cold Solder (Conductive Epoxy) | Costume jewelry, plated brass, base metals | $15 - $25 | Very weak structural integrity. Only a temporary cosmetic fix for lightweight pieces. |
Preventative Maintenance to Avoid Future Breaks
Troubleshooting is only half the battle; preventing the failure in the first place is the mark of true jewelry stewardship. To extend the life of your chains and clasps, implement the following maintenance protocols:
- Upgrade Your Jump Rings: If a piece of jewelry is heavy (e.g., a solid gemstone pendant), replace the standard split jump ring with a soldered closed ring or a heavy-duty 14-gauge locking jump ring. This eliminates the gap where the chain can slip through and snap.
- Rotate Your Clasps: Spring ring and lobster clasps experience the most wear on the side that hooks onto the jump ring. Periodically inspect the jump ring for deep grooves worn by the clasp. If a groove is deeper than 20% of the wire's thickness, the jump ring must be replaced before it shears off.
- Store Flat or Hanging: Never toss herringbone or snake chains into a jewelry box. These chains have a "memory" and will kink if stored improperly. Once a herringbone chain kinks, the structural integrity of the woven links is permanently compromised, making it impossible to fully repair.
Expert Bench Tip: "When replacing a clasp on a gold-filled chain, never use a standard torch. The intense heat will instantly burn off the microscopic layer of karat gold, leaving a dark, oxidized brass patch that cannot be polished out. Always opt for laser welding or use a mechanical cold connection for gold-filled repairs."
By understanding the mechanics of your jewelry and knowing exactly when to apply a DIY fix versus when to seek professional laser welding, you can keep your most cherished pieces secure, beautiful, and structurally sound for decades to come.


