How to Solder Jewelry With Soldering Iron and Clean Joints
Learn how to safely solder jewelry with a soldering iron, remove corrosive flux residue, and maintain low-temperature base metal joints.

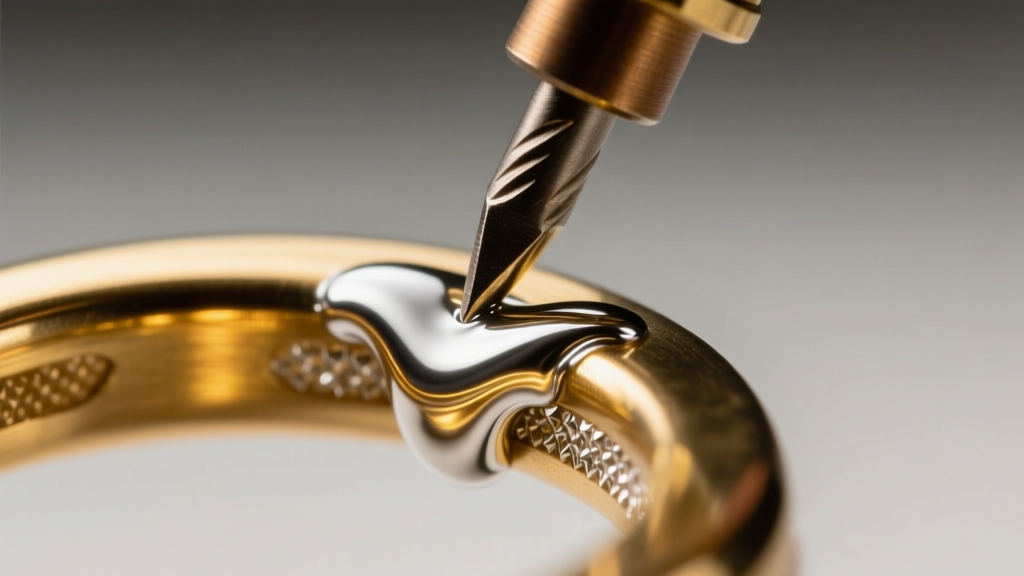
The intersection of DIY electronics repair and jewelry making has led many crafters to ask a pivotal question: can you successfully solder jewelry with a soldering iron? The short answer is yes, but with severe metallurgical caveats. While a standard 40-watt electronics iron will fail miserably on precious metals, a high-wattage, temperature-controlled iron paired with low-temperature silver-bearing solder can be a lifesaver for maintaining and repairing base metal jewelry, copper chains, and brass findings.
However, the repair process does not end when the solder cools. The most critical phase of iron-based jewelry repair is the post-solder cleaning and long-term maintenance protocol. Flux residues left on a joint will rapidly degrade the metal, causing skin irritation and structural failure. This guide dives deep into the exact chemistry, tooling, and maintenance routines required to keep iron-soldered jewelry pristine and durable in 2026 and beyond.
The Hard Truth About Iron Soldering vs. Torch Soldering
Before applying heat, you must understand the thermal limitations of your tools. Fine jewelry metals like sterling silver and 14k gold require "hard solders" that melt between 1,325°F and 1,425°F. A standard soldering iron maxes out around 800°F at the tip and loses heat instantly upon contact with a metal ring shank, resulting in a cold, brittle joint.
To successfully solder jewelry with a soldering iron, you must work with base metals (copper, brass, nickel silver) or specialized low-temperature solders. Products like Stay-Brite (a 95% tin, 5% silver alloy) melt at approximately 430°F. To overcome the thermal mass of a brass jump ring or a thick copper pendant, you need an 80W to 150W temperature-controlled iron (such as those made by Weller or Hakko) equipped with a broad, chisel-style tip to maximize surface area heat transfer.
The Critical Post-Solder Cleaning Protocol
When you solder jewelry with a soldering iron, you must use a flux to strip oxidation from the metal and allow the solder to flow. Most low-temperature liquid or paste fluxes contain zinc chloride or highly active rosin acids. These chemicals are aggressively corrosive. If left on the jewelry, they will cause "flux rot"—a creeping green and black crust that weakens the joint and turns the wearer's skin green or black.
Step 1: The Thermal Quench and Boil
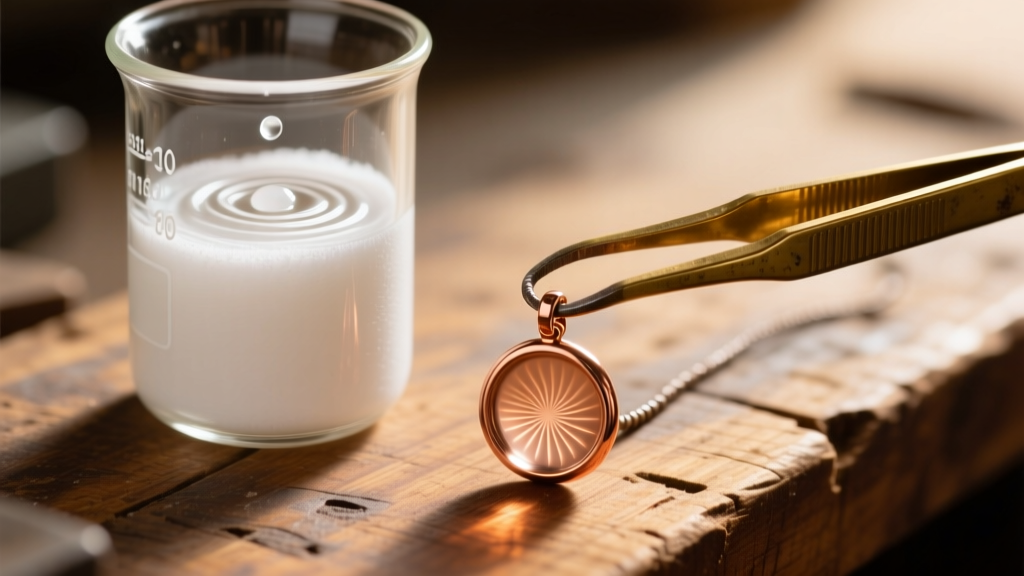
Immediately after the solder flows and the piece cools for five seconds, quench it in a bowl of room-temperature distilled water. This thermal shock helps pop off the glassy, hardened outer crust of the flux. Next, transfer the piece to a small glass beaker of boiling distilled water for three to five minutes. The boiling water softens the remaining water-soluble zinc chloride salts, drawing them out of the microscopic pores of the solder seam.
Step 2: Alkaline Neutralization
Water alone will not neutralize the acidic pH of the flux. Prepare a warm bath consisting of one cup of distilled water and two tablespoons of sodium bicarbonate (baking soda). Submerge the jewelry for ten minutes. You will likely see mild effervescence (bubbling) as the alkaline baking soda neutralizes the residual hydrochloric and zinc chloride acids. This step is non-negotiable for preventing long-term galvanic corrosion.
Step 3: Mechanical Seam Blending
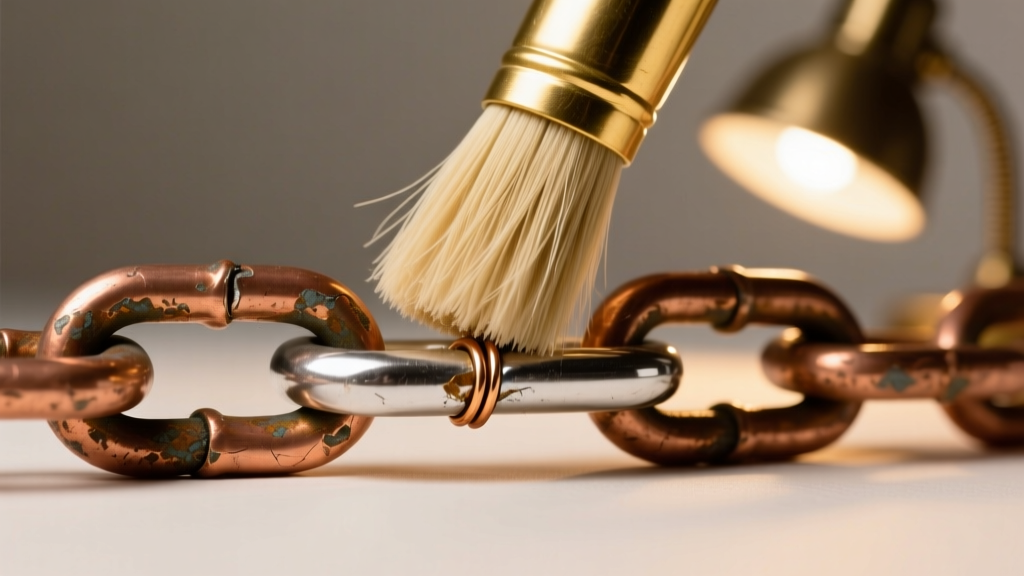
Low-temperature solder often leaves a slightly raised, dull grey bead on the metal. After the chemical bath, use a soft-bristle brass wire brush dipped in soapy water to gently burnish the joint. For a seamless blend on copper or brass, follow up with a micro-mesh polishing pad (1500 to 3200 grit) to match the luster of the surrounding metal without scratching the softer solder.
Metal-Specific Maintenance Matrix
Different base metals react differently to the thermal stress and chemical fluxes used when you solder jewelry with a soldering iron. Use the table below to tailor your maintenance approach.
| Metal Type | Ideal Iron Wattage | Recommended Solder | Post-Solder Cleaning Agent | Long-Term Vulnerability |
|---|---|---|---|---|
| Copper | 80W - 100W | 95/5 Tin-Silver | Baking Soda Bath | Rapid oxidation (verdigris) |
| Brass | 100W - 120W | 95/5 Tin-Silver | Citric Acid (Mild) | Dezincification at the seam |
| Nickel Silver | 120W - 150W | 95/5 Tin-Silver | Baking Soda Bath | Brittle joints if overheated |
| Sterling Silver | NOT RECOMMENDED | Hard Silver Solder (Torch) | Pickle (Sparex) | Firestain and joint failure |
Long-Term Care for Low-Temperature Joints
Maintaining jewelry repaired with an iron requires an understanding of galvanic corrosion. When two dissimilar metals (like a tin/silver solder and a copper base) are in contact in the presence of an electrolyte (human sweat, lotion, or high humidity), they create a microscopic battery. This galvanic reaction will slowly eat away at the less noble metal, eventually causing the solder joint to crumble.
Sealing the Galvanic Cell
To protect iron-soldered joints from sweat and moisture, apply a microscopic barrier. For high-end costume jewelry or copper cuffs, a thin coat of Renaissance Wax buffed into the seam will protect the metal for months. For cheaper, mass-produced base metal pieces, a careful application of clear, skin-safe urethane coating over the joint can prevent tarnish and skin discoloration.
Ultrasonic Cleaner Warnings
Never place iron-soldered jewelry into an ultrasonic cleaner. Low-temperature solders do not alloy (fuse at a molecular level) with the base metal in the same way that torch-soldered hard solders do; they rely on a mechanical and surface-tension bond. The high-frequency cavitation of an ultrasonic bath can easily vibrate a low-temp solder joint loose, especially if the original repair had minor flux inclusions.
Expert Insight: According to metallurgical guidelines from Ganoksin, the shear strength of low-temperature tin-silver solders is significantly lower than that of hard silver solders. Always design or repair iron-soldered joints with overlapping surface areas (like a lap joint) rather than simple butt joints to maximize mechanical grip.
When to Put the Iron Away and See a Professional
While learning to solder jewelry with a soldering iron is an empowering maintenance skill for crafters and vintage collectors, it is not a universal fix. You must immediately cease DIY efforts and consult a master jeweler under the following conditions:
- Gemstone Proximity: Metals are highly thermally conductive. An iron held to a brass setting for more than a few seconds will transfer enough heat to shatter temperature-sensitive stones like opals, emeralds, and turquoise.
- Precious Metal Sizing: Attempting to resize a 14k gold or platinum ring with an iron and low-temp solder is a recipe for disaster. The joint will snap under the daily mechanical stress of being worn on a hand.
- Load-Bearing Findings: Clasp mechanisms and heavy chain links endure high tensile stress. Low-temp solder lacks the ductility to stretch with the metal, leading to sudden, catastrophic failure.
For comprehensive tooling and professional-grade solder alloys, suppliers like Rio Grande offer extensive documentation on when to transition from DIY electrical methods to traditional jewelers' torches. By respecting the limits of your tools and rigorly maintaining your solder seams, you can extend the life of your base metal jewelry pieces for decades.


