Archival Jewelry Box DIY: Wood, Lining, and Technical Specs
Master the archival jewelry box DIY process. Learn technical wood selection, anti-tarnish lining specs, and exact compartment dimensions for safe storage.

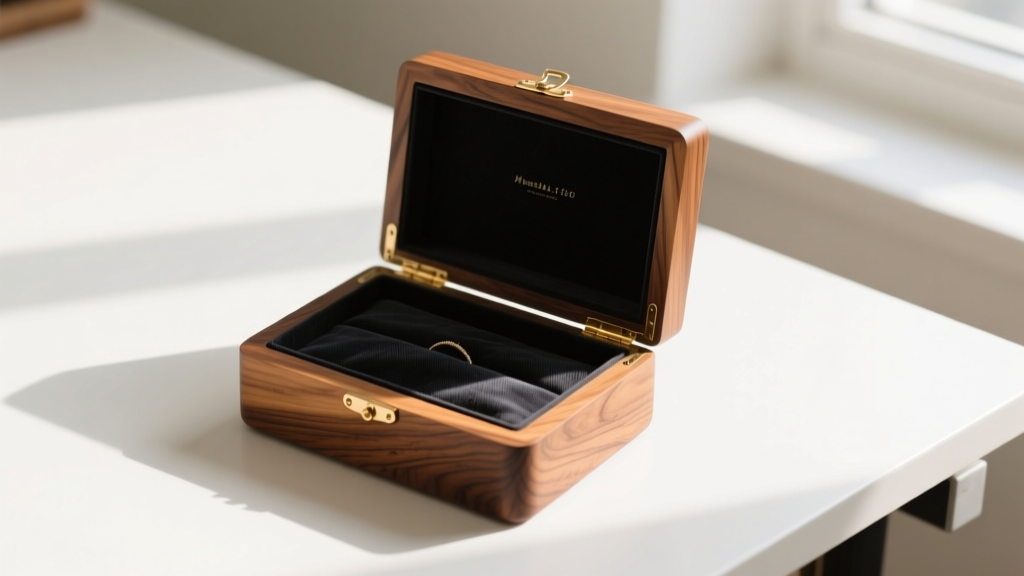
The Science of Archival Jewelry Storage
Most DIY jewelry box tutorials prioritize aesthetic woodworking over the chemical realities of jewelry preservation. When you embark on an archival jewelry box DIY project, you are essentially building a microclimate chamber. Fine jewelry, particularly sterling silver, copper alloys, and certain porous gemstones, is highly reactive to its immediate environment. The primary enemy is tarnish—specifically silver sulfide (Ag2S)—which forms when silver reacts with hydrogen sulfide (H2S) gas and moisture in the air.
However, in a closed storage environment, the greater threat comes from Volatile Organic Compounds (VOCs) and acidic off-gassing from the building materials themselves. According to the National Park Service Museum Handbook, improper storage materials can cause irreversible micro-pitting and accelerated corrosion in precious metals. To build a truly protective custom organizer, you must approach material selection with the rigor of a museum conservator.
Wood Selection: Avoiding Acidic Off-Gassing
The structural foundation of your DIY jewelry box dictates its long-term safety. Many popular hardwoods naturally emit acetic acid and other corrosive VOCs as they age. Oak, for instance, is notorious for its high tannin and acetic acid content, which will rapidly accelerate the tarnishing of silver and cause verdigris on copper and brass components. Cedar, while traditionally used to repel moths in closets, contains volatile oils that can degrade the structural integrity of soft gemstones like pearls and opals.
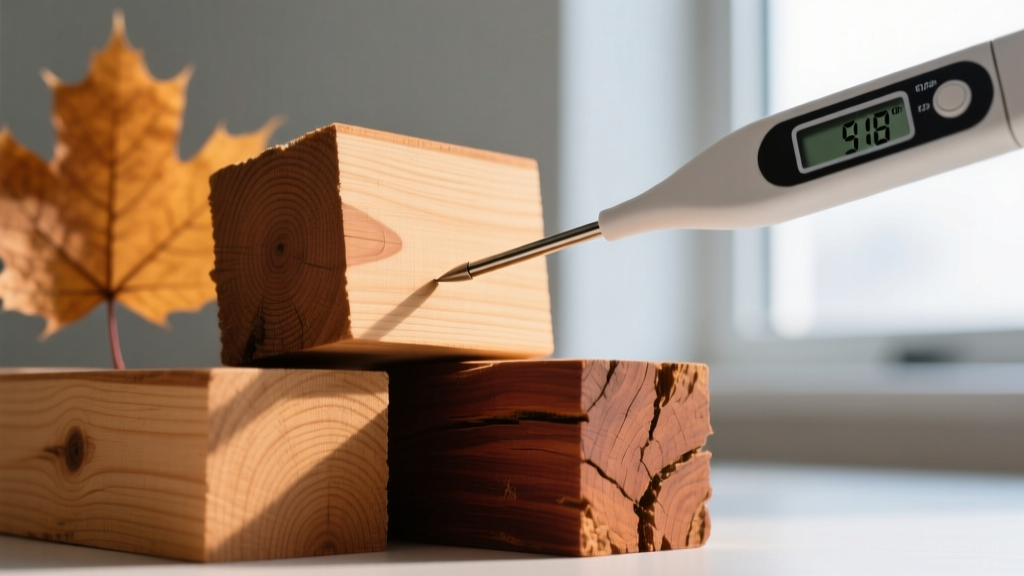
Wood Species Acidity and Safety Chart
| Wood Species | Acidic Off-Gassing Level | Archival Safety Rating | Required Sealing Protocol |
|---|---|---|---|
| Red Oak / White Oak | High (Acetic Acid) | Unsafe | Not recommended for interior use |
| Aromatic Cedar | High (Volatile Oils) | Unsafe | Not recommended for interior use |
| Hard Maple | Low | Safe | 2 coats dewaxed shellac |
| Black Walnut | Low to Moderate | Conditionally Safe | 3 coats water-based polyurethane |
| Cherry | Low | Safe | 2 coats dewaxed shellac |
If you must use a wood with moderate off-gassing for aesthetic reasons, you must seal the interior with a vapor barrier. Dewaxed shellac (such as Zinsser SealCoat) is the gold standard for sealing wood in archival displays, as it effectively traps VOCs without introducing its own harmful plasticizers. Always apply sealants to the raw wood before installing any fabric linings.
Anti-Tarnish Lining: Material Grades and Adhesives
Once the wooden shell is sealed, the interior lining acts as the final line of defense. Standard velvet or felt from a craft store is entirely unsuitable; these materials often contain sulfur-based dyes and trap moisture against the metal. For an archival-grade DIY jewelry box, you must use specialized anti-tarnish textiles.
Pacific Silvercloth vs. Treated Flannel
Pacific Silvercloth is a heavy cotton flannel embedded with microscopic particles of fine silver. It operates on the principle of a sacrificial anode: the embedded silver reacts with H2S gas in the air before the gas can reach your stored jewelry. It is highly effective but must never be washed, as laundering removes the active silver particles.
Treated Anti-Tarnish Flannel (often treated with zinc carbonate) works by neutralizing corrosive gases rather than sacrificing metal particles. It is slightly less effective in highly polluted environments but is generally more cost-effective for large custom builds.
The Critical Role of Archival Adhesives
The most common failure point in DIY jewelry boxes is the adhesive used to attach the lining. Standard white school glues and basic polyvinyl acetate (PVA) wood glues release acetic acid as they cure. This trapped acid will cause severe tarnishing within a sealed box. You must use an archival-grade, acid-free adhesive. Jade 403 is an acid-free PVA specifically formulated for bookbinding and conservation work, offering excellent tack and zero off-gassing once fully cured. Alternatively, a traditional hot hide glue can be used, though it requires precise temperature control during application.
"In closed microclimates, the cumulative effect of trace acid off-gassing from standard adhesives can cause visible silver sulfide formation in as little as 14 days. Archival PVAs or reversible conservation adhesives are non-negotiable for long-term metal preservation." — Gemological Institute of America (GIA) Care Guidelines
Compartment Engineering: Exact Dimensions
A functional jewelry box DIY project must accommodate the physical geometry of modern jewelry. Generic square cubbies lead to tangled chains and crushed settings. Use these precise dimensional standards when routing dividers and building internal trays:
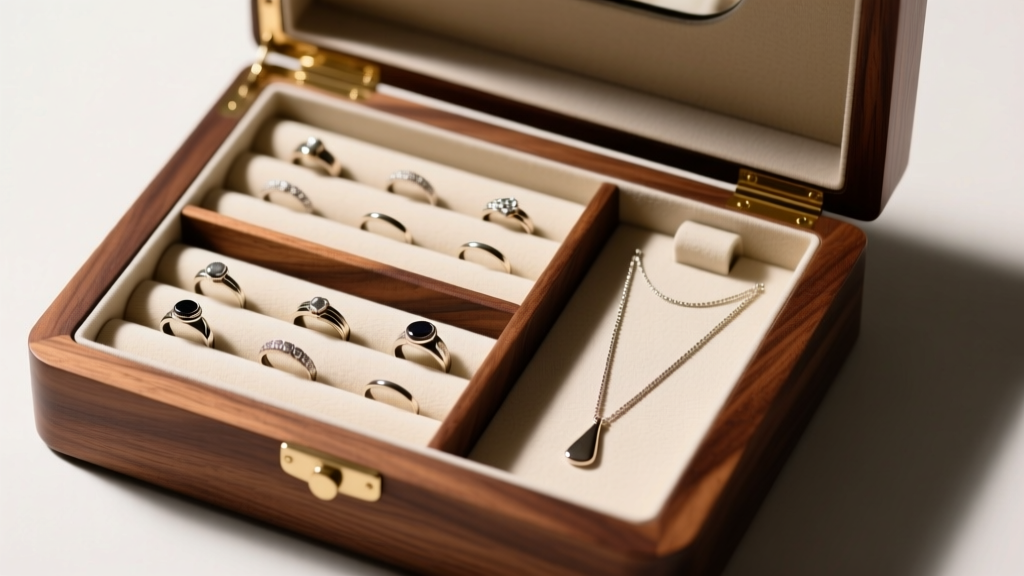
- Ring Rolls: Construct cylindrical rolls with a finished diameter of exactly 1.75 to 2.0 inches. This accommodates standard US ring sizes 4 through 10 without placing lateral pressure on delicate prong settings or tension mounts.
- Necklace Drops: Dedicate a vertical compartment with a minimum clearance of 18 inches and a depth of 3 inches. Install a padded top rail with individual 1.5-inch spacing for draping chains, preventing the clasp from slipping and the chain from knotting.
- Watch and Bangle Pillows: Construct rectangular, slightly tapered pillows measuring 2.5 x 2.5 x 1.5 inches. The taper allows bangles to slide on without scraping the metal against adjacent hardware.
- Earring Grids: Use a grid of 1.25 x 1.25 inch squares with a 0.25-inch slit in the center of the padded base to secure post earrings upright, preventing the posts from bending under the weight of heavy drop earrings.
Hardware and Hinge Mechanics
The hardware you select impacts both the longevity of the box and the safety of the contents. Avoid zinc-alloy or plated steel hinges, which are prone to rusting in humid environments and can stain your archival lining. Opt for solid brass or 304-grade stainless steel butt hinges.
For heavy, multi-tiered lids, calculate the torque required to keep the lid open at a 95-degree angle without slamming shut, which can cause stored jewelry to violently shift and scratch. Use a lid stay or a friction torque hinge rated for the exact weight of your wooden lid. Finally, line the interior rim of the box with 1/16-inch thick adhesive-backed wool felt bumpers to ensure an airtight seal when closed, minimizing the exchange of ambient, unfiltered air.
Final Assembly and Curing Protocol
Patience is the final technical requirement for this build. After sealing the wood and adhering the lining with archival PVA, do not immediately place jewelry inside. The box must undergo a curing and off-gassing period. Leave the box open in a climate-controlled room (ideally 40-50% relative humidity) for a minimum of 21 days. This ensures all moisture from the adhesive has fully evaporated and any trace VOCs from the wood sealant have completely dissipated. Only after this curing protocol is complete is your DIY jewelry box truly ready for archival storage.


