The Beginner's Guide to Choosing a Wall Mount Jewelry Box
Discover how to choose, install, and organize a wall mount jewelry box. Learn about weight limits, anti-tarnish linings, and space-saving tips.

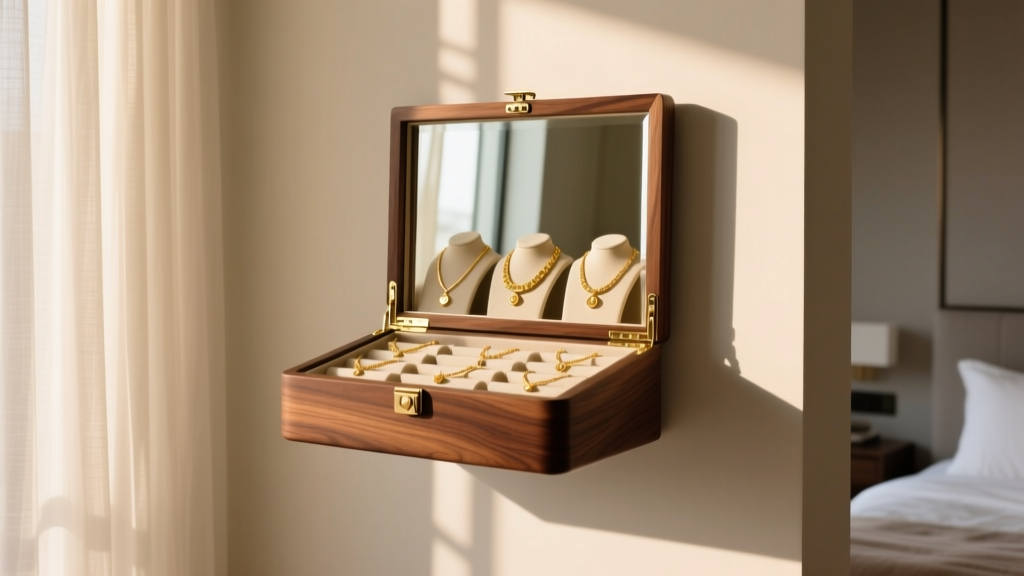
When floor space is at a premium and dresser tops become cluttered catch-alls, looking up is the smartest organizational move you can make. A wall mount jewelry box transforms dead vertical space into a highly functional, visually appealing display. However, moving your precious metals and gemstones off a sturdy dresser and onto a vertical drywall surface introduces new variables: weight distribution, anchoring integrity, and specialized interior layouts. This beginner-friendly explainer breaks down everything you need to know to select, install, and maintain a wall-mounted storage solution that protects your collection.
Why Go Vertical? The Case for Wall-Mounted Storage
Traditional jewelry boxes consume valuable horizontal real estate. By transitioning to a wall mount jewelry box, you reclaim your dresser or vanity surface while keeping your collection at eye level. This vertical orientation isn't just about saving space; it actively prevents damage. Necklaces hang freely, eliminating the dreaded chain tangling that plagues drawer-based organizers. Furthermore, keeping jewelry off humid bathroom counters or dusty open shelves reduces environmental exposure, slowing down the oxidation process that causes silver to tarnish and copper alloys to develop a patina.
Decoding Materials and Anti-Tarnish Linings
The exterior shell of your organizer dictates its durability, but the interior lining dictates the longevity of your jewelry. Avoid cheap, cardboard-backed organizers wrapped in synthetic PU leather; these off-gas volatile organic compounds (VOCs) and trap moisture, accelerating tarnish. Instead, look for boxes constructed from solid wood, high-density MDF (Medium-Density Fiberboard), or powder-coated steel.
More importantly, scrutinize the interior fabric. The gold standard for silver storage is Pacific Silvercloth or treated anti-tarnish flannel. These fabrics are embedded with microscopic silver particles that absorb and neutralize hydrogen sulfide and sulfur dioxide gases in the air before they can react with your sterling silver. According to the American Gem Society, storing silver in specialized anti-tarnish cloths or treated flannel is one of the most effective ways to prevent the black copper sulfide layer from forming on your pieces.
Weight Capacities and Anchoring: Don't Skip This Step
A fully loaded wall mount jewelry box can be surprisingly heavy. A large wooden organizer weighs 10 to 15 pounds empty. Add 50 necklaces, a hundred pairs of earrings, and several bracelets, and the total load can easily exceed 25 pounds. Relying solely on drywall screws or the included cheap plastic expansion anchors is a recipe for a ripped-out wall and shattered jewelry. Here is a practical framework for anchoring your unit based on your wall type and the box's weight:
- Wood Studs (Ideal): If you can align the mounting brackets with wooden wall studs, use 2.5-inch wood screws. This provides a holding power of over 100 pounds per screw.
- Heavy-Duty Drywall (50+ lbs): If studs aren't available, use toggle bolts (butterfly anchors). A 1/8-inch toggle bolt in 1/2-inch drywall can hold up to 50 pounds. As noted by the experts at This Old House, toggle bolts are essential for heavy hollow-wall applications because they distribute the weight across a wide area behind the drywall.
- Medium Drywall (20-50 lbs): Threaded drywall anchors (molly bolts) made of zinc alloy provide a secure, semi-permanent grip for medium-sized metal or MDF boxes.
Interior Layouts: Matching Your Collection to the Box
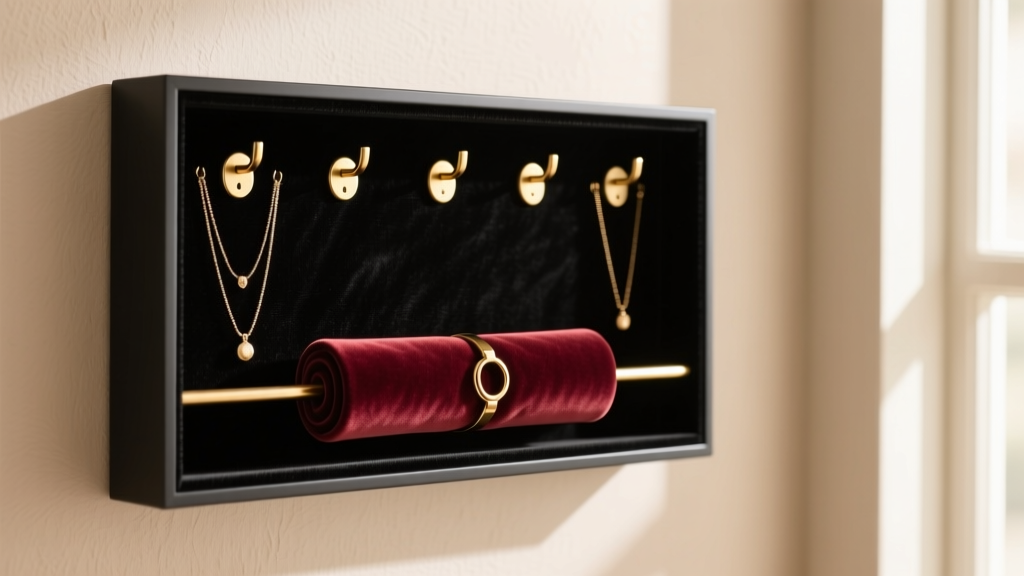
Not all wall mount jewelry boxes are created equal. Some prioritize necklace hooks, while others focus on earring grids or ring rolls. Before purchasing, audit your collection to determine your primary storage needs.
| Interior Feature | Best For | What to Look For |
|---|---|---|
| Integrated Hooks | Necklaces, bracelets, drop earrings | Brass or stainless steel hooks (avoid bare iron which rusts); minimum 2.5 inches of drop space. |
| Perforated Grids | Stud earrings, small hoops | Holes should be at least 2mm wide to accommodate thicker earring posts or friction backs. |
| Velvet Ring Rolls | Rings, small stud clusters | Tightly packed rolls to prevent rings from falling out when the door is closed and opened. |
| Deep Bottom Bins | Chunky bangles, brooches, watches | Felt-lined dividers to prevent metal-on-metal scratching. |
Step-by-Step Installation for Beginners
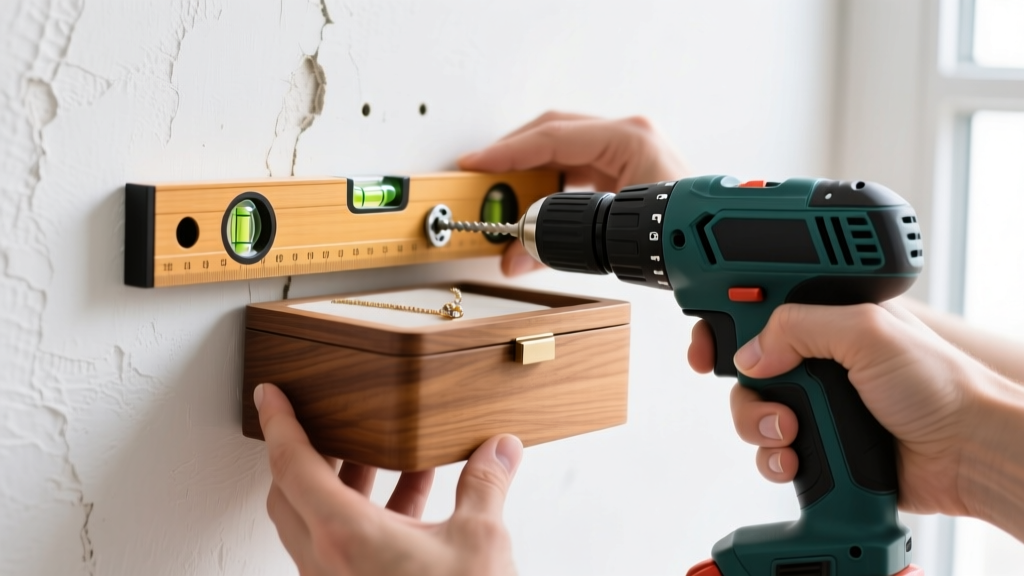
Installing your organizer doesn't require a contractor, but it does require precision. Follow these steps to ensure a level, secure mount:
- Locate and Mark: Use a magnetic or electronic stud finder to locate wall studs. If using anchors, mark your desired height (typically 55 to 60 inches from the floor to the center of the box for ergonomic access).
- Level the Brackets: Hold the mounting bracket against the wall and place a torpedo level on top. Adjust until the bubble is perfectly centered, then mark the screw holes with a pencil.
- Drill Pilot Holes: For wood studs, drill a 3/32-inch pilot hole. For drywall anchors, drill the exact size specified on the anchor packaging (usually 1/4-inch or 3/8-inch).
- Set Anchors and Mount: Tap drywall anchors flush with the wall using a rubber mallet. Insert toggle bolts through the bracket and push through the drywall until they click open. Drive screws until snug, but avoid over-tightening, which can crush the drywall or strip the wood.
- Attach the Box: Hang the jewelry box onto the brackets, ensuring the safety latch or secondary locking mechanism is engaged so the door doesn't swing open and detach the unit.
Lighting and Visibility: Seeing Your Collection Clearly
One often-overlooked aspect of a wall mount jewelry box is interior illumination. Dimly lit organizers lead to fumbling, which increases the risk of dropping delicate pieces or bending earring posts. High-end models now feature integrated LED strip lighting that activates via a magnetic reed switch when the door opens. If your chosen box lacks built-in lighting, you can easily retrofit it using battery-operated, motion-sensor LED puck lights. Opt for LEDs with a color temperature between 4000K (natural white) and 5000K (daylight). This spectrum renders the true color of gemstones like sapphires, emeralds, and rubies, whereas warm 2700K bulbs can artificially yellow diamonds and mask the subtle hues of opals. Ensure any adhesive lighting strips use removable command-style adhesive so you don't permanently damage the interior lining or anti-tarnish cloth when replacing batteries.
Maintenance and Anti-Tarnish Upkeep
Even the best wall mount jewelry box requires occasional maintenance. Every six months, wipe down the exterior with a slightly damp microfiber cloth—never use chemical wood polishes like Pledge, as the aerosolized silicones can settle on your jewelry and dull gemstones. Inside the box, replace any included silica gel desiccant packets annually. If your box uses standard velvet rather than treated anti-tarnish cloth, consider placing a few 3M Anti-Tarnish Strips in the bottom compartment. These strips absorb airborne sulfur and can protect your silver and copper pieces for up to two years in an enclosed space, ensuring your collection remains brilliant and ready to wear the moment you open the door.


