Beginner Wood Jewelry Box Plans: A Complete Build Guide
Discover the best beginner wood jewelry box plans. Learn about safe wood finishes, anti-tarnish linings, and simple joinery to protect your collection.

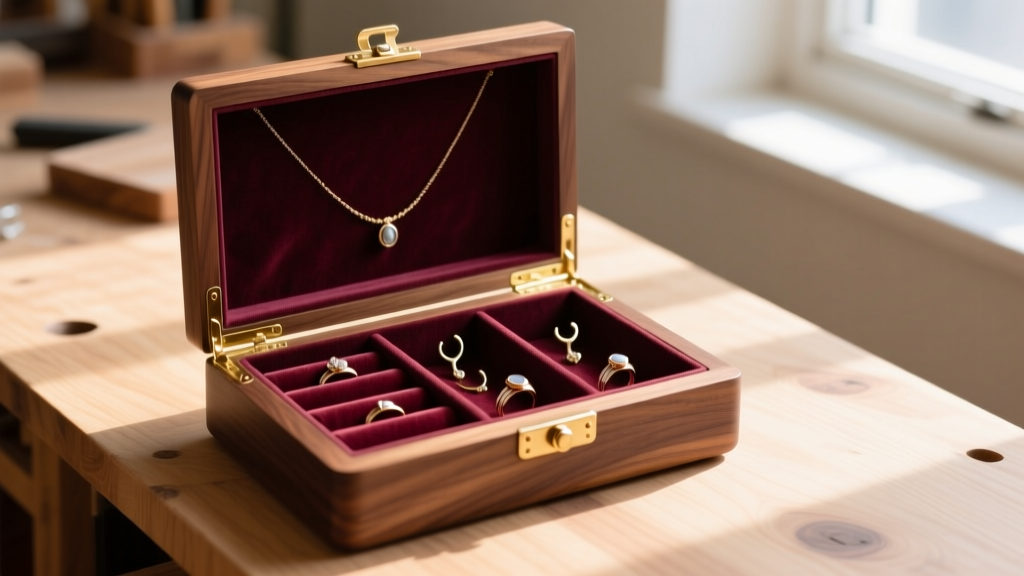
Building your own jewelry storage is one of the most rewarding weekend projects a woodworker can tackle. However, when it comes to storing precious metals, organic gems, and fine watches, not just any box will do. Cheap commercial boxes often use MDF, acidic glues, and off-gassing synthetic linings that can permanently damage your collection. By exploring high-quality wood jewelry box plans, you take total control over the materials, ensuring your heirloom pieces are stored in a chemically safe, humidity-buffered environment. This beginner-friendly explainer will guide you through selecting the right lumber, choosing non-toxic finishes, and designing an interior layout that actually protects your jewelry.
Why Custom Wood Jewelry Box Plans Beat Store-Bought
Most mass-produced jewelry boxes retailing between $40 and $150 are constructed from particleboard or MDF wrapped in polyurethane faux-leather. These materials offer zero moisture regulation and frequently emit volatile organic compounds (VOCs) that accelerate silver tarnishing. When you utilize custom wood jewelry box plans, you can tailor the interior dimensions to your specific collection. If you own large cocktail rings or multi-strand pearl necklaces, standard 1-inch ring rolls and shallow compartments will crush them. A DIY approach allows you to build deeper trays, wider ring rolls, and reinforced necklace drops that prevent chain tangling.
Selecting the Right Wood Species (And Which to Avoid)
The most critical mistake beginners make is choosing wood based solely on aesthetics. Certain woods contain high levels of tannic acid or aromatic oils that actively harm jewelry. According to the Gemological Institute of America (GIA), organic gems like pearls, coral, and amber are highly porous and easily stained by wood oils and acidic off-gassing. Below is a breakdown of the best and worst woods for jewelry storage based on the Janka hardness scale and chemical composition.
| Wood Species | Janka Hardness | Acidity / Oils | Verdict for Jewelry |
|---|---|---|---|
| American Black Walnut | 1,010 lbf | Low Acid, Neutral | Excellent (Premium look, safe for all metals) |
| Hard Maple | 1,450 lbf | Neutral, Low Odor | Excellent (Highly durable, light color) |
| American Cherry | 950 lbf | Low Acid | Very Good (Ages beautifully, safe when sealed) |
| Red Oak | 1,290 lbf | High Tannic Acid | AVOID (Off-gasses acids that tarnish silver) |
| Aromatic Red Cedar | 900 lbf | High Volatile Oils | AVOID (Oils degrade pearls and soft gems) |
The Danger of Tannic Acid and Cedar Oils
Red oak is a staple in beginner woodworking, but its high tannin content makes it a poor choice for unlined compartments. When exposed to ambient humidity, tannins can leach and cause severe pitting in sterling silver. Similarly, while aromatic cedar is famous for repelling moths in closets, its volatile oils will dry out pearls and degrade the silk threads used in fine bead stringing. Stick to Walnut, Maple, or Cherry for your box carcase and interior trays.
Beginner-Friendly Joinery Techniques
When browsing wood jewelry box plans, beginners should avoid complex hand-cut dovetails, which require years of practice to perfect. Instead, look for plans that utilize the following strong, forgiving joints:
- Rabbet and Dado Joints: Easily cut on a table saw or router table, these provide excellent glue surface area and square assembly for the main carcase.
- Mitered Splines: Cutting 45-degree miters for the corners and reinforcing them with a contrasting wood spline (like Maple splines in a Walnut box) adds immense structural integrity and a high-end aesthetic.
- Box Joints (Finger Joints): Using a simple table saw sled, you can cut perfectly interlocking box joints that look intricate but are highly repeatable for beginners.
The Crucial Step: Anti-Tarnish Linings and Safe Finishes
The interior environment of your box dictates the longevity of your jewelry. Silver tarnishes when exposed to sulfur and moisture. Many beginner woodworkers use oil-based polyurethane or standard Danish oil to finish their boxes. However, these finishes can take weeks or even months to fully cure and off-gas, trapping sulfur compounds inside the closed box environment.
The Best Chemically Inert Finishes
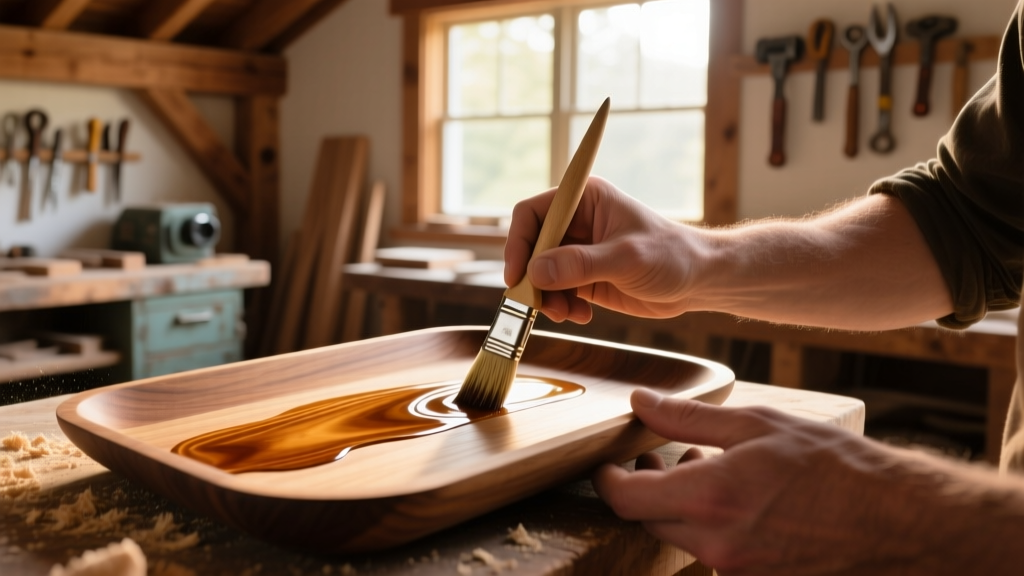
As highlighted by experts at Fine Woodworking, dewaxed shellac is the ultimate sealer for jewelry boxes. A product like Zinsser Bullseye Dewaxed Shellac dries in minutes, seals the wood pores completely, and is chemically inert once cured. It will not off-gas harmful compounds. Apply two coats of shellac to the interior carcase before installing your lining.
Choosing the Right Lining Material
Skip the cheap craft store felt, which often contains recycled synthetic fibers and acidic dyes. Instead, invest in Pacific Silvercloth or 100% acid-free cotton flannel. Pacific Silvercloth is embedded with microscopic silver particles that capture and neutralize tarnish-causing gases before they reach your jewelry. For the adhesive, use a pH-neutral PVA wood glue or a specialized fabric spray adhesive that is fully cured before placing jewelry inside.
Designing the Interior Layout
Functionality is paramount. When modifying your plans, adhere to these standard jewelry dimensions to ensure a proper fit:
- Ring Rolls: Space the centers of your ring rolls exactly 1.5 inches apart. Use high-density polyurethane foam (not soft batting) wrapped in your anti-tarnish cloth to ensure rings stand upright and don't slump.
- Necklace Drops: Chains tangle if they are bunched together. Provide a minimum vertical clearance of 8 inches for necklace hooks, and space the hooks at least 3 inches apart laterally.
- Watch Pillows: Standard watch pillows measure roughly 3 x 2 inches. Ensure the compartment height is at least 2.5 inches so the watch crystal doesn't scrape the lid when closed.
Hardware and Final Assembly Tips
A heavy wooden lid slamming shut on delicate gemstones is a disaster waiting to happen. Do not skimp on hardware. Invest in solid brass butt hinges and, most importantly, a quadrant lid stay. Brands like Brusso manufacture solid brass quadrant stays that hold the lid open at a perfect 95-degree angle, preventing backward tipping and protecting the hinges from stress. Pre-drill your hardware holes using a Vix bit (self-centering hinge bit) to ensure perfectly aligned screws, and always use the included steel screws first to cut the threads before swapping to the softer brass screws included with premium hardware.
Pro Tip: Always let your finished and lined box sit open in a climate-controlled room for at least 48 hours before placing any jewelry inside. This ensures any residual moisture from the fabric adhesive or shellac has completely evaporated, creating a perfectly stable microclimate for your precious metals.
By selecting the right beginner wood jewelry box plans and prioritizing chemically safe materials, you are not just building a wooden container; you are engineering a preservation vault for your most prized possessions. Take your time with the interior layout, respect the chemistry of your finishes, and enjoy the satisfaction of opening a handcrafted box that protects your collection for generations.


