Smart DIY Jewelry Box Ideas: A Budget & Value Guide
Discover budget-friendly DIY jewelry box ideas with a full cost breakdown. Learn which materials offer the best value and anti-tarnish protection.

The True Cost of Commercial vs. DIY Storage
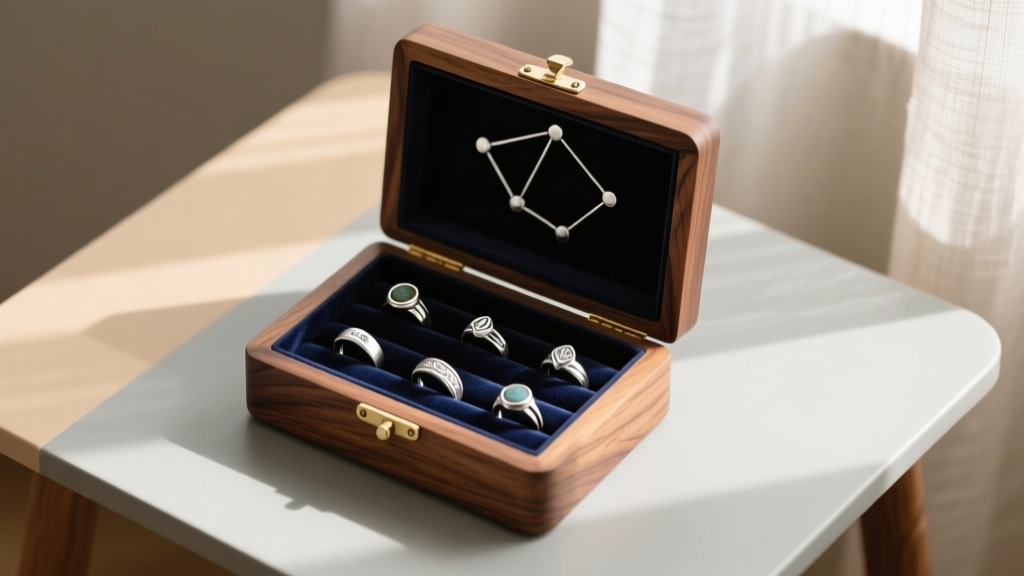
When evaluating jewelry storage, the markup on commercial organization systems is staggering. A high-quality, solid-wood jewelry box with proper anti-tarnish linings and brass hardware typically starts at $150 and easily exceeds $400 for multi-drawer configurations. For collectors and everyday wearers alike, this presents a significant barrier to entry. However, by exploring smart diy jewelry box ideas, you can achieve archival-quality, aesthetically pleasing storage for a fraction of the retail cost. As of 2026, with lumber and acrylic prices stabilizing post-pandemic, the value proposition of building your own organizer has never been stronger. This guide breaks down the exact material costs, hardware specifications, and anti-tarnish science required to build premium storage on a strict budget.
Top Budget DIY Jewelry Box Ideas (With Material Costs)
1. The Upcycled Vintage Tin & Anti-Tarnish Lining
The most budget-friendly approach involves repurposing vintage tea tins or Altoids-style containers. The primary failure mode of this method is improper lining, which can trap moisture and accelerate silver sulfide tarnishing.
Cost Breakdown:
• Vintage Tin (Thrift store): $2 - $5
• Pacific Silvercloth (1/4 yard): $8
• Lineco Neutral pH Adhesive: $6
Total: ~$16 - $19.
By using a specialized anti-tarnish fabric like Pacific Silvercloth, which contains embedded silver particles that intercept corrosive gases before they reach your jewelry, you elevate a $2 tin into a museum-grade micro-environment. Avoid standard craft felt, which often contains sulfur-based dyes that actively promote tarnishing.
2. The Stackable Acrylic & Wood Hybrid Drawer System
For larger collections, a hybrid system offers the best balance of visibility and protection. This design uses a Baltic birch plywood base and frame, paired with 1/8-inch cast acrylic drawer fronts.
Cost Breakdown:
• Baltic Birch Plywood (2x4 sheet, cut to size): $35
• Cast Acrylic Sheets (12x12 inch): $14 each
• Brass Drawer Pulls (Pack of 4): $12
Total: ~$61 - $75.
Crucially, you must use cast acrylic rather than extruded acrylic. Extruded acrylic is prone to micro-fractures and shattering when drilled for hardware. Cast acrylic machines cleanly and offers superior optical clarity, mimicking the look of high-end retail displays.
3. The Framed Shadow Box with Tension Wire
Wall-mounted storage is ideal for frequently worn necklaces and bracelets. By gutting a deep-set wooden shadow box and stringing it with tension wire, you create a functional display piece.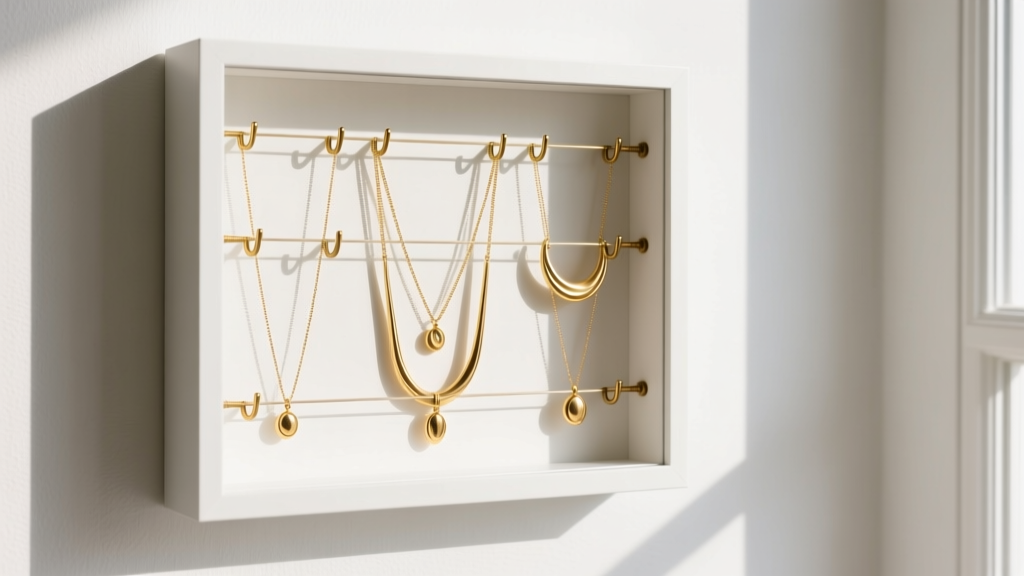 Cost Breakdown:
• 11x14 Wooden Shadow Box: $12
• 316L Stainless Steel Beading Wire (0.018-inch gauge): $8
• Brass Eye Hooks: $3
Total: ~$23.
Never use galvanized steel wire or standard cotton thread for hanging precious metals. Galvanized steel can rust and transfer iron oxides to your gold and silver, while cotton thread can harbor microscopic moisture. 316L stainless steel is completely inert and provides the necessary tensile strength to hold heavy chain necklaces without sagging.
Material Breakdown: Where to Spend and Where to Save
When executing diy jewelry box ideas, allocating your budget correctly is the difference between a craft project and a heirloom piece. Below is a value assessment of common materials.
| Material Category | Commercial Equivalent Cost | DIY Sourcing Cost | Value Verdict |
|---|---|---|---|
| Solid Wood / High-Grade Plywood | $200+ (Retail Box) | $35 (Scrap/Sheet) | High - Spend on Baltic Birch for stability. |
| Anti-Tarnish Lining | $80+ (Built-in) | $18 (Per Yard) | High - Never compromise; buy Pacific Silvercloth. |
| Acrylic Dividers | $40+ (Custom Inserts) | $12 (Cut-to-Size) | Medium - Save by scoring and snapping cast acrylic. |
| Hardware (Hinges/Pulls) | $30+ (Integrated) | $15 (Bulk Brass) | High - Solid brass prevents rust stains on wood. |
Hardware & Adhesives: The Hidden Tarnish Culprits
According to conservation guidelines published by the National Park Service Museum Handbook, volatile organic compounds (VOCs) and sulfur off-gassing are the primary drivers of indoor metal corrosion. Many DIYers inadvertently ruin their silver collections by using the wrong adhesives.
- Avoid: Standard hot glue, rubber cement, and cheap super glues. As these degrade, they release acidic vapors that cause rapid silver sulfide formation (black tarnish).
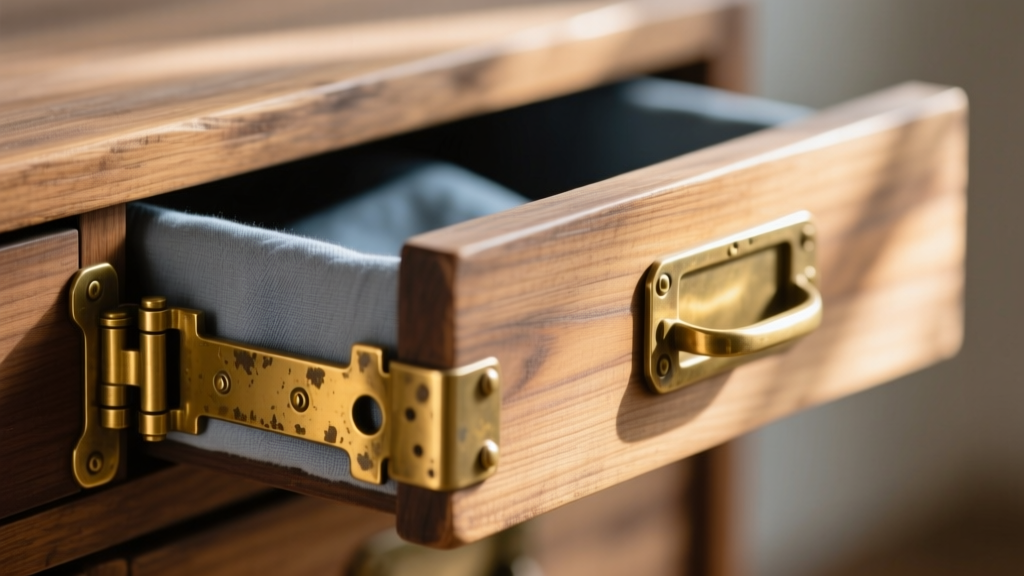
- Avoid: Stamped steel or iron hinges. These will inevitably oxidize in humid environments like bathrooms or coastal bedrooms, leaving rust rings on your wood.
- Invest In: Acid-free PVA glues (like Lineco Neutral pH) for attaching fabric linings. For structural joints, use standard aliphatic wood glue. For hardware, always opt for solid brass or stainless steel screws and hinges, typically available in #4 or #6 sizes for small box construction.
Common DIY Failure Modes and How to Avoid Them
Even with the best intentions, budget builds can fail if structural realities are ignored. Here are the most common pitfalls and their engineering solutions:
1. Plywood Warping
If you use standard MDF or low-grade plywood for a wide, shallow drawer, it will warp under the weight of heavy metal jewelry. Solution: Always use Baltic birch plywood, which features more uniform, cross-banded plies. Alternatively, add a 1/4-inch thick hardwood runner underneath the drawer base to provide longitudinal rigidity.
2. Velvet Insert Slippage
Gluing velvet directly to wood often results in bubbling or peeling over time due to the wood's natural expansion and contraction. Solution: Mount your velvet or Silvercloth to a thin sheet of acid-free foam core or mat board first, then press-fit or lightly adhere that board into the box. This creates a floating liner that accommodates wood movement.
3. Necklace Tangling in Shadow Boxes
Hanging multiple necklaces on a single horizontal wire guarantees a tangled mess. Solution: Install staggered, individual brass cup hooks at varying heights. For a cleaner look, use small neodymium magnets (N42 grade, 1/8-inch diameter) embedded into the wood frame, allowing you to snap magnetic clasps directly to the display board.
Final Value Assessment
Executing high-quality diy jewelry box ideas is ultimately an exercise in material science as much as craftsmanship. By bypassing retail markups and focusing your budget on critical archival materials—specifically anti-tarnish fabrics, inert metals, and acid-free adhesives—you can build a storage system that rivals $300 commercial units for under $50. For further reading on metal care, the Gemological Institute of America (GIA) offers excellent foundational guidelines on how different alloys react to environmental storage factors. Whether you opt for a quick upcycled tin or a multi-drawer acrylic hybrid, the value of protecting your investment through proper, budget-conscious organization is undeniable.


