How to Build a Custom Stackable Jewelry Organizer Setup
Learn how to build a custom stackable jewelry organizer setup. Step-by-step guide to modular tiers, anti-tarnish lining, and vertical space optimization.

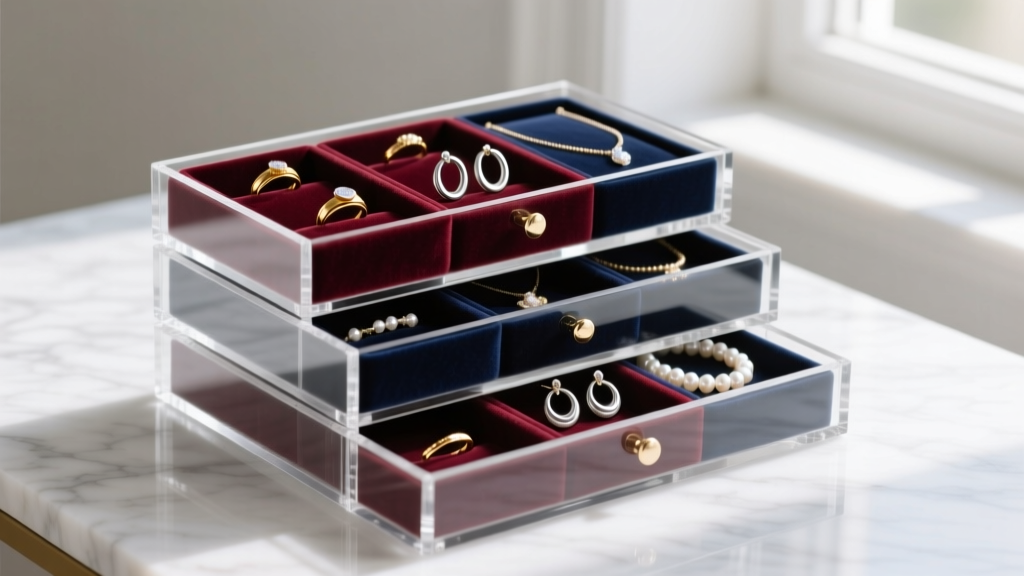
Introduction: The Case for Vertical Modular Storage
When it comes to preserving fine jewelry, monolithic, oversized boxes often do more harm than good. They encourage piling, tangling, and micro-scratching. A stackable jewelry organizer system solves these issues by utilizing vertical space and allowing you to customize compartments based on your exact collection. According to the Gemological Institute of America (GIA), proper storage is the first line of defense against gemstone abrasion and metal tarnishing. By building a modular, tiered system, you can isolate reactive metals, prevent chain tangling, and create a visually stunning display that scales with your collection.
This step-by-step guide will walk you through auditing your collection, selecting safe materials, configuring tier dimensions, and implementing museum-grade anti-tarnish solutions.
Step 1: Audit Your Collection and Measure Your Space
Before purchasing or building tiers, you must categorize your jewelry by volume, vulnerability, and material reactivity. A successful stackable jewelry organizer relies on assigning the right tier height and insert type to specific categories.
- High-Vulnerability (Soft Gems & Pearls): Require individual, fabric-lined slots to prevent Mohs hardness scale scratching (e.g., diamonds scratching opals).
- High-Tangle Risk (Chains & Layering Necklaces): Require vertical drop space or individual tension hooks.
- High-Reactivity (Sterling Silver & Copper): Require airtight or treated environments to prevent hydrogen sulfide (H2S) gas exposure.
- Structural Risk (Dangle Earrings & Body Jewelry): Require rigid, precision-drilled grids to support the weight of heavy gauge metals without bending.
Measure your vanity or dresser footprint. Standard modular stackable systems typically come in 8x8-inch, 10x10-inch, or 12x12-inch footprints. Choose a footprint that leaves at least 2 inches of clearance on all sides for easy drawer pulling and tier lifting.
Step 2: Select the Right Base and Tier Materials
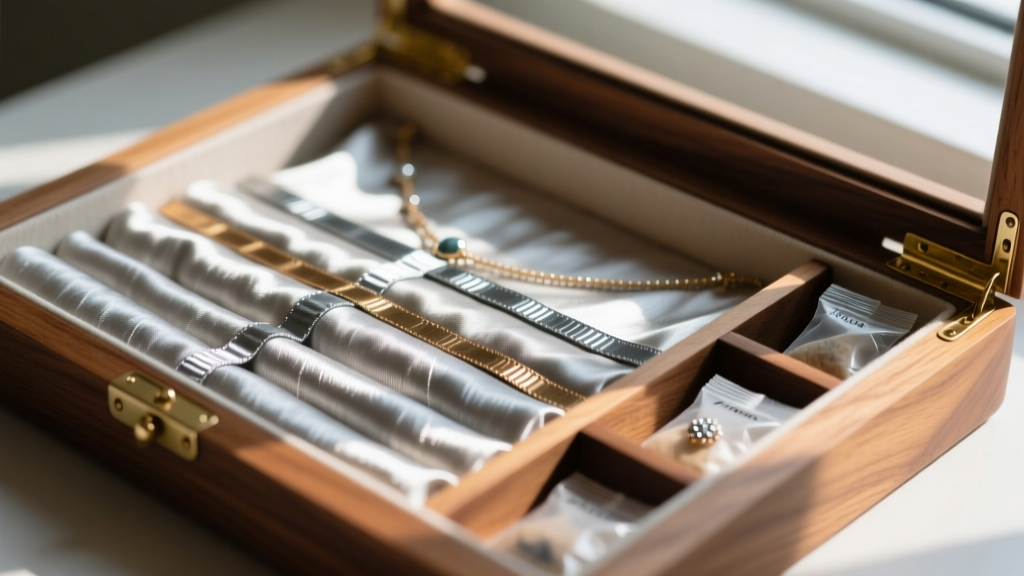
The material of your stackable jewelry organizer dictates its longevity and chemical safety. Many budget organizers use composite woods or poorly sealed bamboo, which can off-gas acidic resins that rapidly tarnish silver and degrade soft pearls. The Smithsonian Museum Conservation Institute warns against storing silver in direct contact with acidic woods, rubber, or standard felt.
| Material | Pros | Cons & Risks | Best For |
|---|---|---|---|
| Cast Acrylic (PMMA) | Optically clear, UV resistant, completely non-reactive | Scratches easily, heavy, shows dust | Visual display, all metals, damp climates |
| Bamboo Composite | Sustainable, lightweight, affordable | Urea-formaldehyde resins off-gas and tarnish silver | Fashion jewelry, beads, hair accessories |
| Black Walnut / Maple | Beautiful grain, durable, naturally acid-free | Expensive, heavy, requires water-based polyurethane seal | Fine jewelry, heirloom pieces, silver |
Expert Tip: If you choose wood, ensure it is sealed with a water-based polyurethane rather than an oil-based finish, which can trap acids. Always line wooden tiers with an archival-quality barrier.
Step 3: Configure the Tiers for Specific Jewelry Types
The true power of a stackable jewelry organizer lies in its customizable tier heights and inserts. Do not use a one-size-fits-all approach. Here is the exact dimensional framework you should follow when configuring your tiers:
Necklaces and Pendants
Standard 18-inch to 24-inch chains require a minimum vertical drop of 3.5 to 4 inches to hang freely without touching the base. If you are stacking shallow 2-inch tiers, you must use a tension-bar insert that wraps the chains securely, or upgrade to a double-height tier specifically for pendants to prevent the bail from crushing the chain links.
Rings and Studs
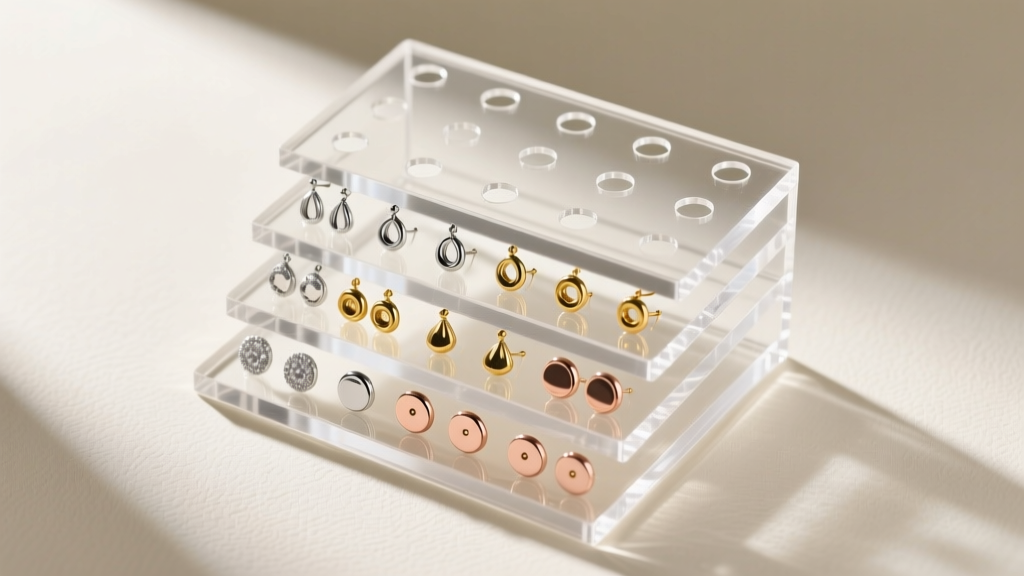
For rings, avoid tight, rigid holes that can scrape precious metal shanks. Instead, use slotted velvet rolls or silicone inserts. The ideal slot width is 1.5 inches to 2 inches in diameter. For stud earrings, a high-density grid with 1/4-inch spacing maximizes storage without the posts scratching adjacent gemstones.
Dangle Earrings and Body Jewelry
Heavy dangle earrings and thicker body jewelry (like 14g or 12g captive bead rings) require rigid support. If you are drilling or laser-cutting your own acrylic inserts, use a 1/16-inch (1.5mm) hole for standard 20g-18g earring posts, and a 1/8-inch (3mm) hole for heavier body jewelry. This prevents the acrylic from cracking under the weight of surgical steel or titanium pieces.
Step 4: Implement Anti-Tarnish and Dust-Proofing Measures
Even the most beautifully configured stackable jewelry organizer will fail if it doesn't protect against environmental degradation. Tarnish is caused by hydrogen sulfide (H2S) in the air reacting with silver and copper alloys. To combat this, you must integrate active and passive anti-tarnish measures into your tiers.
The Pacific Silvercloth Method: Instead of standard velvet or felt, line your silver-specific tiers with Pacific Silvercloth. This specialized flannel is embedded with thousands of fine silver particles. These particles act as a sacrificial anode, reacting with H2S gas before it can reach your jewelry. Unlike standard anti-tarnish strips that need replacing every 6 months, Pacific Silvercloth remains effective for decades without washing or chemical recharging.
For additional protection in humid environments, place small, breathable mesh packets of indicating silica gel in the corners of your enclosed stackable tiers. Indicating silica changes color (usually from orange to green) when it reaches maximum moisture absorption, giving you a clear visual cue to recharge it in the oven. Avoid standard white silica gel, as it offers no visual saturation warning.
Step 5: Maintenance and Reconfiguration
A modular system requires modular maintenance. Every six months, disassemble your stackable jewelry organizer to clean the tiers and rotate your anti-tarnish strips.
- Cleaning Acrylic: Never use ammonia-based glass cleaners (like Windex) on cast acrylic, as they will cause micro-crazing and clouding. Use a dedicated acrylic cleaner and a pristine microfiber cloth, wiping in straight lines rather than circles to minimize the appearance of micro-scratches.
- Cleaning Wood: Dust wooden tiers with a soft brush. If the water-based sealant begins to wear, lightly sand and reapply to prevent wood acids from leaching into the lining.
- Reconfiguring: As your collection grows, the beauty of a stackable system is that you can simply order an additional 2-inch or 4-inch tier. Keep a small inventory of blank acrylic or wood inserts so you can swap out a ring roll for an earring grid as your purchasing habits evolve.
Conclusion
Building a custom stackable jewelry organizer setup is an investment in the longevity and beauty of your collection. By moving away from generic, oversized boxes and embracing vertical modularity, you gain precise control over how your pieces are stored, displayed, and protected. Focus on chemically inert materials like cast acrylic or properly sealed hardwoods, respect the dimensional needs of different jewelry types, and integrate museum-grade anti-tarnish linings. With this framework, your storage system will remain as pristine and functional as the jewelry it holds.


