How to Clean and Restore a Jewelry Box Thrift Store Haul
Transform your jewelry box thrift store haul into a safe, archival-quality storage solution with expert cleaning and restoration tips.

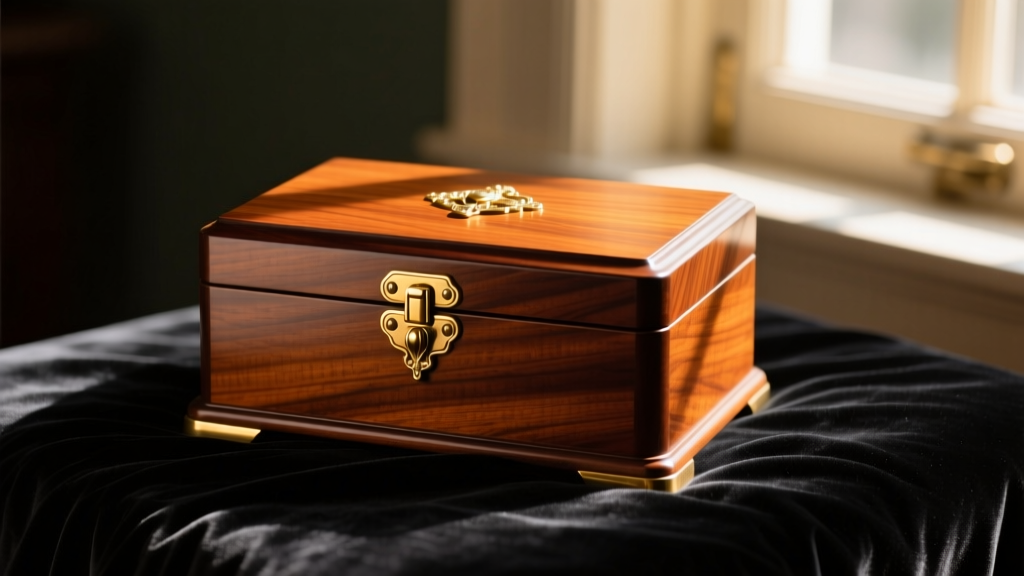
Scoring a vintage jewelry box thrift store haul is one of the most exciting moments for any jewelry collector. Whether you unearthed a mid-century walnut armoire, an Art Deco leather travel case, or a Victorian-era mahogany casket, secondhand jewelry boxes offer unparalleled craftsmanship and character. However, beneath the beautiful patina lies a hidden threat to your precious metals and gemstones. Vintage storage environments often harbor acidic linings, musty odors, mold spores, and volatile organic compounds (VOCs) that can actively degrade your jewelry.
In this comprehensive guide, we will walk you through the meticulous process of assessing, deep-cleaning, deodorizing, and upgrading your thrifted jewelry box. By applying modern 2026 archival conservation standards, you can preserve the antique charm of your find while creating a chemically inert, safe haven for your most prized pieces.
Assessing the Vintage Box: Materials and Condition
Before applying any cleaners or moisture, you must identify the materials used in your jewelry box thrift store haul. Pre-1960s boxes were constructed using vastly different techniques than modern mass-produced alternatives.
- Wood and Veneers: Identify if the box is solid wood (like oak or mahogany) or a burl wood veneer over a softer substrate. Veneers are highly sensitive to water and harsh solvents, which can cause delamination.
- Metal Hardware: Determine if the hinges, clasps, and escutcheons are solid brass, solid steel, or gold/silver-plated. Using abrasive polishes on plated hardware will strip the finish entirely.
- Interior Linings: Older boxes typically feature silk, velvet, or leather linings. Over decades, the cellulose in natural fabrics breaks down, releasing sulfur and acidic off-gasses that accelerate silver tarnishing and pearl degradation.
The Deep Clean: Exterior Restoration Techniques
The exterior of a thrifted jewelry box usually requires a careful balance between removing decades of grime and preserving the original patina. Avoid silicone-based aerosol polishes, which create a superficial shine but trap dust and degrade wood finishes over time.
Cleaning Wood Surfaces
For general grime, use a dilute solution of Smithsonian-recommended conservation soap or a mild, pH-neutral wood cleaner like Murphy’s Oil Soap. Dampen a microfiber cloth—never spray directly onto the wood—and wipe in the direction of the grain. For stubborn wax buildup or sticky residues, a small amount of mineral spirits applied to a cotton swab can lift the grime without damaging the underlying shellac or lacquer finish. Once clean, condition the wood with a beeswax and carnauba-based paste wax to seal the pores and restore a deep, natural luster.
Restoring Metal Hardware
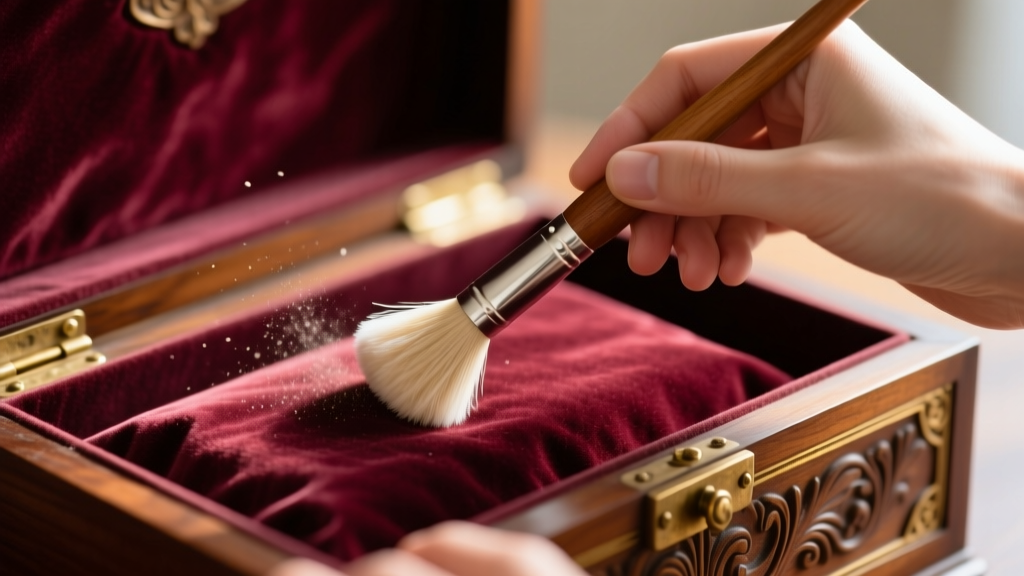
If your box features solid brass hardware that has tarnished to a dull brown, you can restore it using a specialized brass polish. Apply a pea-sized amount to a cotton swab to avoid getting the polish on the surrounding wood. However, if the hardware is lacquered brass (common in mid-century pieces) or gold-plated, skip the chemical polishes entirely. Instead, use a soft-bristled toothbrush dipped in warm, soapy water to gently agitate dirt from the crevices, then dry immediately with a lint-free cloth to prevent water spots.
Sanitizing and Deodorizing the Interior
The infamous 'thrift store smell'—a combination of stale perfume, tobacco smoke, and mildew—is not just unpleasant; it indicates the presence of bacteria and degrading organic matter. You must neutralize these odors before storing jewelry, as pearls and porous gemstones like opals and turquoise easily absorb ambient odors and chemicals.
Expert Warning: Never use baking soda to deodorize a vintage jewelry box. Baking soda leaves behind a fine, alkaline dust that can settle into the microscopic pores of pearls and opals, causing irreversible surface etching and cloudiness over time.
Instead, rely on activated bamboo charcoal. Place a few breathable charcoal pouches inside the empty box, close the lid, and leave it in a dry, climate-controlled room for 7 to 10 days. The charcoal acts as a highly porous adsorbent, trapping odor molecules and excess moisture without releasing any harmful chemical byproducts. For severe mustiness, you may need to carefully vacuum the interior crevices using a soft brush attachment wrapped in a nylon stocking to prevent snagging the fragile vintage lining.
Replacing Acidic Linings: A Crucial Storage Upgrade
The most critical step in prepping your jewelry box thrift store haul for modern use is addressing the interior lining. According to the National Archives and Records Administration, materials with a pH below 7.0 are considered acidic. As vintage silk, velvet, and the cardboard substrates beneath them age, they undergo cellulose degradation, off-gassing sulfur dioxide and acetic acid. This is why silver stored in antique boxes often turns black almost overnight—the sulfur reacts with the silver to form silver sulfide (tarnish).
If the original lining is stained, tearing, or smells heavily of decay, it must be removed and replaced with archival-quality materials.
Lining Material Comparison Chart
| Material | pH Level | Archival Safety | Best Use Case |
|---|---|---|---|
| Original Vintage Velvet | 4.0 - 5.5 | Poor (Acidic) | Display only (no direct contact) |
| Standard Craft Felt | 5.5 - 6.5 | Moderate | Short-term costume jewelry |
| Archival Micro-Suede | 7.0 (Neutral) | Excellent | Everyday fine jewelry storage |
| Acid-Free Cotton Flannel | 7.5 - 8.5 | Excellent | Silver and gold wrapping |
| Polyethylene Foam | Neutral | Excellent | Structural inserts and ring rolls |
To replace the lining, carefully use a flat metal spatula to lift the old fabric. Scrape away the degraded, crusty adhesive using a citrus-based solvent. Cut your new archival micro-suede or acid-free flannel to size, and adhere it using a pH-neutral, acid-free glue stick or double-sided archival mounting tape. Avoid spray adhesives, which contain volatile solvents that can off-gas and damage sensitive gemstones.
Anti-Tarnish Integration for Vintage Storage
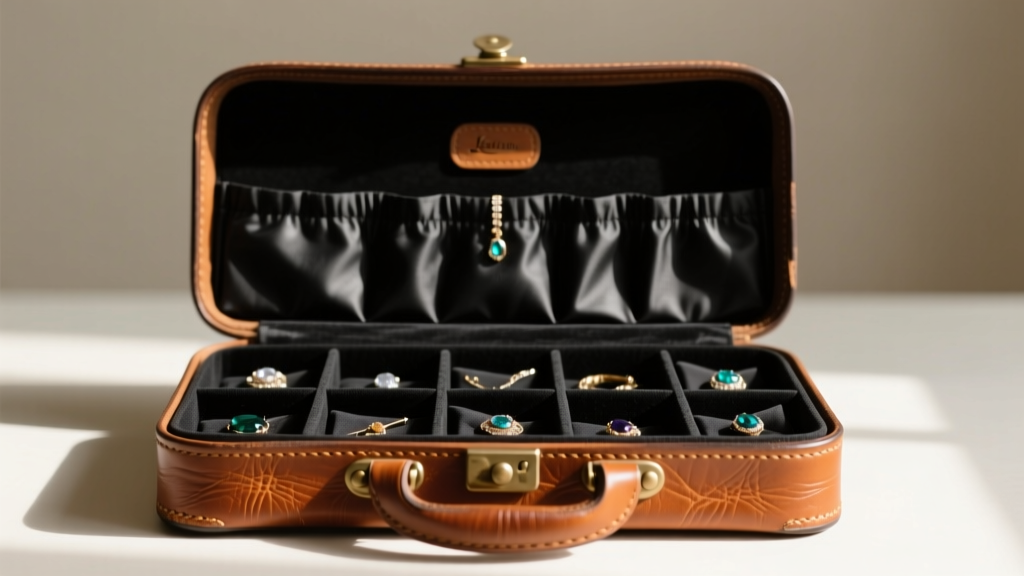
Even with a neutral lining, ambient air contains sulfur compounds that cause tarnishing. To fully modernize your thrifted find, you must integrate active anti-tarnish technology. The gold standard for this is Pacific Silvercloth, a specialized cotton fabric embedded with microscopic silver particles. These particles act as a sacrificial anode, absorbing sulfur and moisture from the air before they can reach your actual jewelry.
Cut small squares of Pacific Silvercloth and line the bottom of the deepest compartments, or sew small pouches to hold them in the lid of the box. Alternatively, you can use GIA-recommended 3M anti-tarnish strips, which utilize a reactive copper polymer to neutralize corrosive gases. Replace these strips every 6 to 12 months, depending on the ambient humidity of your storage environment. For ultimate protection, place highly tarnish-prone items like sterling silver and copper inside individual zip-lock bags made of anti-tarnish polyethylene before placing them into the newly restored vintage compartments.
Conclusion: Preserving the Past, Protecting the Present
Rescuing a jewelry box thrift store haul is an act of preservation that bridges the gap between historical craftsmanship and modern gemological science. By carefully identifying materials, executing a gentle yet thorough deep clean, neutralizing odors with activated charcoal, and upgrading the interior with pH-neutral, anti-tarnish materials, you ensure that your vintage storage piece is not just a beautiful artifact, but a highly functional, protective vault. Treat your antique jewelry box with the same meticulous care you give to the precious gems it holds, and it will serve as a stunning, safe organizational centerpiece for decades to come.


