Expert Cleaning Tips for Your Vintage White Jewelry Box
Learn expert cleaning and restoration tips for your vintage white jewelry box. Safely remove yellowing, stains, and tarnish without damaging the finish.

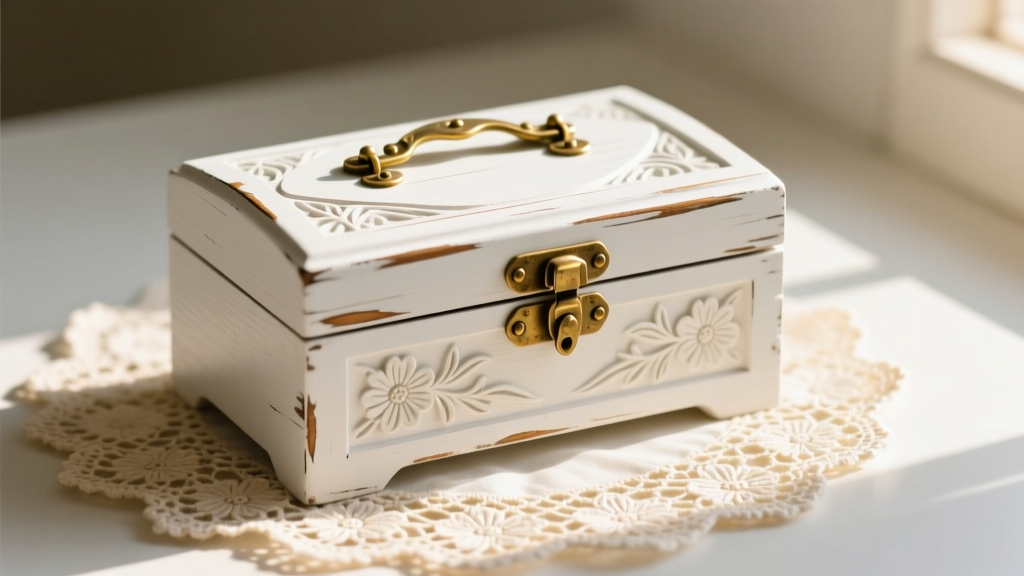
There is an undeniable romance to a vintage white jewelry box. Whether it is a mid-century white enamel piece, a Victorian-era hand-painted wooden chest, or a 1950s faux-shagreen vanity case, white storage pieces evoke a sense of elegance and pristine organization. However, white surfaces are unforgiving. They highlight every water ring, fingerprint, and speck of dust, and they are notoriously prone to age-related yellowing and finish degradation.
Restoring these delicate antiques requires more than just a damp rag and household all-purpose cleaner. Using the wrong solvents can strip original milk paint, cloud delicate enamel, or dissolve the hide glue holding the interior lining in place. In this comprehensive guide, we will explore museum-grade conservation techniques adapted for home use, ensuring your vintage white jewelry box remains a stunning, protective home for your most prized accessories.
Identifying Your Box's Material and Finish
Before applying any cleaning solution, you must accurately identify the material of your vintage white jewelry box. The Canadian Conservation Institute emphasizes that misidentifying a substrate is the leading cause of accidental damage during amateur restoration. White is merely a color; the underlying material dictates your chemical approach.
| Material Type | Era & Characteristics | Safe Cleaning Agents | Strictly Avoid |
|---|---|---|---|
| Painted Wood (Milk/Chalk) | 19th-Early 20th C. Chalky, porous, warm to touch. | Dry dusting, minimal distilled water. | Oil soaps, ammonia, scrubbing. |
| Painted Wood (Polyurethane) | Mid-Century. Glossy or satin, sealed, durable. | Diluted Murphy's Oil Soap, mild dish detergent. | Acetone, abrasive melamine sponges. |
| Enamel over Metal | 1930s-1950s. Glass-fused to steel, very heavy, cold. | Isopropyl alcohol, gentle glass cleaner. | Steel wool, acidic rust removers. |
| Ceramic / Porcelain | Victorian/Edwardian. Glazed, fragile, cold, rings when tapped. | Dish soap, baking soda paste for stains. | Impact, harsh scouring powders. |
| Vintage Resin / Plastic | 1950s-1970s. Lightweight, molded, prone to yellowing. | Mild soap, hydrogen peroxide (Retrobright). | Solvents, alcohol, heat. |
Step-by-Step Exterior Cleaning Guide
Once you have identified your box's material, you can proceed with a careful, staged cleaning process. Always remove all jewelry, take out any removable drawers, and work in a well-lit, well-ventilated area.
Phase 1: Dry Prep and Dusting
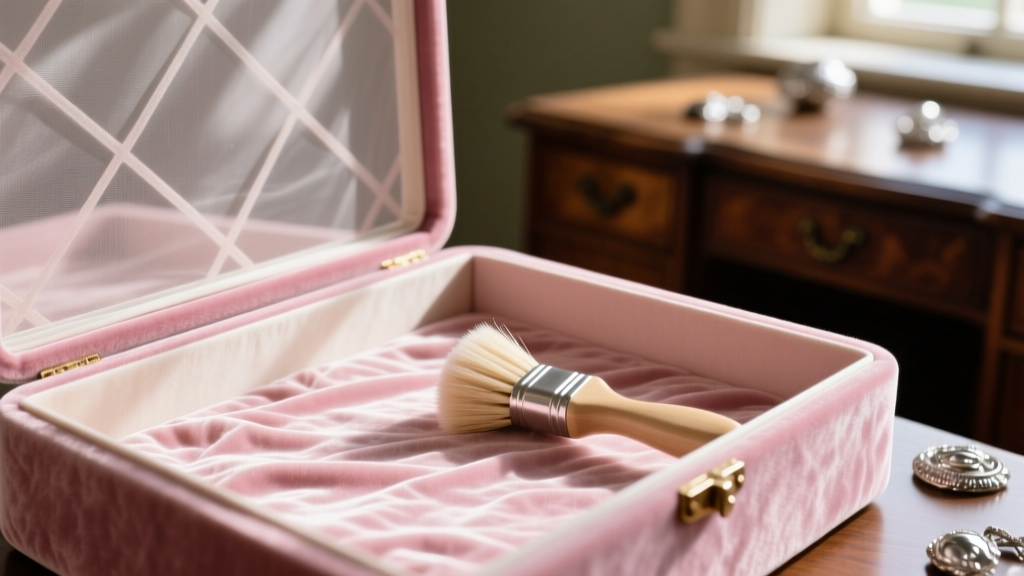
Never apply liquid to a dusty surface; this creates a muddy abrasive paste that will micro-scratch glossy enamel and polyurethane finishes. Use a soft-bristled makeup brush or a canned air duster (held at a 45-degree angle to prevent liquid propellant from spraying) to clear dust from carved crevices, hinges, and drawer tracks.
Phase 2: The Distilled Water Wash
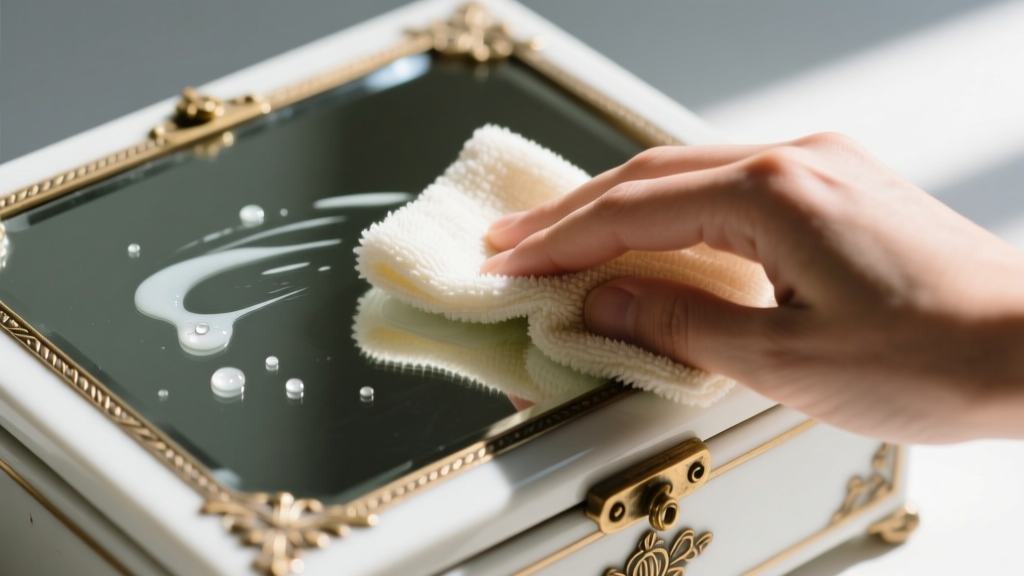
For sealed painted wood and enamel, tap water is the enemy. The minerals in tap water (calcium and magnesium) will leave stubborn white spots on white paint. Instead, mix a solution of distilled water and a single drop of pH-neutral dish soap (like Dawn). Dampen a microfiber cloth—never spray directly onto the box—and wipe in the direction of the wood grain or the primary visual axis of the piece.
Phase 3: Immediate Drying
Moisture is the primary catalyst for veneer lifting and paint blistering. Follow your damp cloth immediately with a dry, lint-free cotton towel. If you are cleaning a vintage white enamel box, inspect the edges where the enamel meets the metal; if you see any micro-chips, ensure no water seeps underneath, as this will cause sub-surface rust that will eventually pop the enamel off entirely.
Tackling the Dreaded "Yellowing" on White Finishes
One of the most common issues with vintage white jewelry boxes, particularly those made from mid-century plastics, resins, or even certain oil-based white paints, is a sickly yellow discoloration. This is not merely "dirt" that can be wiped away; it is a chemical reaction.
Understanding Bromine and UV Degradation
In vintage plastics and resins, bromine was frequently used as a flame retardant. When exposed to decades of ultraviolet light, the bromine molecules oxidize and turn brown/yellow. For oil-based white paints, the linseed oil binder naturally amberizes over time when deprived of UV light (such as when stored in a dark drawer).
The "Retrobright" Method for Plastics
If your box is made of vintage white plastic or resin, you can reverse the yellowing using a process known in the conservation community as Retrobrighting. This involves applying a 12% hydrogen peroxide cream (often sold as hair developer) to the plastic surface, wrapping it in clear cling film to prevent drying, and exposing it to direct UV sunlight or a UV-A lamp for 4 to 8 hours. The UV light catalyzes the peroxide, breaking the bromine bonds and restoring the original stark white color. Note: This process is strictly for plastics and resins; it will bleach and ruin painted wood.
Dealing with Yellowed Paint
For painted wood boxes, yellowing is often irreversible without stripping and repainting, which destroys the antique value. Instead, embrace the patina. You can gently brighten the surface by applying a micro-thin layer of conservation-grade microcrystalline wax (like Renaissance Wax). This will not reverse the yellowing but will restore a deep, protective luster that makes the aged white look intentional and rich, rather than dirty.
Interior Lining Care: Velvet, Satin, and Felt
The interior of a vintage jewelry box is just as important as the exterior, but it requires an entirely different methodology. According to the National Park Service Museum Handbook, historical textiles and adhesives are highly susceptible to water damage and solvent dissolution.
"Never use liquid spot removers, upholstery foams, or wet cloths on vintage velvet or satin linings. The moisture will reactivate the original hide glue or animal-based adhesives, causing the fabric to pull away from the wooden or cardboard substrate and resulting in irreversible puckering."
The Gum Eraser Technique
To lift embedded dirt, skin oils, and tarnish transfer from pale velvet or satin linings, use a high-quality, white vinyl gum eraser. Gently rub the eraser over the stained fabric. The eraser will crumble, lifting the microscopic dirt particles out of the fibers without introducing moisture. Follow up by vacuuming the crumbs using a HEPA-filter vacuum on the lowest suction setting, placing a piece of plastic canvas or mesh screen over the nozzle to prevent the delicate fabric from being sucked into the machine.
Deodorizing Musty Interiors
Vintage boxes often trap decades of stale air, perfume, and tobacco smoke. To neutralize odors without chemicals, place a small, open glass jar filled with activated bamboo charcoal or dry, unused coffee grounds inside the empty box. Seal the box in a large plastic bin for two weeks. The charcoal will absorb the volatile organic compounds (VOCs) causing the odor, leaving the interior smelling neutral and clean.
Hardware and Hinge Maintenance
The hardware on a vintage white jewelry box provides a striking visual contrast, but it requires careful handling to avoid stripping the original finish.
- Solid Brass vs. Plated Pot Metal: Test your hardware with a magnet. If it is magnetic, it is likely steel or pot metal (Zamak) with a thin brass or silver plating. Do not use aggressive brass polishes like Brasso, as the ammonia and abrasives will strip the plating right off, leaving dull, pitted grey metal.
- Polishing Safely: For plated hardware, use a mild, non-abrasive polish like Maas Metal Polish or simply a damp microfiber cloth with a tiny amount of baking soda. For solid, unlacquered brass, you can use traditional polishes, but always apply them with a cotton swab to avoid getting the chemical on the surrounding white paint.
- Lubricating Hinges: If drawers stick or lids squeak, avoid WD-40, which attracts dust and degrades into a sticky varnish over time. Instead, apply a single drop of synthetic sewing machine oil or PTFE (Teflon) dry lubricant directly to the hinge pin using a toothpick. Cycle the hinge back and forth to distribute the oil, then wipe away any excess.
Preventative Storage and Display
Once your vintage white jewelry box is restored, proper placement is key to maintaining its pristine condition. Keep the box out of direct, unfiltered sunlight to prevent UV fading and the acceleration of yellowing in resins and paints. Maintain a stable indoor relative humidity (RH) between 45% and 55%. Fluctuations in humidity will cause wooden substrates to expand and contract, leading to cracked paint and warped drawers.
If you are ever unsure about the stability of a highly valuable or historically significant piece, consult a professional. The American Institute for Conservation provides a "Find a Conservator" tool to connect you with experts who specialize in furniture and decorative arts. By treating your vintage white jewelry box with the respect and specialized care it deserves, you ensure it will continue to safeguard your treasures for generations to come.


