Step-by-Step: Build a Custom Brass Wall Jewelry Organizer
Learn how to build and install a heavy-duty brass wall jewelry organizer. Step-by-step guide for drywall anchoring and anti-tarnish sealing.

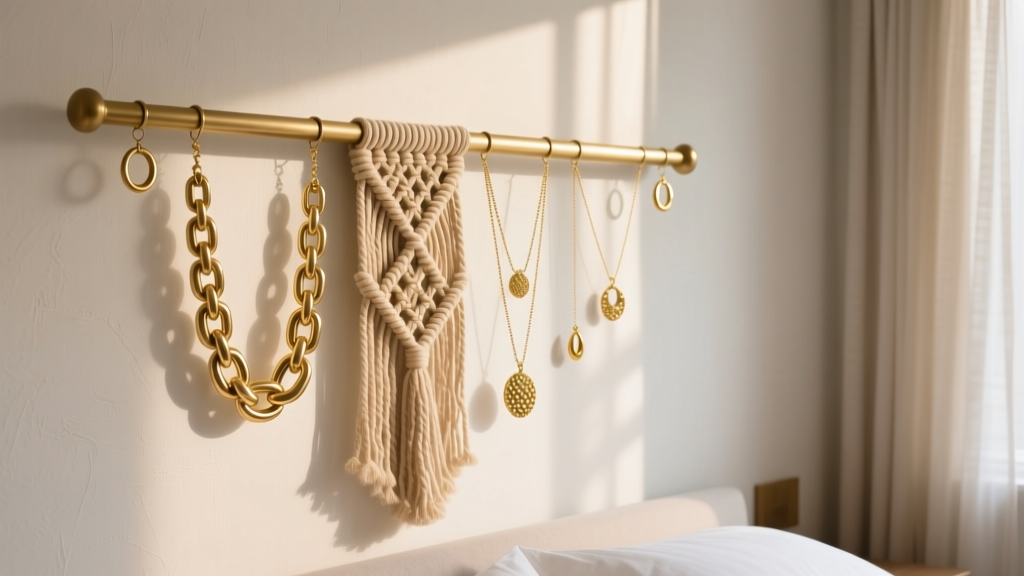
Why Upgrade to a Heavy-Duty Wall Jewelry Organizer?
Most commercial jewelry storage solutions fail under the weight of modern, statement-making pieces. A standard velvet-lined box or a flimsy over-the-door organizer simply cannot support the dynamic load of heavy gold chains, layered pendants, and oversized hoop earrings. Building a custom wall jewelry organizer using solid brass and heavy-duty hardware not only solves the tangling and scratching issues inherent in drawer storage, but it also transforms your collection into a functional, curated display.
In this comprehensive guide, we will walk through the exact metallurgy, wall-anchoring physics, and anti-tarnish protocols required to build a permanent, high-capacity wall jewelry organizer that protects your most valuable pieces while keeping them accessible.
Materials and Tools Checklist
Before beginning, you must source the correct grade of materials. Do not substitute solid brass with brass-plated aluminum, as the plating will eventually wear off, exposing reactive aluminum that can cause galvanic corrosion when in contact with silver or copper jewelry.
- 1/2-inch Solid Brass Rod (Alloy 260): Also known as cartridge brass, Alloy 260 offers superior corrosion resistance and a beautiful warm luster. A 1/2-inch diameter prevents bowing under loads exceeding 15 pounds.
- Heavy-Duty Iron Mounting Brackets: Choose brackets with a 3-inch projection to keep jewelry away from the wall surface.
- Strap Toggles (Snaptoggles): For drywall installation where studs are unavailable.
- Anti-Tarnish Sealant: Renaissance Wax or ProtectaClear to seal the brass.
- Cotton S-Hooks or Padded Hangers: To protect delicate chains and pearl silk threading.
- Tools: Power drill, 1/2-inch masonry/drywall bit, stud finder, level, and microfiber cloths.
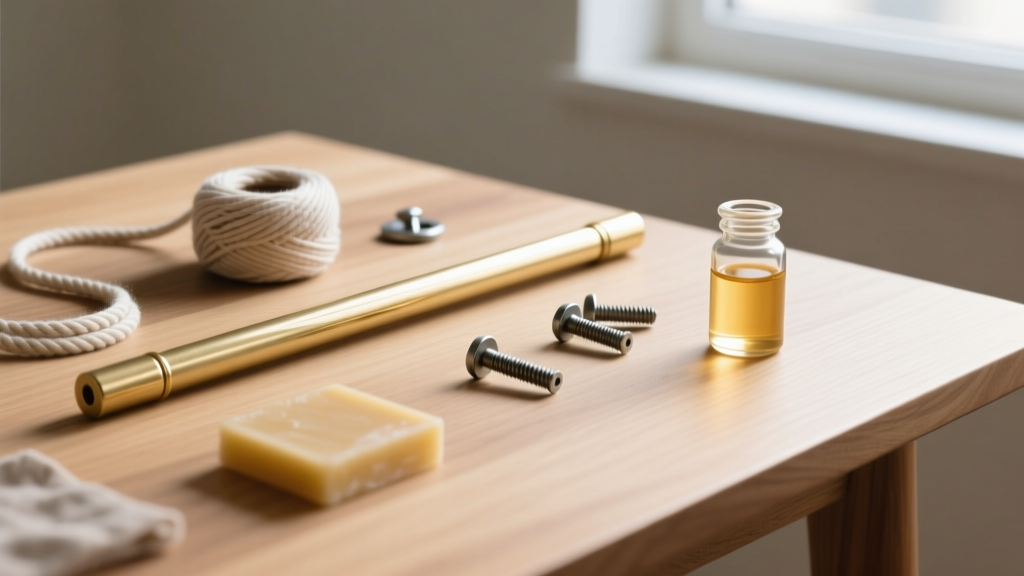
Step 1: Prepping and Sealing the Brass Rod
Raw brass is highly reactive. Over time, the oils from your hands and the ambient humidity will cause the rod to oxidize, creating a patina. While some may desire this vintage look, raw brass can off-gas and transfer tarnish to your silver and copper jewelry. Sealing the rod is a non-negotiable step for long-term jewelry preservation.
- Degrease the Rod: Wipe the brass rod down with pure acetone to remove any manufacturing oils. Allow it to flash off completely.
- Apply the Sealant: Using a lint-free cloth, apply a thin, even coat of Renaissance Wax. This microcrystalline wax was originally developed by the British Museum to protect metal artifacts and provides an inert barrier between the brass and your jewelry.
- Buff and Cure: Let the wax haze for 15 minutes, then buff it to a high shine with a clean microfiber cloth. Apply a second coat for high-humidity environments.
Expert Tip: Never use polyurethane sprays on jewelry organizers. Polyurethane can yellow over time and may contain solvents that react with delicate gemstone treatments, particularly porous stones like turquoise and opals.
Step 2: Mastering Wall Anchoring for Dynamic Loads
The most common point of failure for any wall jewelry organizer is the wall anchor. When you pull a heavy necklace off a hook, you are not just applying static weight; you are applying dynamic force. Standard plastic expansion anchors are rated for static loads and will eventually pull out of the drywall under repetitive dynamic stress.
According to structural guidelines outlined by Family Handyman, selecting the right anchor based on your wall type is critical for safety and longevity.
Drywall Anchor Weight Capacity & Use Cases
| Anchor Type | Max Static Load (1/2" Drywall) | Dynamic Load Suitability | Best Use Case |
|---|---|---|---|
| Plastic Expansion | 10 - 15 lbs | Poor | Lightweight stud earrings, small rings |
| Threaded Drywall Anchor | 20 - 25 lbs | Fair | Medium chains, bracelet displays |
| Strap Toggle (Snaptoggle) | 50 - 265 lbs | Excellent | Heavy gold chains, layered statement pieces |
| Wood Stud (Direct Screw) | 100+ lbs | Excellent | Primary structural mounting points |
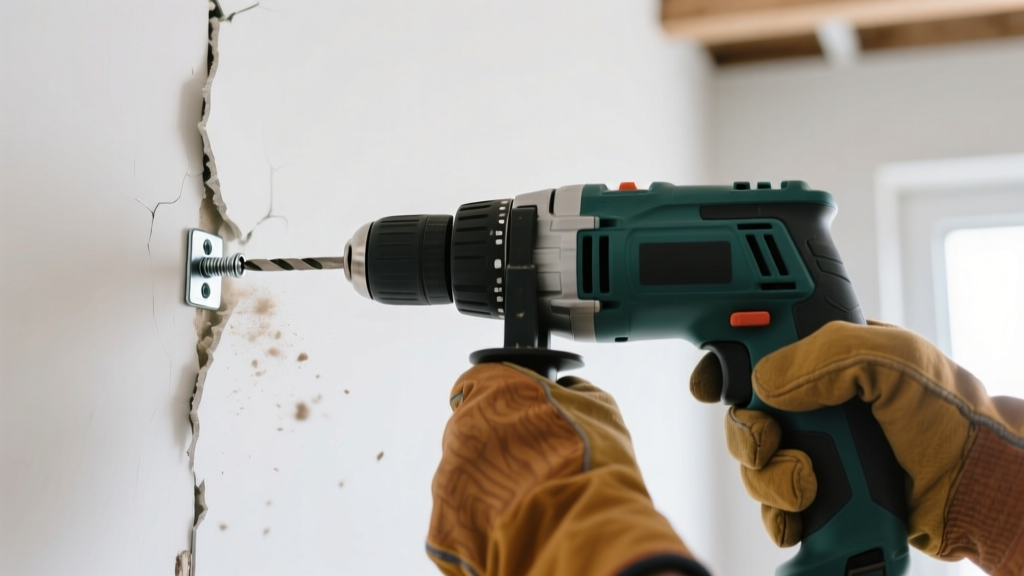
Installation Sequence
- Locate the Studs: Use a magnetic or electronic stud finder to locate at least one wooden stud for your primary bracket. Secure this bracket with a 2.5-inch wood screw.
- Drill for Toggles: For the secondary bracket on hollow drywall, drill a 1/2-inch hole. Insert the metal strap toggle, pull the straps to lock the metal bar flat against the back of the drywall, and snap off the excess plastic.
- Mount the Brackets: Drive the machine screws through your iron brackets and into the toggles. Use a torpedo level to ensure perfect horizontal alignment before fully tightening.
Step 3: Hanging Mechanics and Jewelry Preservation
How you hang your jewelry on your new wall jewelry organizer is just as important as how the organizer is mounted. Different materials and constructions require specific hanging methods to prevent irreversible damage.
Protecting Pearls and Silk
Never hang knotted pearl necklaces directly on a bare metal rod. The friction can fray the silk thread over time, and the weight of the pearls can stretch the silk, leading to gaps between the knots. Instead, use padded cotton S-hooks or loop a piece of unbleached cotton twill tape around the rod, hanging the pearls from the soft fabric loop. As noted by the experts at Jewelers Mutual, proper support is essential to maintain the structural integrity of strung gems.
Managing Chain Tangling
For long chains (24 inches and above), hanging them by the clasp can cause the chain to swing and tangle with neighboring pieces. To prevent this, utilize the "double-loop" method: hang the chain on the rod, then pull the bottom of the chain up and drape it over the rod a second time. This halves the hanging length, keeps the pendants visible, and drastically reduces swing-induced tangling.
Maintenance and Dust Prevention
Wall-mounted organizers are exposed to ambient room dust and airborne aerosols (like perfume or hairspray). To maintain your organizer and the jewelry on it:
- Weekly Dusting: Use a clean, dry makeup brush (like a large powder brush) to gently sweep dust off the jewelry and the brass rod. This prevents dust from combining with ambient humidity to form an abrasive paste.
- Bi-Annual Waxing: Reapply a light coat of Renaissance Wax to the brass rod every six months to maintain the anti-tarnish barrier.
- Aerosol Awareness: Never spray perfume, hairspray, or cosmetics in the same room as your open wall organizer. The alcohol and propellants can degrade gemstone coatings and strip the wax sealant off your brass rod.
Conclusion
Building a custom brass wall jewelry organizer is a highly rewarding weekend project that bridges the gap between interior design and serious jewelry preservation. By prioritizing Alloy 260 brass, utilizing strap toggles for dynamic load support, and respecting the material science of your jewelry collection, you create a storage solution that is as durable and beautiful as the pieces it holds. Ditch the tangled drawer chaos and elevate your daily dressing routine with a professional-grade, wall-mounted display.


